Loading ...
Loading ...
Loading ...
8
EN
Getting Ready
Checking Operation of the Sensors
5
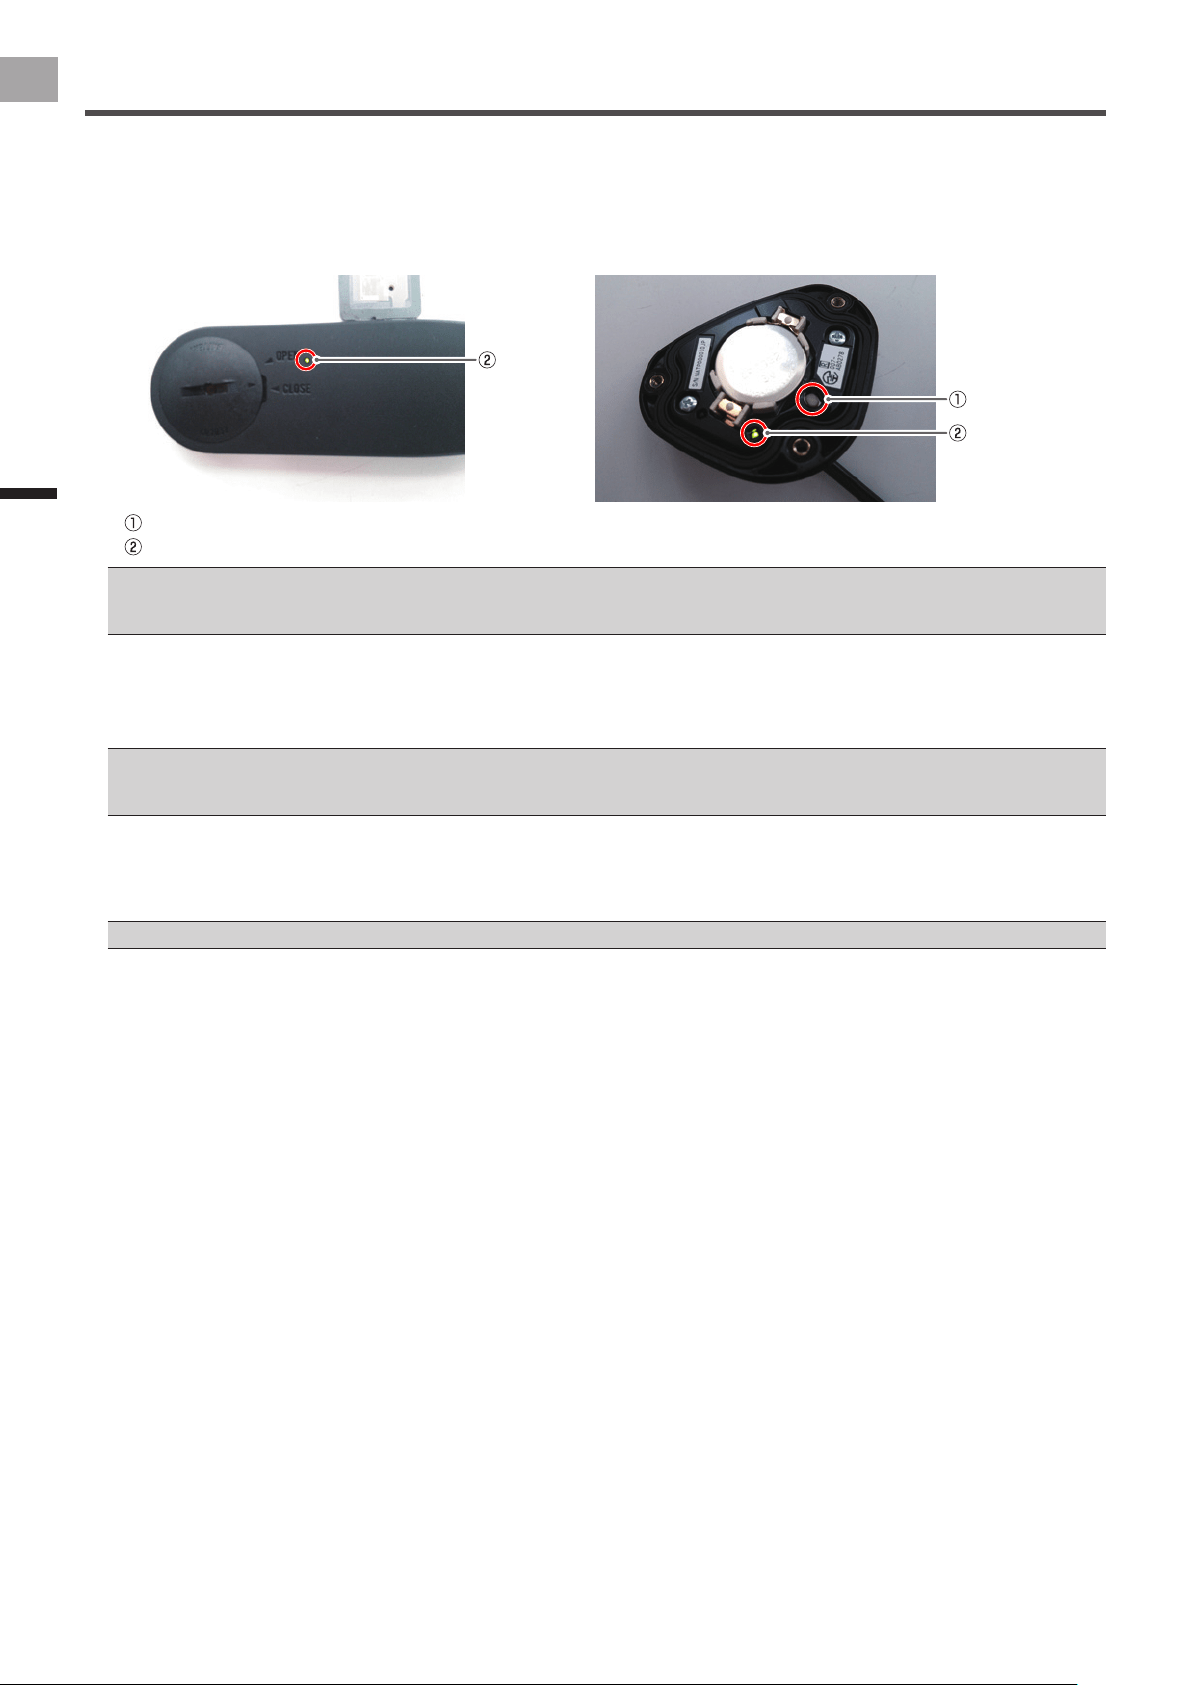
Push the push switch in the right transmitter for less than 2 seconds to conrm the sensor mode is set
to the pedaling monitor mode.
By pushing the push switch in the right transmitter for less than 2 seconds, the LEDs on the right transmitter blink green.
After that, if the LEDs light green for 10 seconds, the sensor is set to pedaling monitor mode.
Left side Right side
Push switch
LED
If the LEDs do not light for more than 5 seconds after installing the batteries, remove the batteries once, and after more than 1 minute, •
install them again. If the LEDs still do not light, the battery may be almost empty. Replace the battery with a new one.
If the LEDs light red, refer to Troubleshooting (page 25).•
If the LEDs light orange for 10 seconds, the sensor is set to power meter mode.
By pushing the push switch in the right transmitter for more than 2 seconds, the LEDs on the right transmitter blink green.
After conrming the blink, release the push switch. When the blinking stops, the LEDs on the left and right transmitters light
green for 10 seconds and the sensor mode changes to pedaling monitor mode.
If the pairing between the left and right transmitters fails, the LEDs blink red 5 times.•
Please do not push the push switch for more than 5 seconds. Doing so changes the mode to calibrate the magnet position.•
It may take about 10 seconds to switch the sensor mode depending on the radio transmission conditions.•
6
Install the right transmitter cover.
Use a tool that can measure the torque to tighten the screws.
Tightening torque: 30 cN•m•
Install the cover rmly to ensure water resistant performance.•
Loading ...
Loading ...
Loading ...