Loading ...
Loading ...
Loading ...
86 87
/ Using the Mounts
MOUNTING GUIDELINES
Follow these guidelines when attaching adhesive mounts:
• Attach the adhesive mounts at least 24 hours prior to use.
• Adhesive mounts must be mounted only on smooth surfaces.
Porous or textured surfaces do not enable a proper bond. When
applying the mount, firmly press it into place and ensure full
contact over the entire surface.
• Apply adhesive mounts to clean surfaces only. Wax, oil, dirt or
other debris reduce adhesion, which can result in a weak bond
and risk of losing the camera should the connection fail.
• Attach adhesive mounts in room temperature conditions.
Mount adhesives do not bond properly if applied in cold or damp
environments to cold or damp surfaces, or if the surface is not
room temperature.
For more information on mounts, visit gopro.com/support.
WARNING: If using your camera with a GoPro mount or strap
intended for use with a helmet, always select a helmet that
meets the applicable safety standard.
Choose the right helmet for your particular sport or activity
and make sure that it is the right fit and size for you. Inspect
your helmet to ensure that it is in good condition and follow the
helmet manufacturer’s instructions on safe helmet use.
Any helmet that has sustained a major impact should be
replaced. No helmet can protect against injury in every accident.
/ Using the Mounts
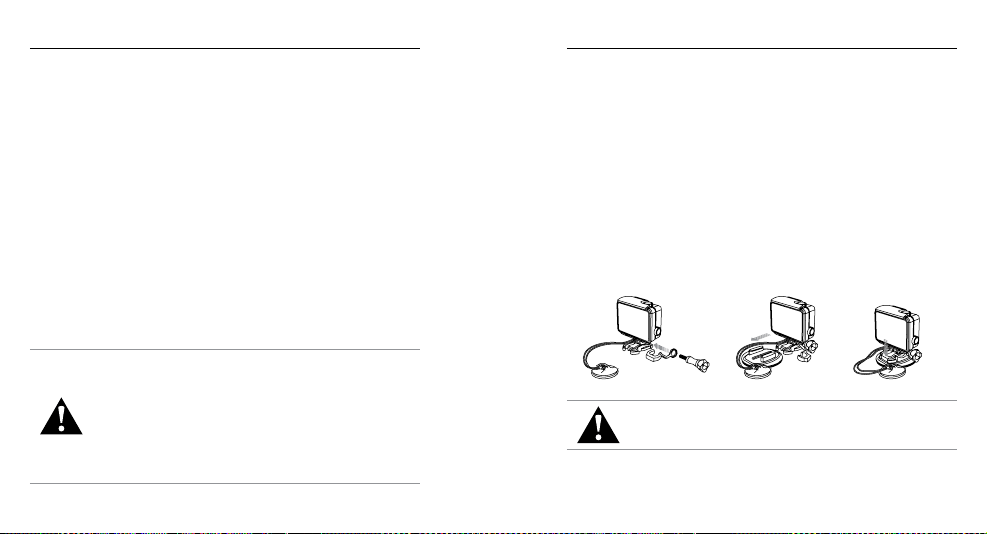
LOCKING PLUG
If you are using HERO4 Black in sports such as surfing or skiing, use
the standalone white locking plug to securely lock the Quick Release
Buckle fingers into place.
To Attach the Locking Plug:
1. Loop the circular ring over the thumbscrew. The circular ring
acts as a leash to prevent dropping or losing the locking plug.
2. Slide the Quick Release Buckle into the mount until it clicks
into place.
3. Press the U-shaped part of the plug into the U-shaped space in
the Quick Release Buckle.
WARNING: To avoid injury in the event of an accident, do not use
the locking plug or tether when using a mounting device on a
helmet or other personal protective gear.
Loading ...
Loading ...