Loading ...
Loading ...
Loading ...
PART
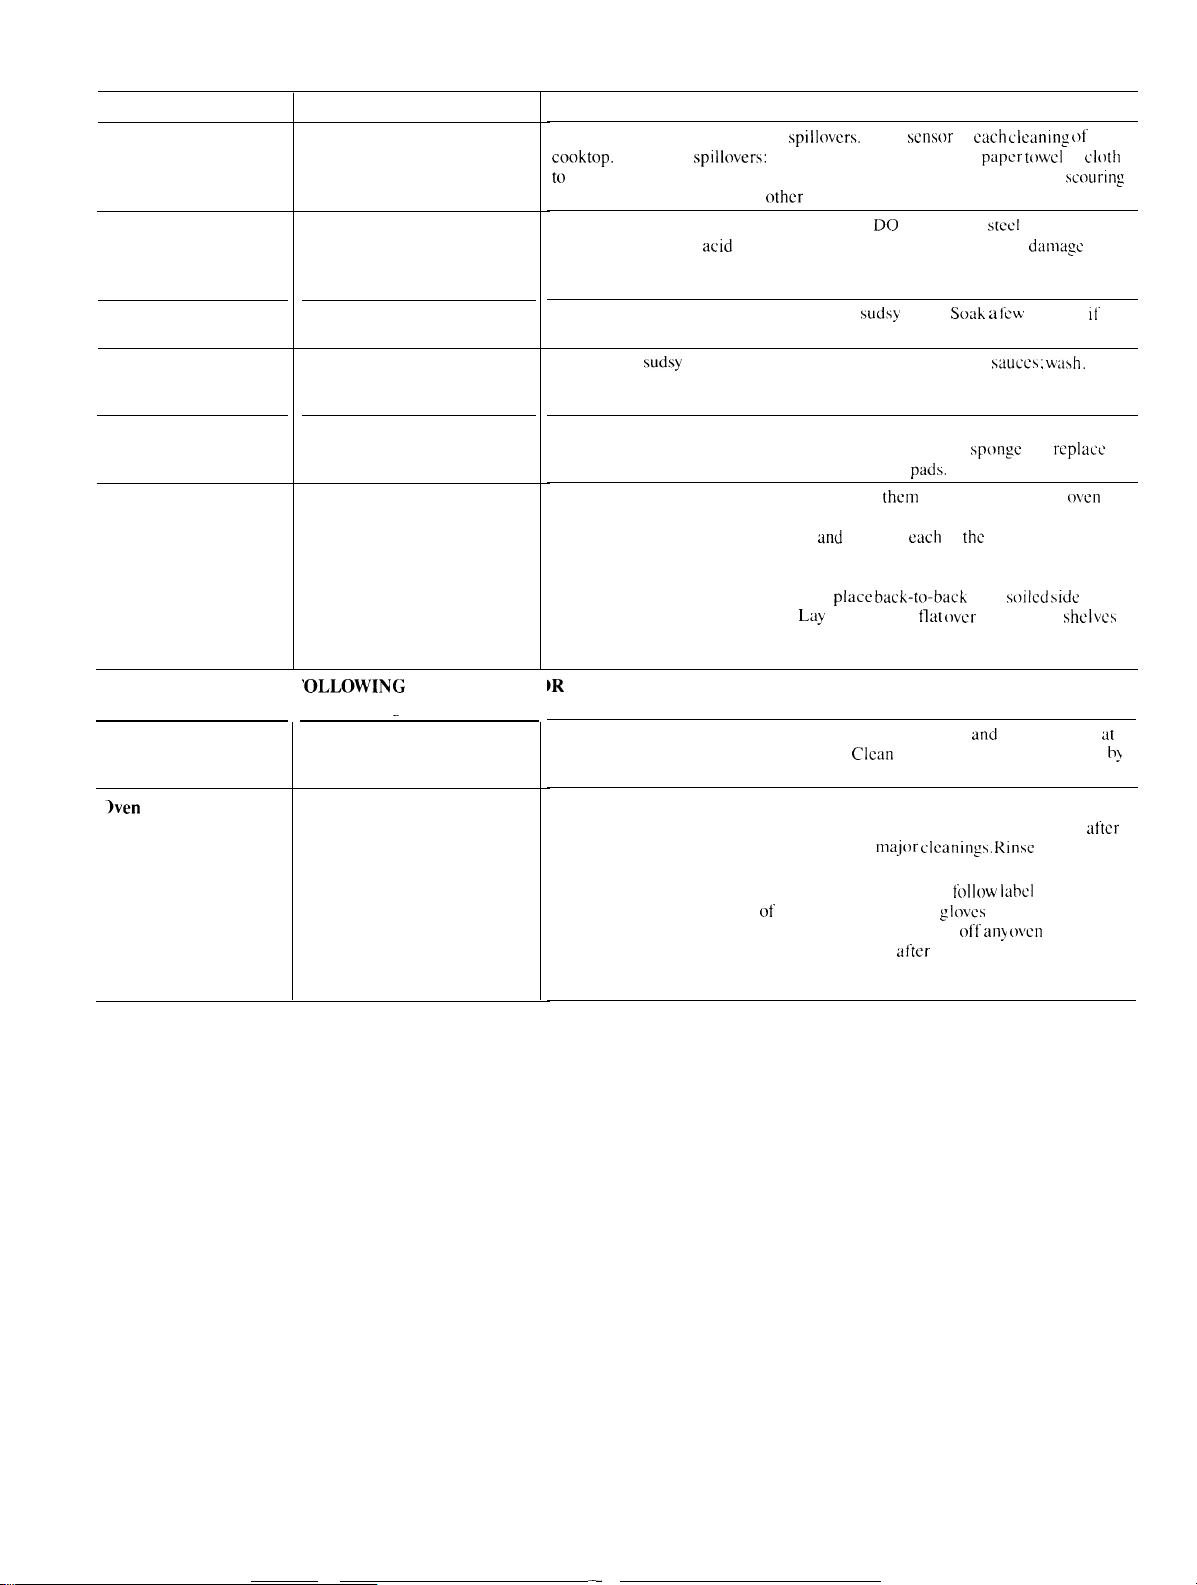
Automatic
Unit Sensor
Metal,
including Chrome
Side Trims
and Trim Strips
Griddle
Rotisserie
Spit, Forks
Screws, Frame
Storage Drawer
Companion Oven
Removable Oven
Panels, Shelves,
Broil Reflector
MATERIALS TO USE
● Water, Plastic Scouring Ball
●
Soap
and Water
● Soap and Water
●
Soap
and Water
● Commercial Oven Cleaner
●
Soap
and Water
GENERAL DIRECTIONS
Keep sensor free from grease or
spillovm-s.
Wipe
sensor
at
each
cleaning
~Jf
cooktop.
For major
spillovers:
when cool, cover with moist paper
tt~wcl
or
cl~~th
to
soften soil; additional light scouring may be done with plastic or nylon
scourin:
ball. Do not use steel wool or
other
harsh materials.
Wash, rinse and then polish with a dry
cloth.
DO
NOT USE
steel
wool.
abrasives, ammonia,
acid
or commercial oven cleaners which may
damage
the finish.
Let griddle cool. Pour off grease. Wash in
suds>
water.
Soak
a
tcw
minutes
If
necessary to remove food stuck on surface.
Soak in hot.
sudsy
water: scour to remove cooked-on food or
sauces:
w~ish.
For cleaning. remove drawer by pulling it all the way open, tilting up the front
and then lifting the drawer out. Wipe with a damp cloth or
sponge
and
rcplacc
the drawer. Never use harsh abrasives or scouring
pads.
Take removable items from upper oven. Place
thcm
in the Self-Cleaning men in
this manner:
1.
Companion Oven Shelves—invert
and
place on each of
the
Self-Cleaning
oven shelves with their stops facing forward.
2. Broil Reflector-place soiled side down on lower shelf.
3. Bottom oven panel and back panels:
place
back-tt]-back
with
s~~ilccl
side
facing out on Self-Cleaning shelf.
Lay
these panels
flat
(wer
companion
shelves
that were placed in Self-Cleaning oven.
4. Side panel—lay back-to-back on remaining Self-Clean panel.
USE THE E‘OLLOWING DIRECTIONS FC
)R
STANDARD OVEN ONLY. For Continuous-Cleaning Oven,
refer to “Continuous-Cleaning
Oven Care” Section on page 28 for directions on care of special porous ceramic coating.
Inside Oven Door**
(Liner)
>ven Liner**
(CAUTION: When in
use, light bulbs can
become warm enough
to break if touched with
moist cloth or towel.
When cleaning, avoid
warm lamps with
cleaning cloths if lamp
cover is removed.
—
● Soap and Water
● Soap-Filled Scouring Pad
● Commercial Oven Cleaner
● Soap and Water
● Soap-Filled Scouring Pad
● Commercial Oven Cleaner
To obtain service, see your
warranty on the back of this book.
We’re proud of our service and
want you to be pleased. If for some
reason you are not happy with the
service you receive, here are three
steps to follow for further help.
FIRST, contact the people who
serviced your appliance. Explain
why you are not pleased. In most
cases, this will solve the problem.
To clean oven door, remove by opening to BROIL position
and
grasping door
at
sides. Lift door up and away from hinges.
Clean
with soap and water. Replace
b}
grasping door at sides and lining up door with hinges. Push door firmly into place.
Cool before cleaning.
FOR LIGHT SOIL: Frequent wiping with mild soap and water (especially after
cooking meat) will prolong the time between
ma<ior
cletinings.
Rinse
thoroughly.
NOTE: Soap left on liner causes additional stains when oven is reheated.
FOR HEAVY SOIL: Choose a nonabrasive cleaner and
fb]low
label
instructions, using thin layer
of
cleaner. Use of rubber
gloves
is recommended.
Wipe or rub lightly on stubborn spots. Rinse well. Wipe
off
any
oven
cleaner
that gets on thermostat bulb. When rinsing oven
after cleaning. also wipe
thermostat bulb.
NEXT, if you are still not pleased,
write all the details—including
your phone number—to:
Manager, Consumer Relations
General Electric Company
Appliance Park
Louisville, Kentucky 40225
FINALLY, if your problem is still
not resolved, write:
Major Appliance
Consumer Action Panel
20 North Wacker Drive
Chicago, Illinois 60606
33
—
Loading ...
Loading ...
Loading ...