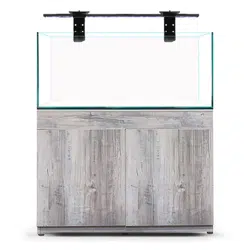
Each Orbit Adjustable Tank Mount Kit includes:
Item Description Quantity
A Aluminum Arm 2
B Light Fixture Clip with Turn Nut 4
C Back Bracket Attachment Screws (Short) 4
D
E
Front Bracket Attachment Screws (Long)
Aquarium Tank Shim Spacers
4
2
A
Installation Instructions
What’s Included
Page 1
B
Step 2. Determine location on tank where the tank arm bracket will be installed. Clean glass of any
algae or debris before installation.
Determine which bracket to use
for your aquarium application:
Installation
Step 3.
Step 1. Remove sliding docking mounts from fixture by pulling the mounts outwards (it can take some
pull.) Save docking mounts for future use, do not discard.
F Rimless Tank Bracket
2
G Framed Tank Bracket (Wider) 2
C
D
E
FG
IMPORTANT
READ ALL SAFETY WARNINGS
Before Installation
This tank mount arm bracket is compatible only with Current-USA Orbit IC, Orbit Marine, Orbit Marine IC,
Satellite LED Plus, Satellite LED Plus PRO, SereneSun LED, AquaSerene LED and SereneSun PRO.
Rimless tank bracket will only fit aquariums up to 1" thick or 1" frame. DO NOT CUT AQUARIUM FRAME.
For larger plastic framed, use the wider Framed Tank Bracket (fits frames up to 1.5” thick.)
Use this dual arm kit for up to 2 fixtures from 24” to 72” in length. We recommend adding an additional
arm bracket and extension arm for 3+ light fixtures (parts available on our website. )
DO NOT PUSH, PULL or BEND bracket arm in any manner while attached to aquarium. Doing so may
cause glass breakage.
ALWAYS disconnect light from power and remove both light and tank mount arms from aquarium when
performing any cleaning or maintenance.
1” Max.
1.5” Max.
F
G
F
G
For rimless aquariums or thin plastic
framed aquariums up to 1in. thick
For thick rimless aquariums or thicker
framed aquariums up to 1.5 in. thick
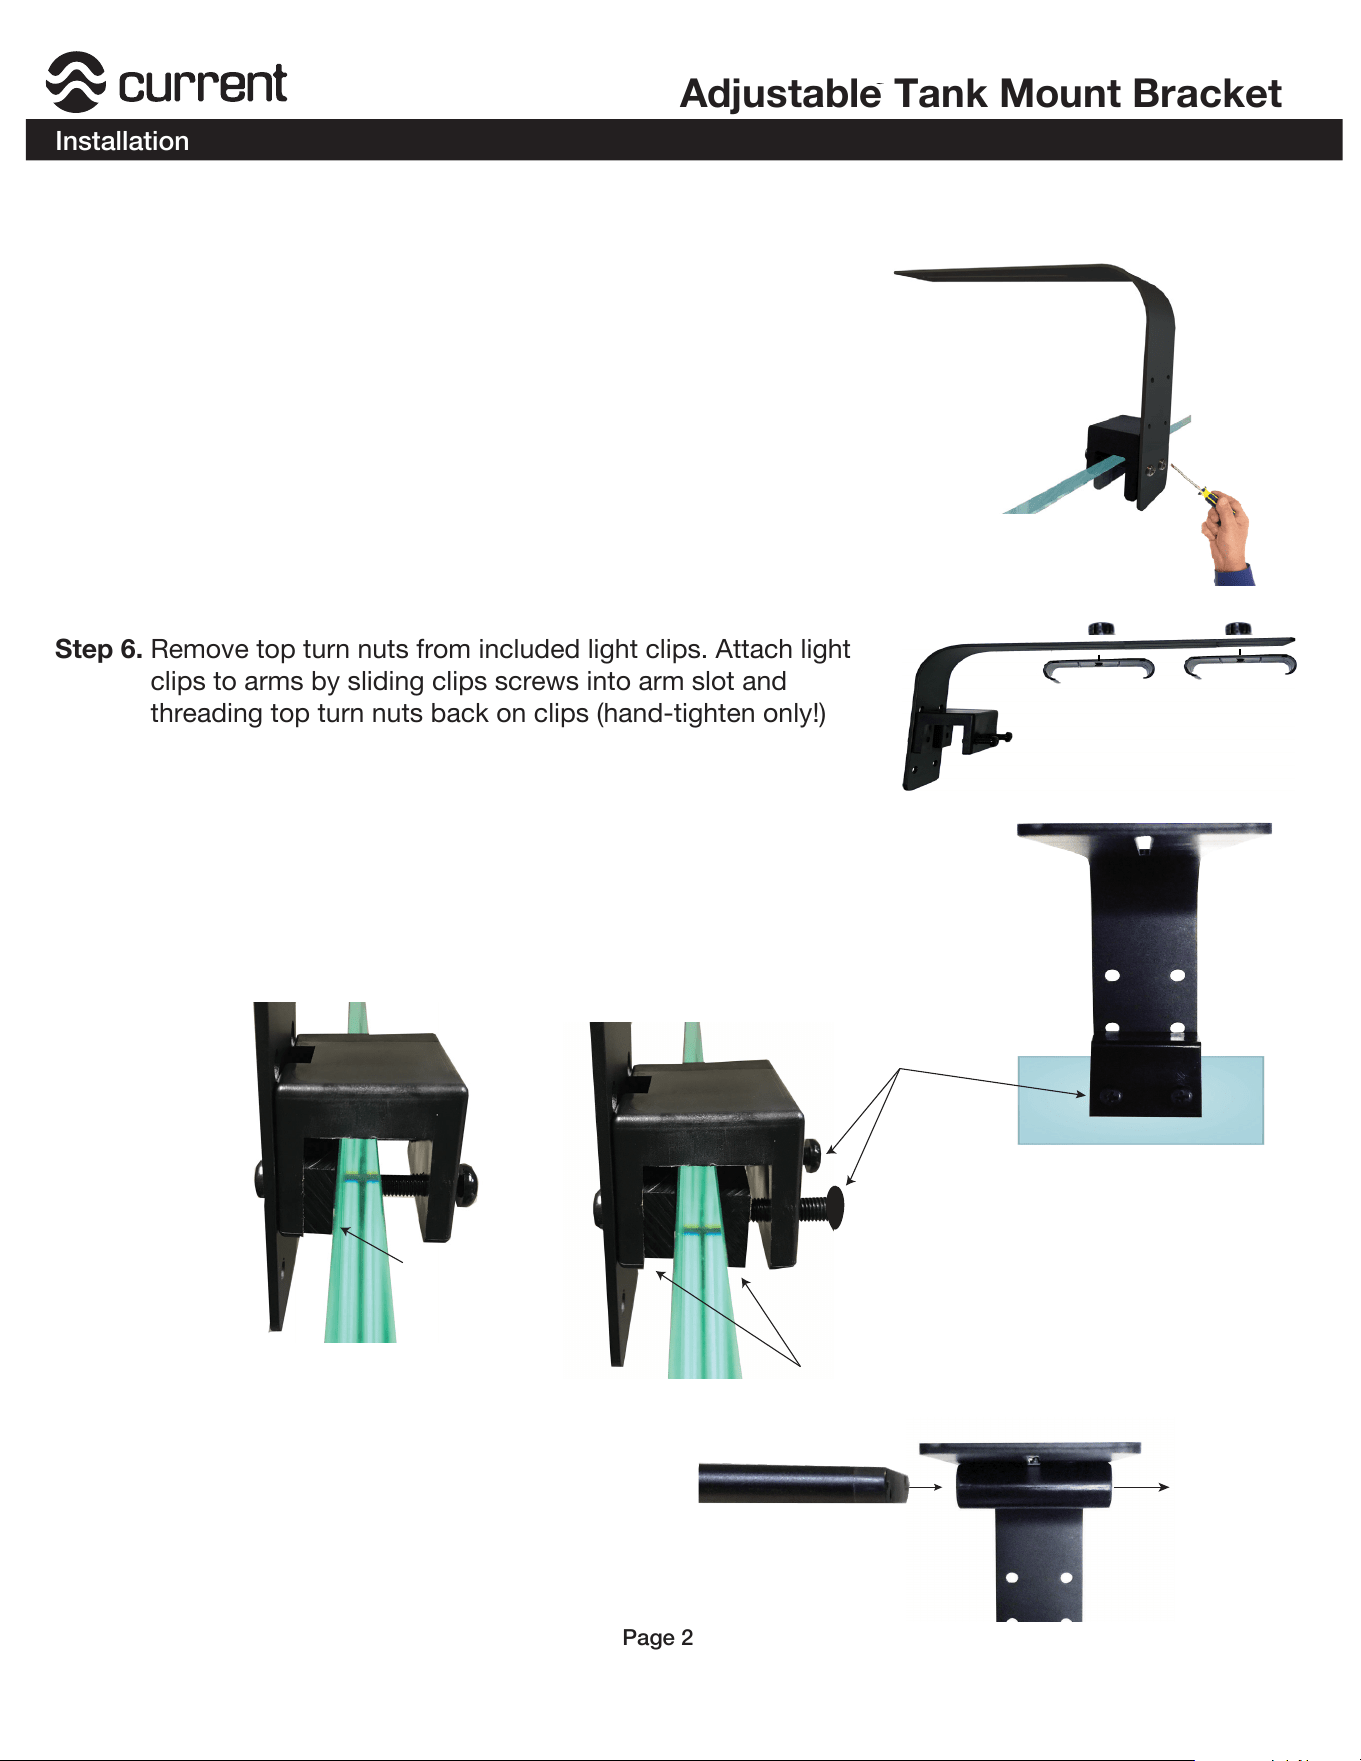
Step 6. Remove top turn nuts from included light clips. Attach light
clips to arms by sliding clips screws into arm slot and
threading top turn nuts back on clips (hand-tighten only!)
Adjustable Tank Mount Bracket
Installation
Page 2
Step 8. Slide light fixture(s) into clip(s) and postion
fixture(s) to acheive the desired light
spread over the aquascape.
Loosen and remove
both light clips
Step 4. Determine bracket mounting height to suspend fixture over aquarium.
Bottom Holes = Suspends fixture ~5"over tank
Middle Holes = Suspends fixture ~6" over tank
Top Holes = Suspends fixture ~7" over tank
Step 5. Attach tank mount bracket to arm using short bracket
screws (C) and screwdriver. Note: If using wider bracket,
ensure to attach bracket with built-in cable channel facing
aluminum arm. Cable channel can be used later to organize
lighting and/or wave pump cables.
Place tank arm bracket in location and hand tighten the inside
tank arm mount screws (D) to fasten the arm bracket to the back
wall of aquarium. If a gap is present, use included shim spacers (E)
by positioning them flat under each arm bracket and attaching
In most applications, only 1 shim is required.
Step 7.
1 Spacer Shim
2 Spacer Shims
NOTE:
Normally, 1 shim spacer is required for
rimless aquariums, 2 Shim Spacers are
recommended for thinner glass aquariums
using wide tank support frames.
Adjust & tighten inner
bracket screws
