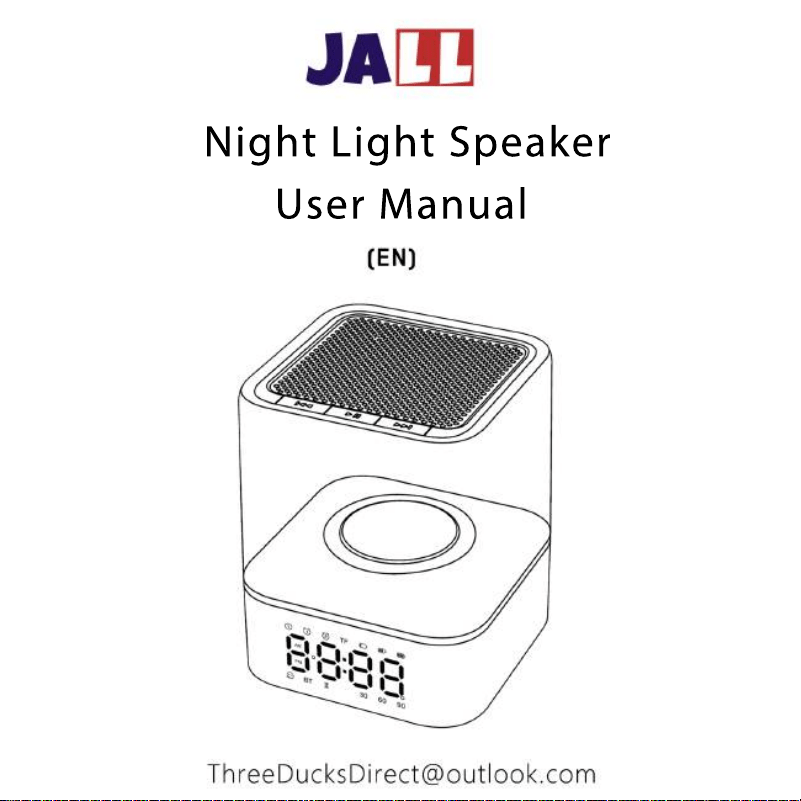
Night Light Speaker
User Manual

1. Product Overview ---------------------------------------- 1-2
2. Parameters ------------------------------------------------ 3
3. Time Setting ------------------------------------------------ 4-5
4. Music Mode ---------------------------------------------- 6-8
5. Alarm Setting ---------------------------------------------- 9-11
6. Snooze & Stop Alarms ------------------------------------ 12
7. Colored Light Setting
7. Colored Light Setting ------------------------------------ 13-14
8. Timer Setting (Fall Asleep Setting) ----------------------- 15
9. Display Brightness ---------------------------------------- 16
10. Instructions -------------------------------------------- 17-18
12. Warranty ------------------------------------------------ 19-20
Contents

1
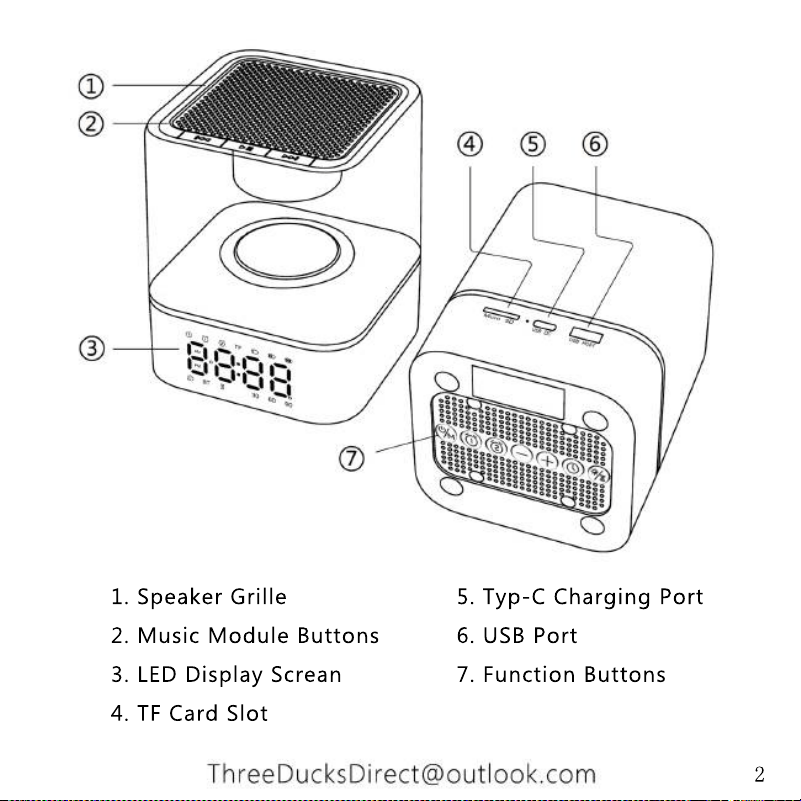
1. Speaker Grille 5. Typ-C Charging Port
2. Music Module Buttons 6. USB Port
3. LED Display Screan 7. Function Buttons
4. TF Card Slot
2

3
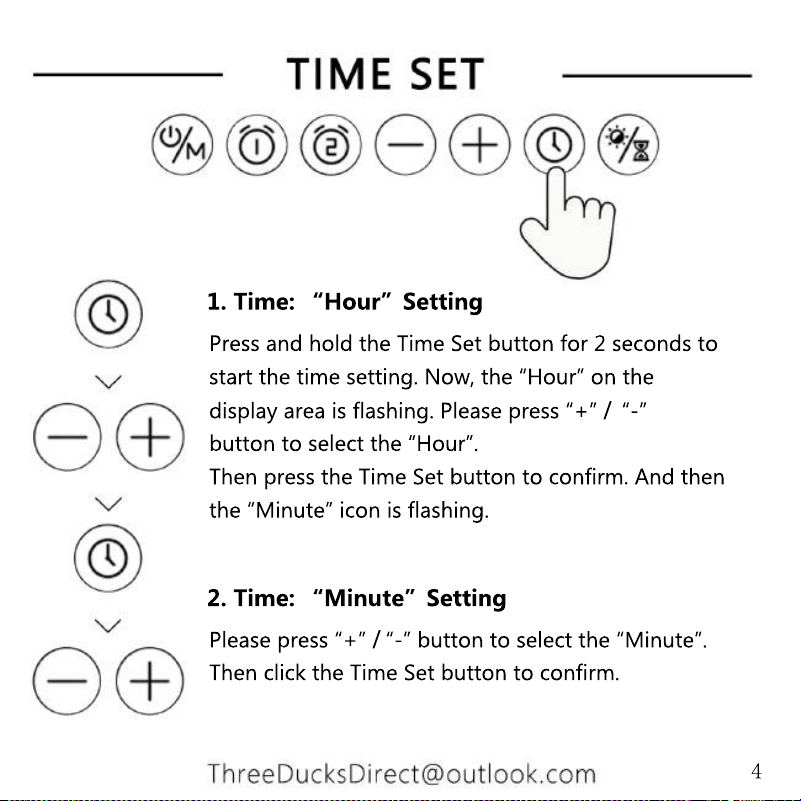
Press and hold the Time Set button for 2 seconds to
start the time setting. Now, the “Hour” on the
display area is flashing. Please press “+” / “-”
button to select the “Hour”.
Then press the Time Set button to confirm. And then
the “Minute” icon is flashing.
1. Time: “Hour”Setting
Please press “+” / “-” button to select the “Minute”.
Then click the Time Set button to confirm.
2. Time: “Minute”Setting
4
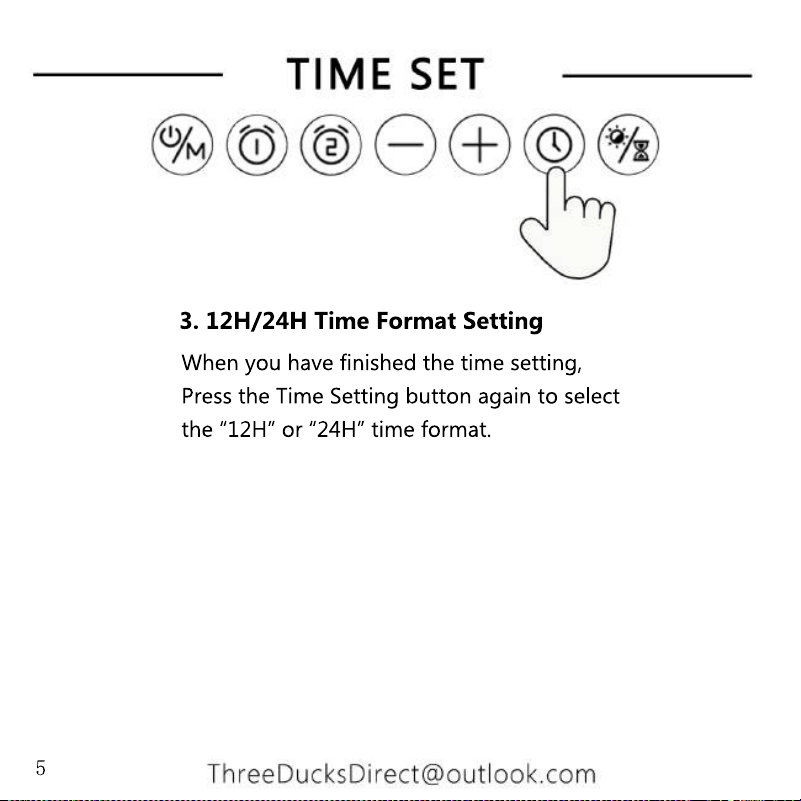
When you have finished the time setting,
Press the Time Setting button again to select
the “12H” or “24H” time format.
3. 12H/24H Time Format Setting
5
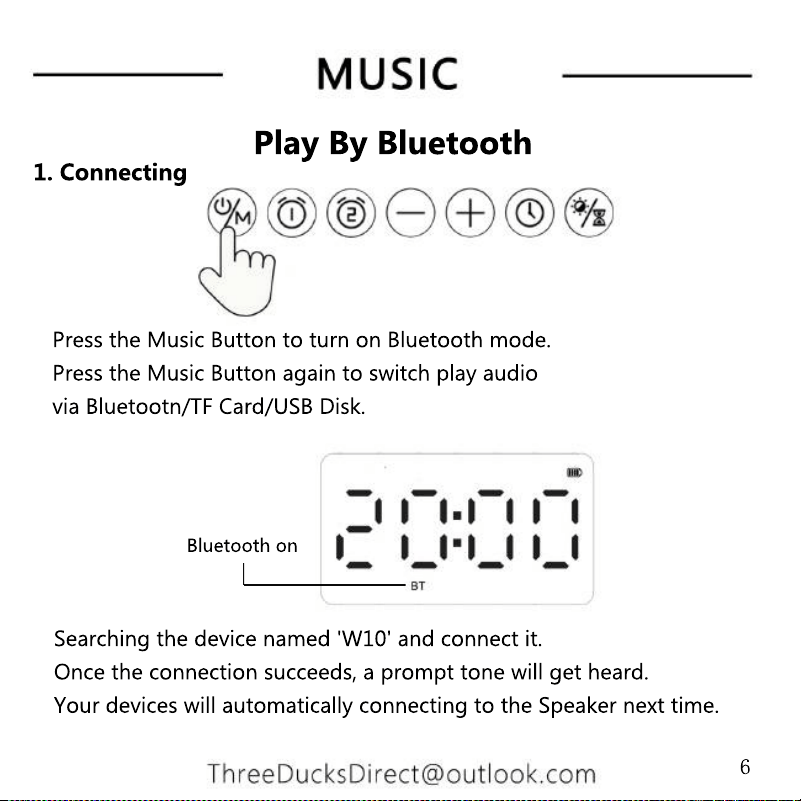
1. Connecting
Bluetooth on
Searching the device named 'W10' and connect it.
Once the connection succeeds, a prompt tone will get heard.
Your devices will automatically connecting to the Speaker next time.
Press the Music Button to turn on Bluetooth mode.
Press the Music Button again to switch play audio
via Bluetootn/TF Card/USB Disk.
Play By Bluetooth
6
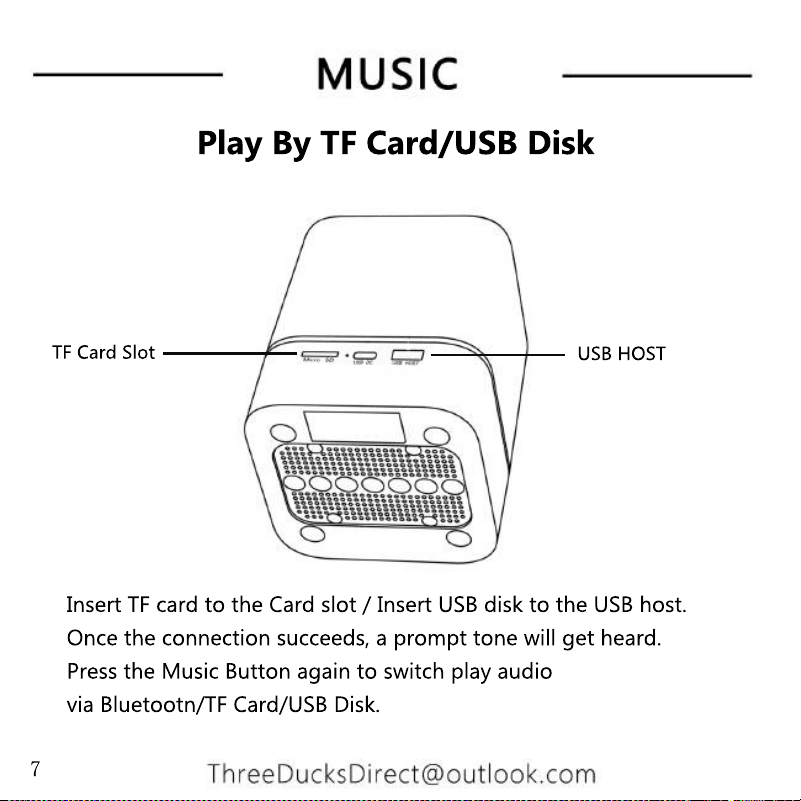
Play By TF Card/USB Disk
Insert TF card to the Card slot / Insert USB disk to the USB host.
Once the connection succeeds, a prompt tone will get heard.
Press the Music Button again to switch play audio
via Bluetootn/TF Card/USB Disk.
USB HOST
TF Card Slot
7
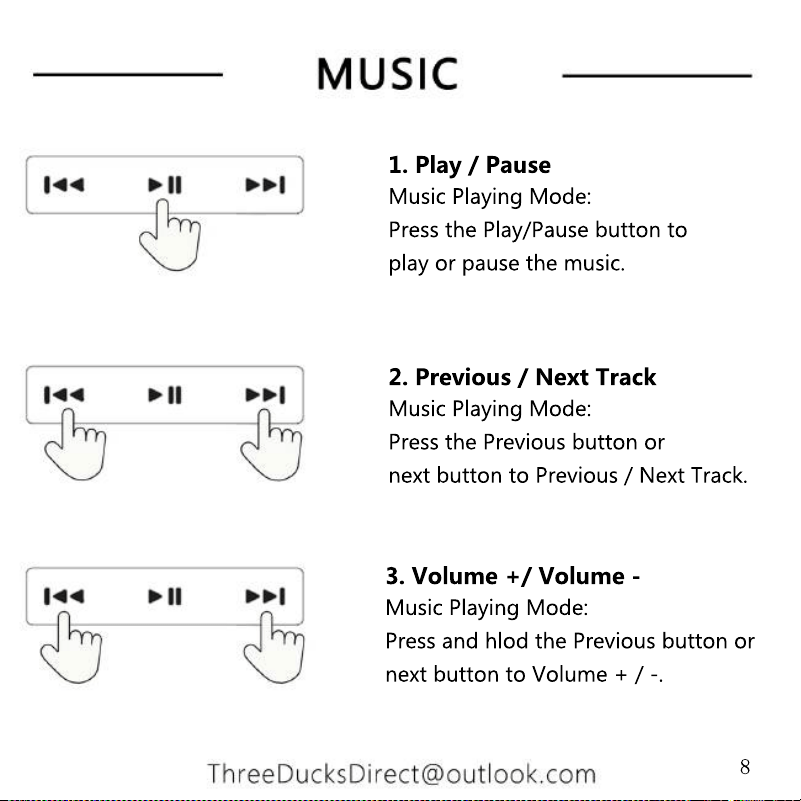
1. Play / Pause
Music Playing Mode:
Press the Play/Pause button to
play or pause the music.
2. Previous / Next Track
Music Playing Mode:
Press the Previous button or
next button to Previous / Next Track.
3. Volume +/ Volume -
Music Playing Mode:
Press and hlod the Previous button or
next button to Volume + / -.
8
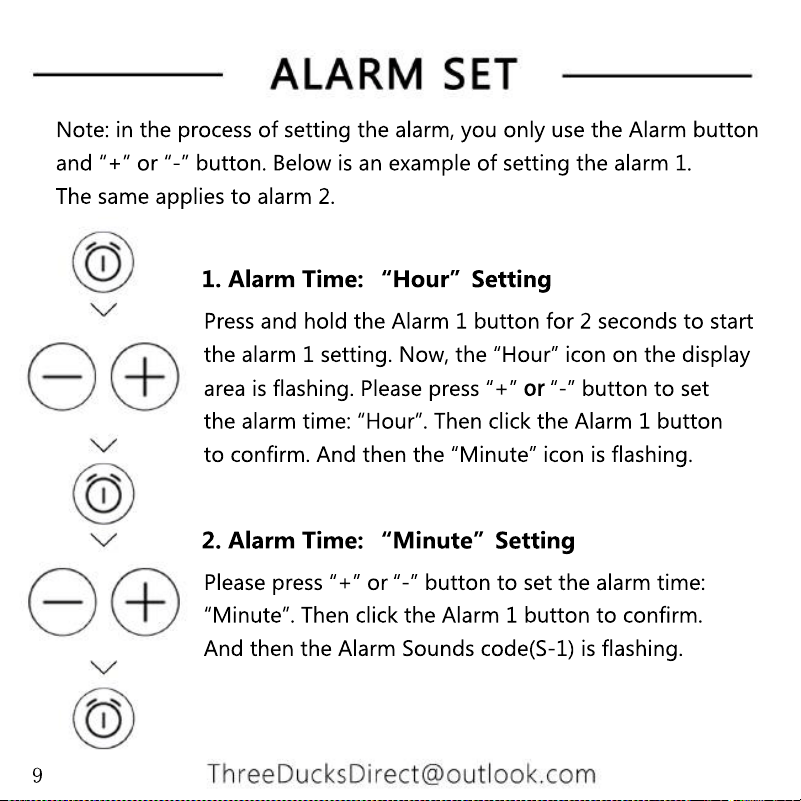
Press and hold the Alarm 1 button for 2 seconds to start
the alarm 1 setting. Now, the “Hour” icon on the display
area is flashing. Please press “+” or “-” button to set
the alarm time: “Hour”. Then click the Alarm 1 button
to confirm. And then the “Minute” icon is flashing.
1. Alarm Time: “Hour”Setting
Please press “+” or “-” button to set the alarm time:
“Minute”. Then click the Alarm 1 button to confirm.
And then the Alarm Sounds code(S-1) is flashing.
2. Alarm Time: “Minute”Setting
Note: in the process of setting the alarm, you only use the Alarm button
and “+” or “-” button. Below is an example of setting the alarm 1.
The same applies to alarm 2.
9
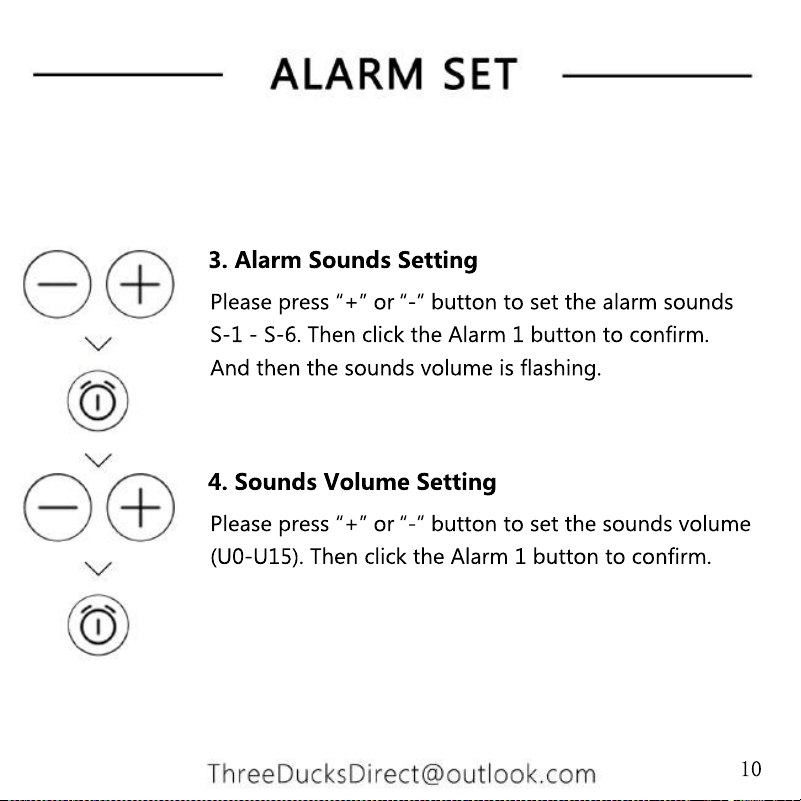
Please press “+” or “-” button to set the sounds volume
(U0-U15). Then click the Alarm 1 button to confirm.
4. Sounds Volume Setting
Please press “+” or “-” button to set the alarm sounds
S-1 - S-6. Then click the Alarm 1 button to confirm.
And then the sounds volume is flashing.
3. Alarm Sounds Setting
10

In the time display status, Press Alarm 1 / 2 button to
turn on / off the alarm.
The indicator light is on, indicating that
the alarm switch is on.
11
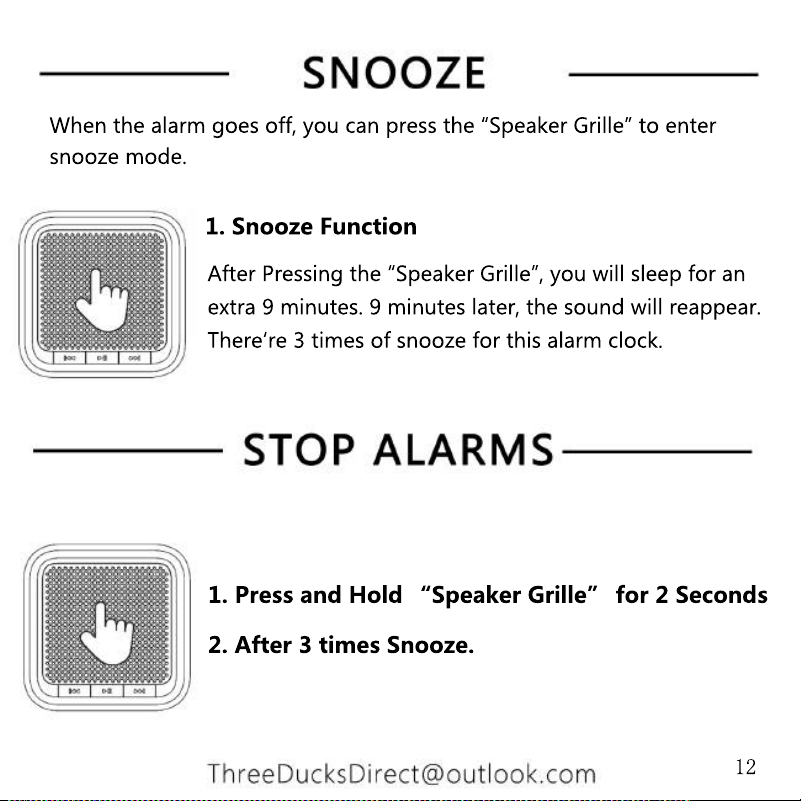
After Pressing the “Speaker Grille”, you will sleep for an
extra 9 minutes. 9 minutes later, the sound will reappear.
There‘re 3 times of snooze for this alarm clock.
1. Snooze Function
2. After 3 times Snooze.
1. Press and Hold “Speaker Grille” for 2 Seconds
When the alarm goes off, you can press the “Speaker Grille” to enter
snooze mode.
12
1. Low Brightness:
The light in this level gives out 30% of brightness.
2. Medium Brightness:
The light in this level gives out 60% of brightness.
3. High Brightness:
The light in this level gives out 100% of brightness.
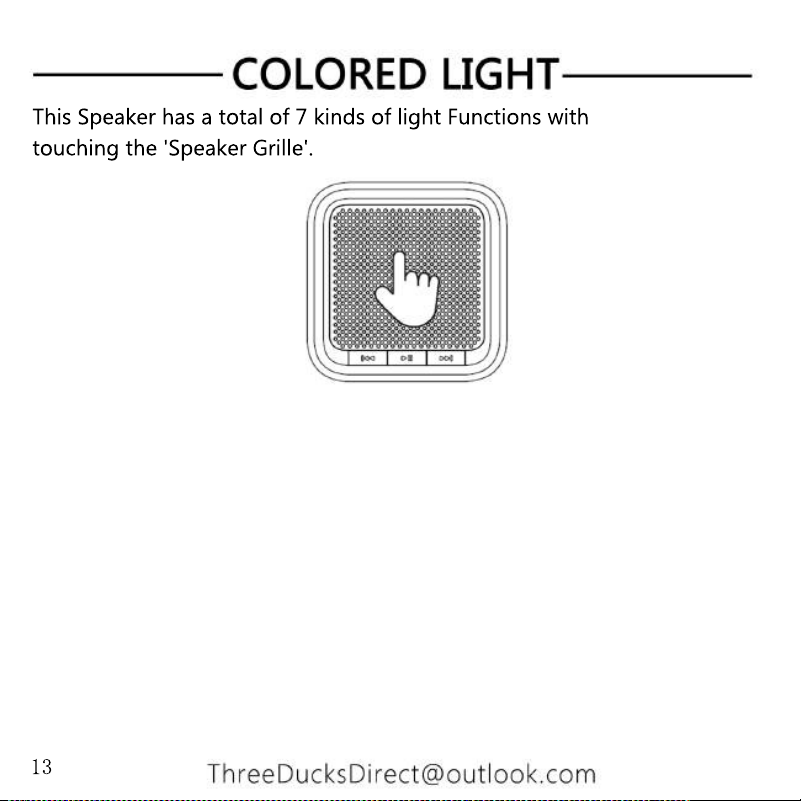
This Speaker has a total of 7 kinds of light Functions with
touching the 'Speaker Grille'.
13
4. Cyclic Color Changing Gradients:
Light of multiple colors keepschanging gradually.
5. Customize The Colored Light:
Base on light mode 4 (Cyclic Color Changing Gradients).
Touch the 'Speaker Grille' once, The light will keep
the color that you select.
6. Cyclic Color Changing mode 2:
6. Cyclic Color Changing mode 2:
The colored light in this mode will keep cycling from
light to dark .
7.Mixed light mode:
The colored light in this mode, Seven mixed color will keep
rotation slowly.
This Speaker has a total of 7 kinds of light Functions with
touching the 'Speaker Grille'.
14
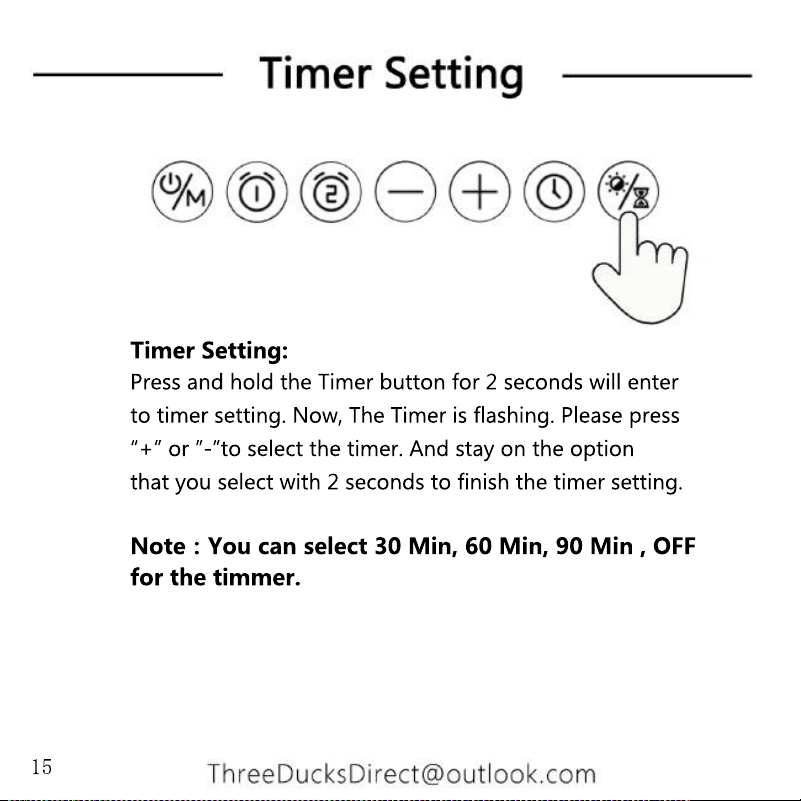
Timer Setting:
Press and hold the Timer button for 2 seconds will enter
to timer setting. Now, The Timer is flashing. Please press
“+” or ”-”to select the timer. And stay on the option
that you select with 2 seconds to finish the timer setting.
Note:You can select 30 Min, 60 Min, 90 Min , OFF
for the timmer.
for the timmer.
15
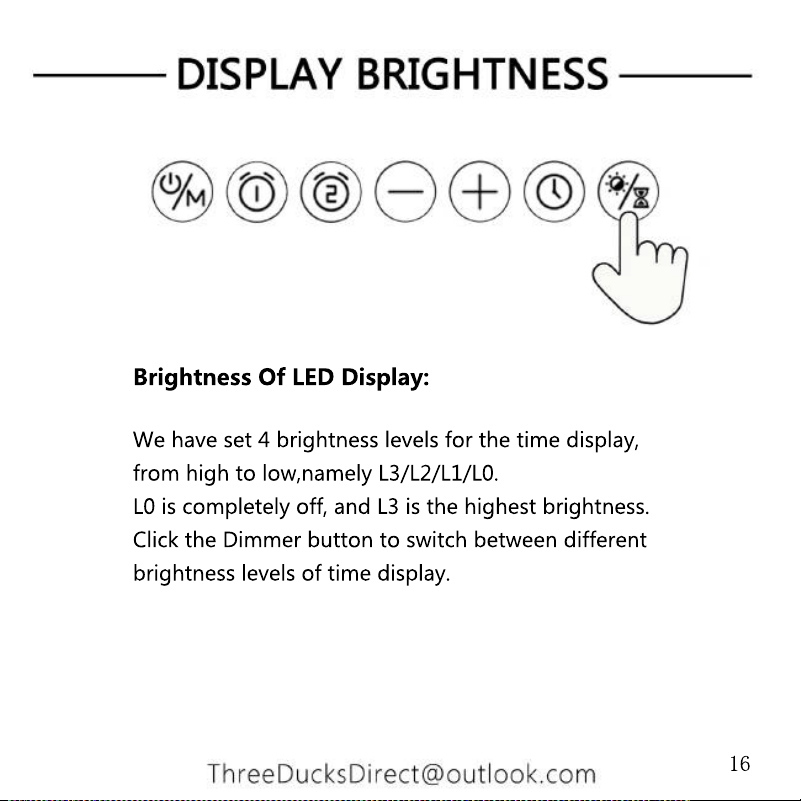
Brightness Of LED Display:
We have set 4 brightness levels for the time display,
from high to low,namely L3/L2/L1/L0.
L0 is completely off, and L3 is the highest brightness.
Click the Dimmer button to switch between different
brightness levels of time display.
16
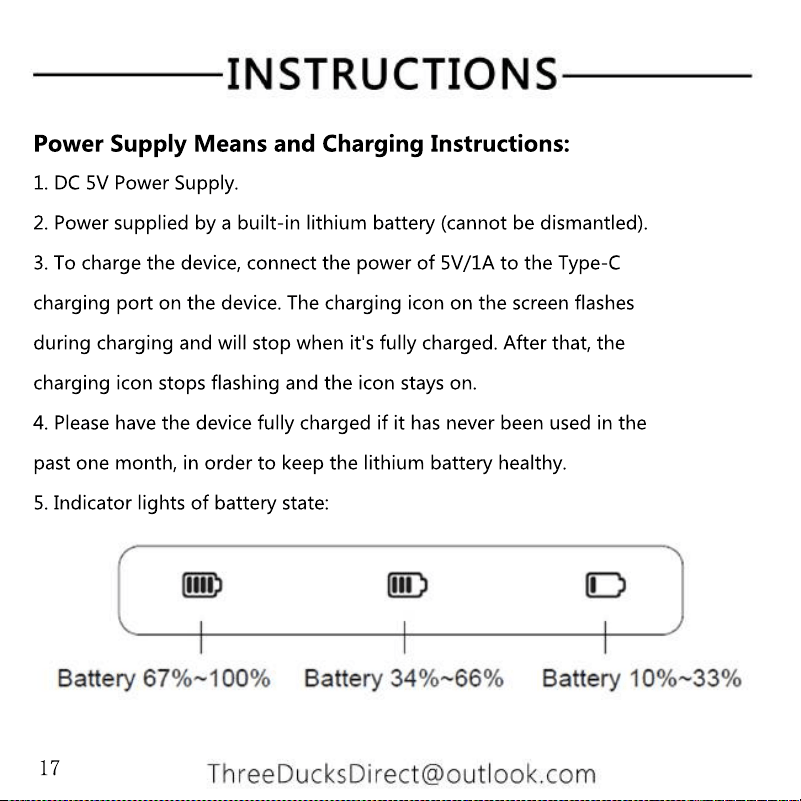
Power Supply Means and Charging Instructions:
1. DC 5V Power Supply.
2. Power supplied by a built-in lithium battery (cannot be dismantled).
3. To charge the device, connect the power of 5V/1A to the Type-C
charging port on the device. The charging icon on the screen flashes
during charging and will stop when it's fully charged. After that, the
charging icon stops flashing and the icon stays on.charging icon stops flashing and the icon stays on.
4. Please have the device fully charged if it has never been used in the
past one month, in order to keep the lithium battery healthy.
5. Indicator lights of battery state:
17
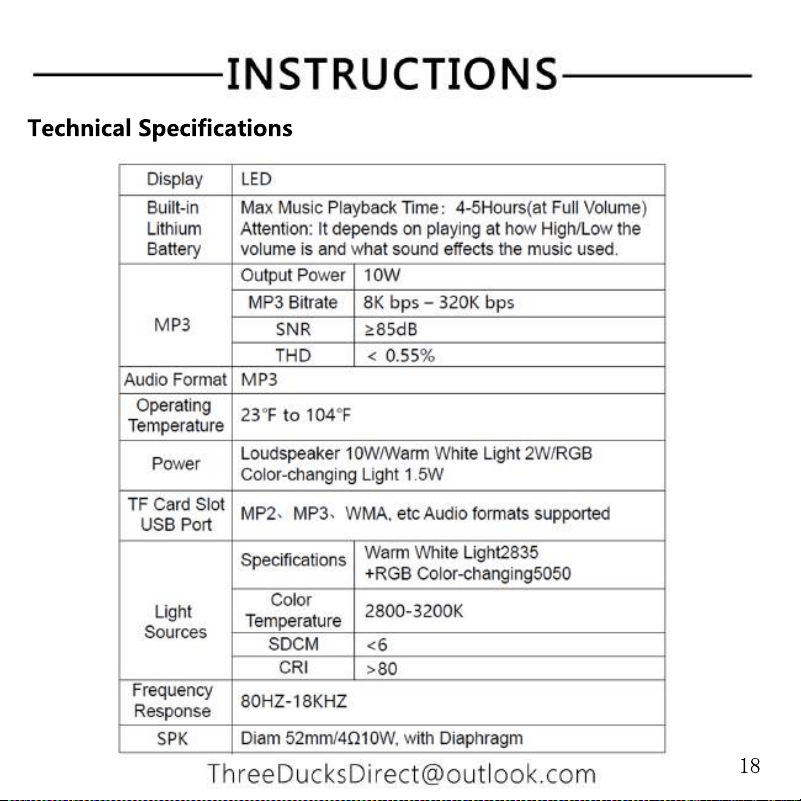
Technical Specifications
18
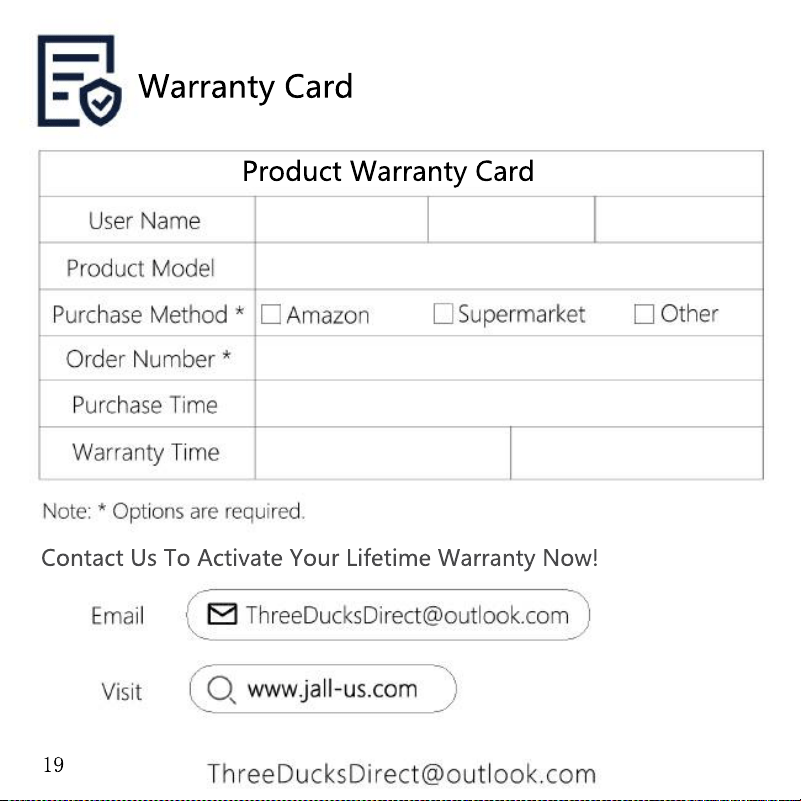
Contact Us To Activate Your Lifetime Warranty Now!
Product Warranty Card
Warranty Card
19