Loading ...
Loading ...
Loading ...
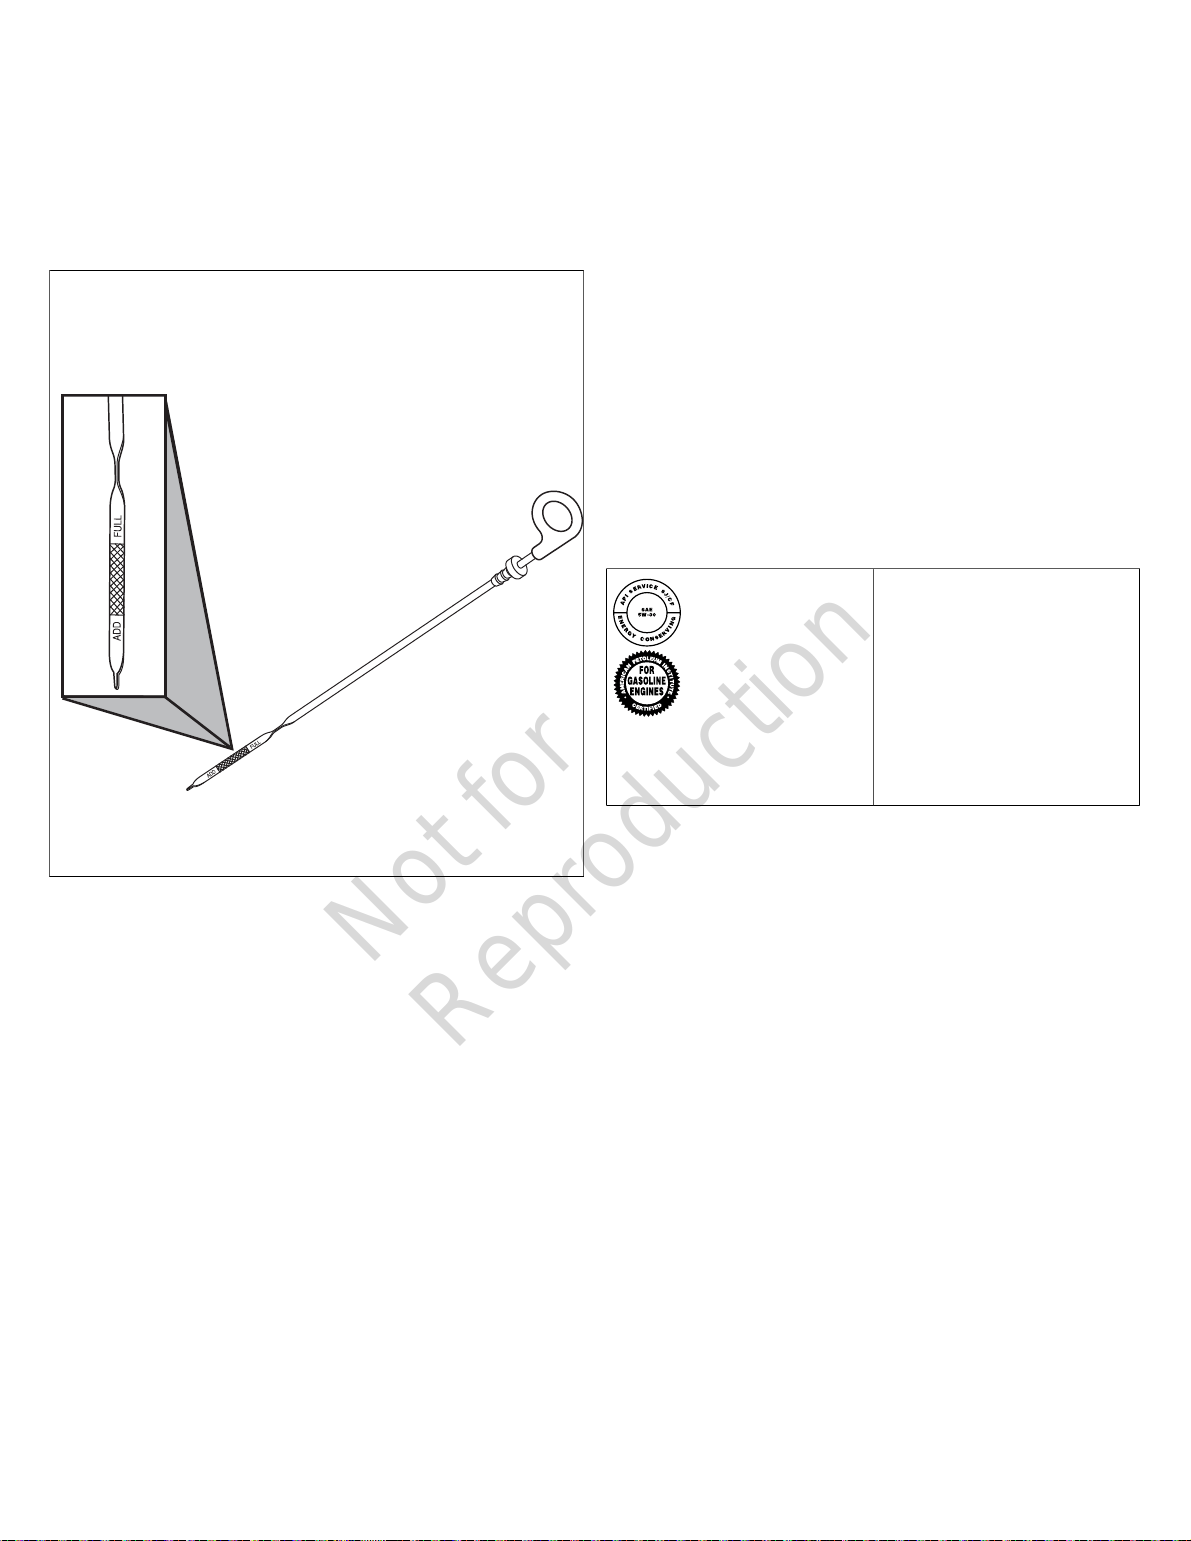
3. Remove the dipstick. Wipe it with a clean cloth or paper
towel. Then, push the dipstick all the way into the dipstick
tube.
4. Remove the dipstick and note the amount of oil on it. The
oil must reach a level between the “ADD” and “FULL”
marks on the dipstick.
5. If the oil level is below the “ADD” mark (Figure 23), install
the dipstick and proceed to the next step.
23
6. Remove the oil filler cap from the valve cover.
7. Add the required amount of oil to bring the level up to
(but not over) the “FULL” mark on the dipstick. Install the
oil fill cap on the valve cover and wipe up any spilled oil.
8. After you do engine maintenance on your generator,
you MUSTdo steps 8–15 in the Servicing the System
section.
Change the Oil and the Oil Filter
NOTICE: Change the oil while the engine is still warm from
operating
1. Before youchange the oil and the oil filter onyour
generator, you MUST do steps 1–6 in the Servicing
the System section andthen continue to step 2 in this
section.
2. Put the oil drain hose into an approved container.
3. Remove the brass fitting from the end of the oil drain
hose.
4. Replace the brass fitting on the hosewhen the oil has
drained.
5. Put an approved container beneath the oil filter area.
6. Remove the oil filter and dispose of it correctly.
7. Before installing a new oil filter, lightly lubricate the oil
filter gasket with fresh and clean oil.
8. Install the oil filter by hand until the gasket contacts the
oil filter adapter, then tighten the oil filter ½ to ¾ turn.
9. Add the required amount of oil to bring the level up to
(but not over) the “FULL” mark on the dipstick. Install the
oil filler cap and wipe up any spilled oil.
10. After youchange the oil and the oil filter onyour
generator, you MUSTdo steps 8–15 in the Servicing the
System section.
Engine Oil
The engine is filled with full synthetic oil (API SJ/CF
5W-30).This oil allows for system operation in the widest
range of temperature and climate conditions.
We recommend the use of Briggs & Stratton
®
SAE 5W-30 full
synthetic engine oil.Other full synthetic high-quality detergent
oils are acceptable if classified for service SJ or higher. Do
not use special additives.
An acceptable oil at all temperatures
includes full synthetic oil that:
• Meets International Lubricant
Specification Advisory Committee
(ILSAC) GF-2 standards
•Carries the API certification mark
•Features an API service symbol
with “SJ/CF energy conserving” or
higher
Using full synthetic oil does not alter
the required oil change intervals
described in the Operation section.
Adjust Valve Clearance
The valve lash must be checked every 100 hours of
operation. Measure the valve clearance with the engine cold.
To adjust the valve clearance, do the steps that follow:
1. Before youadjust the valve lash onyour generator, you
MUST do steps 1–6 in the Servicing the System section
andthen continue to step 2 in this section.
2. Remove both spark plugs to ease manual rotation of
engine crankshaft.
3. Turn crankshaft counterclockwise until the piston is at
Top Dead Center on the compression stroke.
4. Set the No. 1 cylinder at ¼” (6mm) past Top Dead Center
(TDC) on the compression stroke.
5. Using a feeler gage (A, Figure 24), measure the valve
clearance.
6. For proper valve clearance for both the intake and
exhaust see Engine Specifications Section.
7. Adjust the clearance by loosening the lock nut (B), then
turn the adjusting screw (C).
8. Once the clearance is properly set, hold the adjusting
screw while torqueing the lock nut to 70 in-lbs (8Nm).
9. Repeat these steps for cylinder No. 2.
28 BRIGGSandSTRATTON.COM
Not for
Reproduction
Loading ...
Loading ...
Loading ...