Loading ...
Loading ...
Loading ...
After Sales Support
(AU) 1300 886 649 (NZ) 0800 836 761 | tempo.org/support
27
Other Useful Information
Cleaning and maintenance
Keeping your heat pump dryer in good, clean condition will prolong its service life.
WARNING!
• Before cleaning or maintaining any part of the dryer, make sure it has cooled
down and is unplugged from the power supply.
• Never spray water directly onto the dryer to clean it.
• Never use benzene, thinner, alcohol or acetone to clean any part of the dryer.
Doing so may cause discoloration, deformation, damage, electric shock or fire.
Cleaning the control panel
Use a dry, lint-free cloth to remove any moisture that may have accumulated on the
control panel or door during the drying cycle. Use a soft, damp cloth for general
cleaning. Do not use abrasive substances. Do not spray cleaners directly on the panel.
The control panel finish may be damaged by some laundry pretreatment and stain
remover products. Always apply such products away from your dryer and wipe up any
spills or overspray immediately.
Cleaning the stainless steel drum
Do not use any type of spray cleaner when cleaning the drum. Use a damp cloth only,
making sure it is not too wet. If the dryer drum has become stained, clean it with a
damp cloth and a mild, non-abrasive cleaner suitable for stainless steel surfaces. Make
sure to remove any cleaner residues thoroughly. Dry the drum with a clean cloth. Leave
the appliance door open after cleaning to ensure the drum can air dry completely.
Cleaning the door and exterior dryer surfaces
Clean the interior parts of the door periodically to remove any fluff. Accurate cleaning
ensures correct drying. The dryer’s exterior surfaces have a high-gloss finish. Clean the
surfaces with a soft dry or damp cloth. Do not use abrasive substances. Protect the
surfaces from sharp objects as they may scratch or
damage the finish. Do not place any heavy or sharp
objects or a detergent box on the dryer.
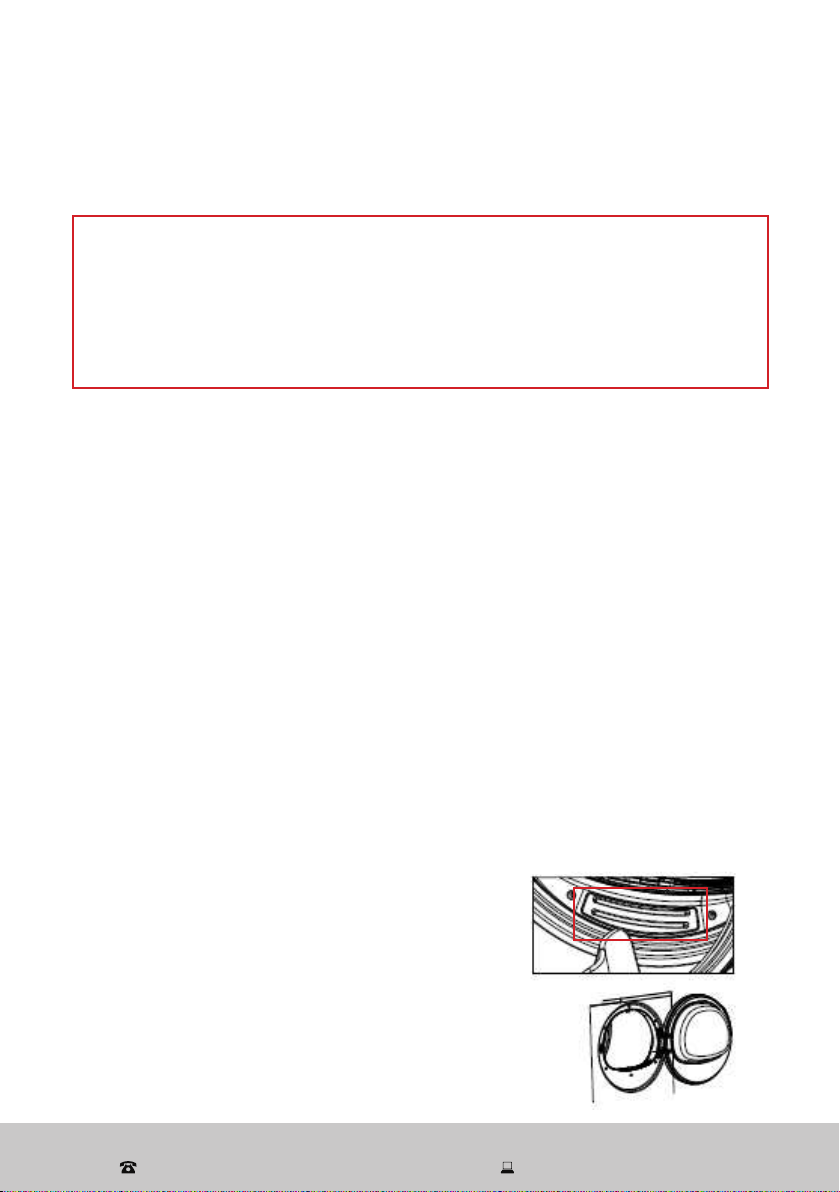
Cleaning the humidity sensor
The humidity sensor is an essential part in the automat-
ic drying process. It is located in the door rim, as pic-
tured (Fig. 10). In order to maintain its effectiveness, the
sensor must be kept clean and any calcium residues
removed which may have accumulated on the surface.
Remove any calcium and other water residues from the
humidity sensor, if necessary using a nylon scouring
pad or similar. Then use a soft cloth to wipe it clean.
Fig. 10
Loading ...
Loading ...
Loading ...