Loading ...
Loading ...
Loading ...
10
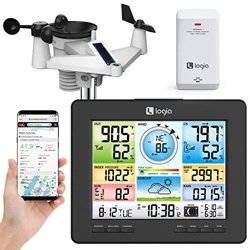
SETTING UP RAIN COLLECTOR
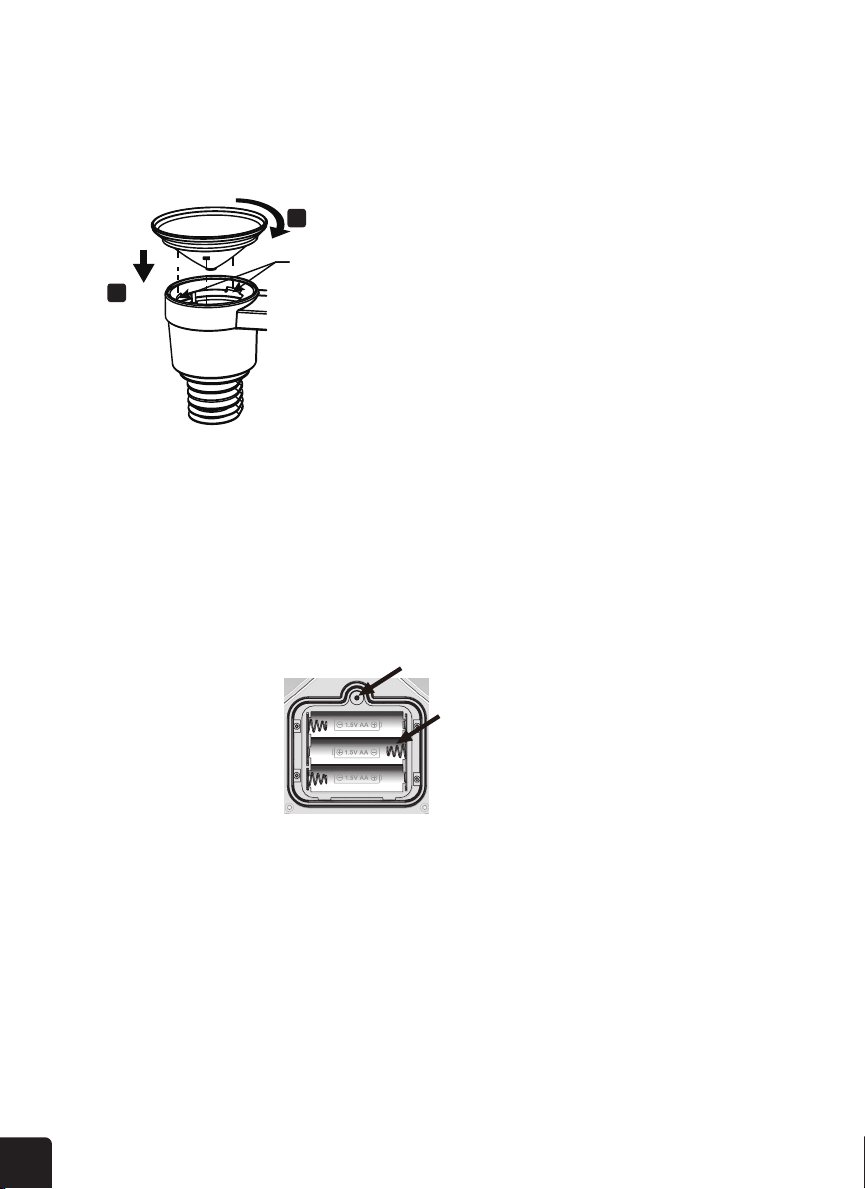
INSTALLING THE BATTERIES
MOUNTING SENSOR ON POLE
1. Align the notches on the funnel with the lock grooves inside the rain collector.
2. Insert the funnel in the rain collector and screw on tight to lock it in place.
1. Unscrew the battery door at the bottom of the 7-in-1 outdoor sensor.
2. Insert three (3) AA batteries (not included) according to the +/- polarity labeled in the compartment.
3. Screw the battery door back onto the compartment.
NOTE: The LED light will ash red every 12 seconds.
1. Pick a location for the 7-in-1 outdoor sensor that is open with no obstructions.
2. Set the sensor so the rain collector faces north and UV/light sensor faces south.
3. Secure the sensor onto a mounting post or pole (not included) using the mounting clamp (included).
4. Add rubber pads onto mounting clamp before fastening the mounting clamp on the sensor.
5. Tighten the mounting clamp using included screws onto the bottom of the sensor once it is on a pole.
NOTE: Place sensor on a steel pole or post with a 1.4″ – 1.6″ (35 – 40 mm) diameter and is a
minimum of 6.6 ft. (2 m) o the ground.
1 Align
Lock grooves
2 Lock
The red LED will begin ashing every 12 seconds.
to a 35 ~ 40mm diameter steel post or pole, and
Unscrew the battery door at bottom of unit and insert the batteries
The red LED will begin ashing every 12 seconds.
Screw
location
3 x AA
batteries
to a 35 ~ 40mm diameter steel post or pole, and
1
2
Loading ...
Loading ...
Loading ...