Loading ...
Loading ...
Loading ...
21
Using your device
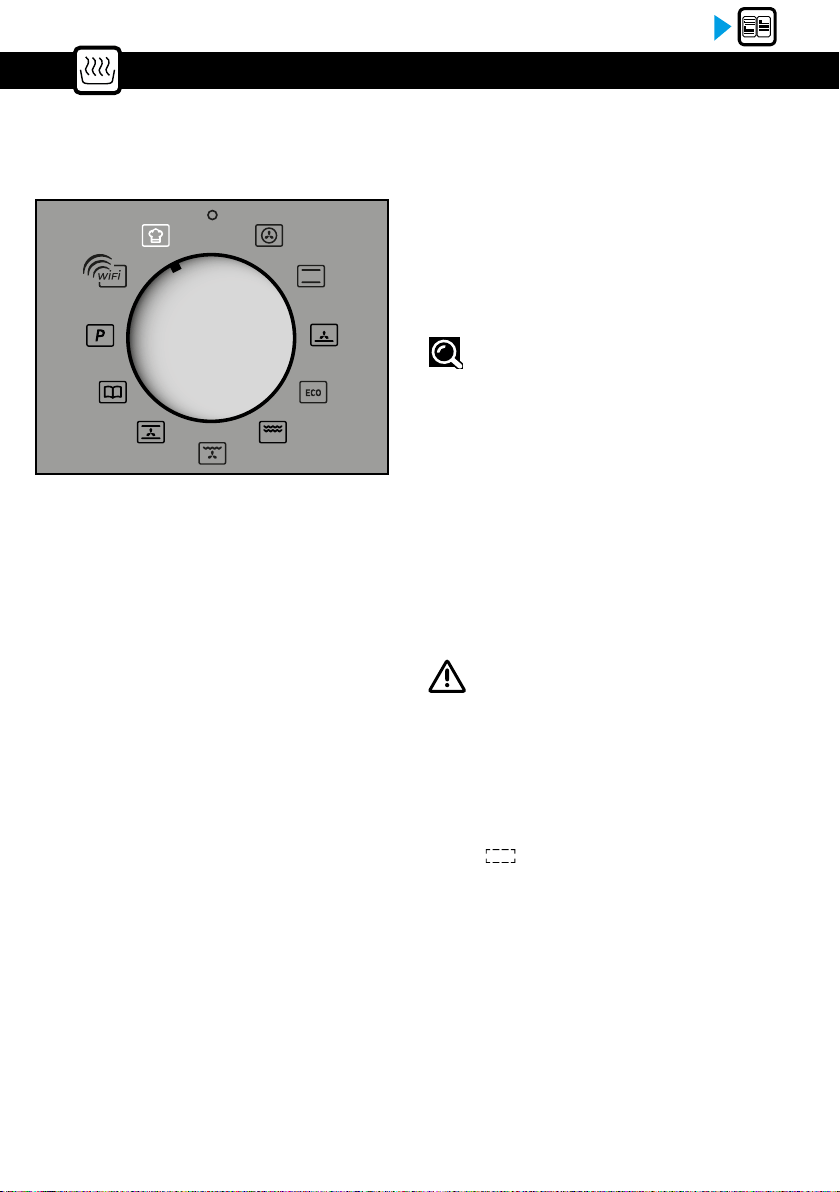
AUTO COOK FUNCTION
The Auto Cook function will make your task
completely easier since the oven will automatical-
ly calculate all the cooking parameters according
to the selected dish (temperature, cooking time,
type of cooking) thanks to electronic sensors
placed in the oven which constantly measure the
humidity level and temperature variation.
Select your dish using the + and - keys.
Once the dish has been selected, conrm with OK.
You can change the end time of
cook before baking your dish at the required shelf
level.
- Conrm by pressing the OK button to
start cooking.
This cooking method is carried out in 2 phases:
1. A research phase during which the
oven begins to heat and will determine the ideal
cooking time. This phase lasts
between 5 and 40 minutes depending on the dish.
Advice :
No preheating is necessary to use the Auto
Cook function. Cooking MUST start cold
oven. It is necessary to wait for complete
cooling before performing a second cooking.
- Turn the knob to the Auto Cook function.
The oven oers a choice of 12 dishes:
Fish
Roast beef
Pizza
Pink lamb
Breath
Stued vegetables
Roast pork
Chicken
Salty Tart
Sweet pie
Cookies
Cake
Important:
Do not open the door during this phase so as
not to disturb the calculation and data recor-
ding. This search phase is represented by the
symbol next to the cooking time.
2. A second cooking phase:
the oven has determined the time required, the
symbol
disappears. The remaining time in-
dicated takes into account the cooking time of the
rst phase. You can now open the door, for exa-
mple to water the roast.
- The oven switches o when the cooking time
is nished and your screen indicates that the dish
is ready.
End of cooking time:
- Select the End time function and change the end
of cooking time.
Loading ...
Loading ...
Loading ...