
Loading ...
Loading ...
Loading ...
Remote Edit Mode
0
This mode enables the list display and editing of
the recorded clip data through access to the clip
list display page via a web browser on a
smartphone, tablet terminal, or PC.
0
When you access via a web browser on a
smartphone, tablet terminal, or PC, “It is
necessary to change the camera mode to
"Remote Edit Mode". Change the mode.”
appears on the web browser. Also, “Change to
Remote Edit Mode?” is displayed on the display
screen of the camera unit.
Selecting [Change] on the camera recorder and
pressing the Set button switches to the Remote
Edit mode, and enables display of the clip list
and editing of the clip metadata.
(A P184 [ Clip Metadata ] )
(A P187 [Uploading a Recording Clip via a Web
Browser] )
Turning Off the Power
Sets the camera recorder to the recording standby
or stop mode.
1
Set the [POWER ON/OFF] switch to “OFF”.
2
Remove the battery and the power to the
[DC INPUT] terminal (when not in use for a
long time).
Memo :
0
The [POWER ON/OFF] indicator lamp lights up
in green when the camera recorder is shutting
down, and turns off when shutdown is complete.
Caution :
0
Do not set the [POWER ON/OFF] switch to
“OFF” during recording. Check that the
operation mode display is “STBY” or “STOP”
before you turn off the power.
0
If you have mistakenly set the [POWER ON/
OFF] switch to “OFF” during recording, wait for
5 seconds or more before you turn on the power
again.
0
When turning off the power, first set the
[POWER ON/OFF] switch of the camera
recorder to “OFF”. Do not remove the battery or
turn off the power of the AC adapter while the
[POWER ON/OFF] switch is set to “ON”.
Initial Settings
When the power is first turned on, the Initial Setting
screen for performing the initial settings in the
camera recorder appears.
Set the date/time of the built-in clock in the [Initial
Setting] screen.
All operations are disabled until initial settings are
complete.
.
Memo :
0
It is recommended to use the AC adapter as the
power supply.
0
Be sure to close the lens cover.
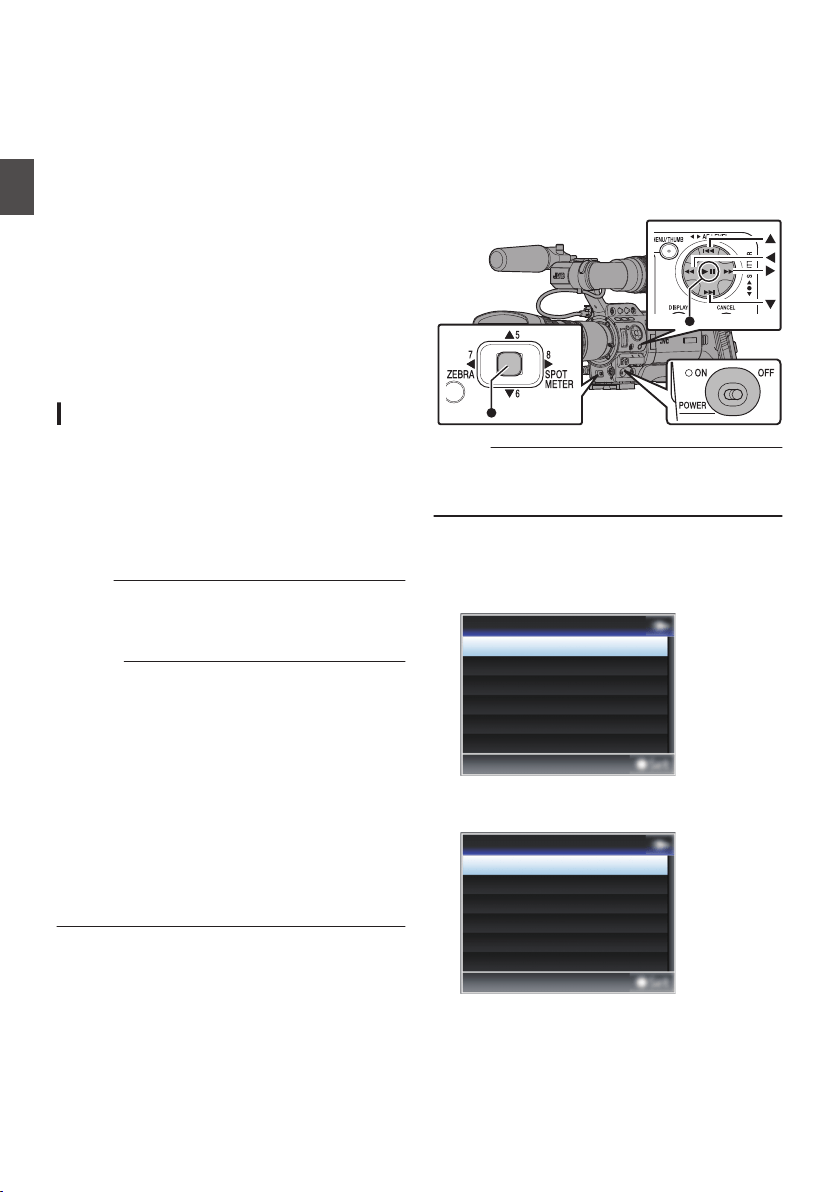
1
Set the [POWER ON/OFF] switch to “ON”.
A language selection screen appears.
0
For U models
.
Español
Français
English
Language
0
For E models
.
Pусский
Español
Italiano
Deutsch
Français
English
Language
34
Turning On/Off the Power
Preparations
Loading ...
Loading ...
Loading ...