Loading ...
Loading ...
Loading ...
©YEN
* N EVER place excesswe weight on or
stand on an open oven door. This
could cause the range to tip over.
break the door. or unjure the user.
* NEVER atzempt to open or close
door or operate oven until door ns
properly replaced.
- NEVER place fingers between hinge
and front oven frame. Hinge arms are
spring mounted. If accidentaib hit. the
hinge will slam shut against oven frame
and could injure your fingers.
TO REMOVE:
1o When cool, open the oven door m the
broil stop position (opened about four
inches).
2. Grasp door at each side. Do not use the
door handle to lift door.
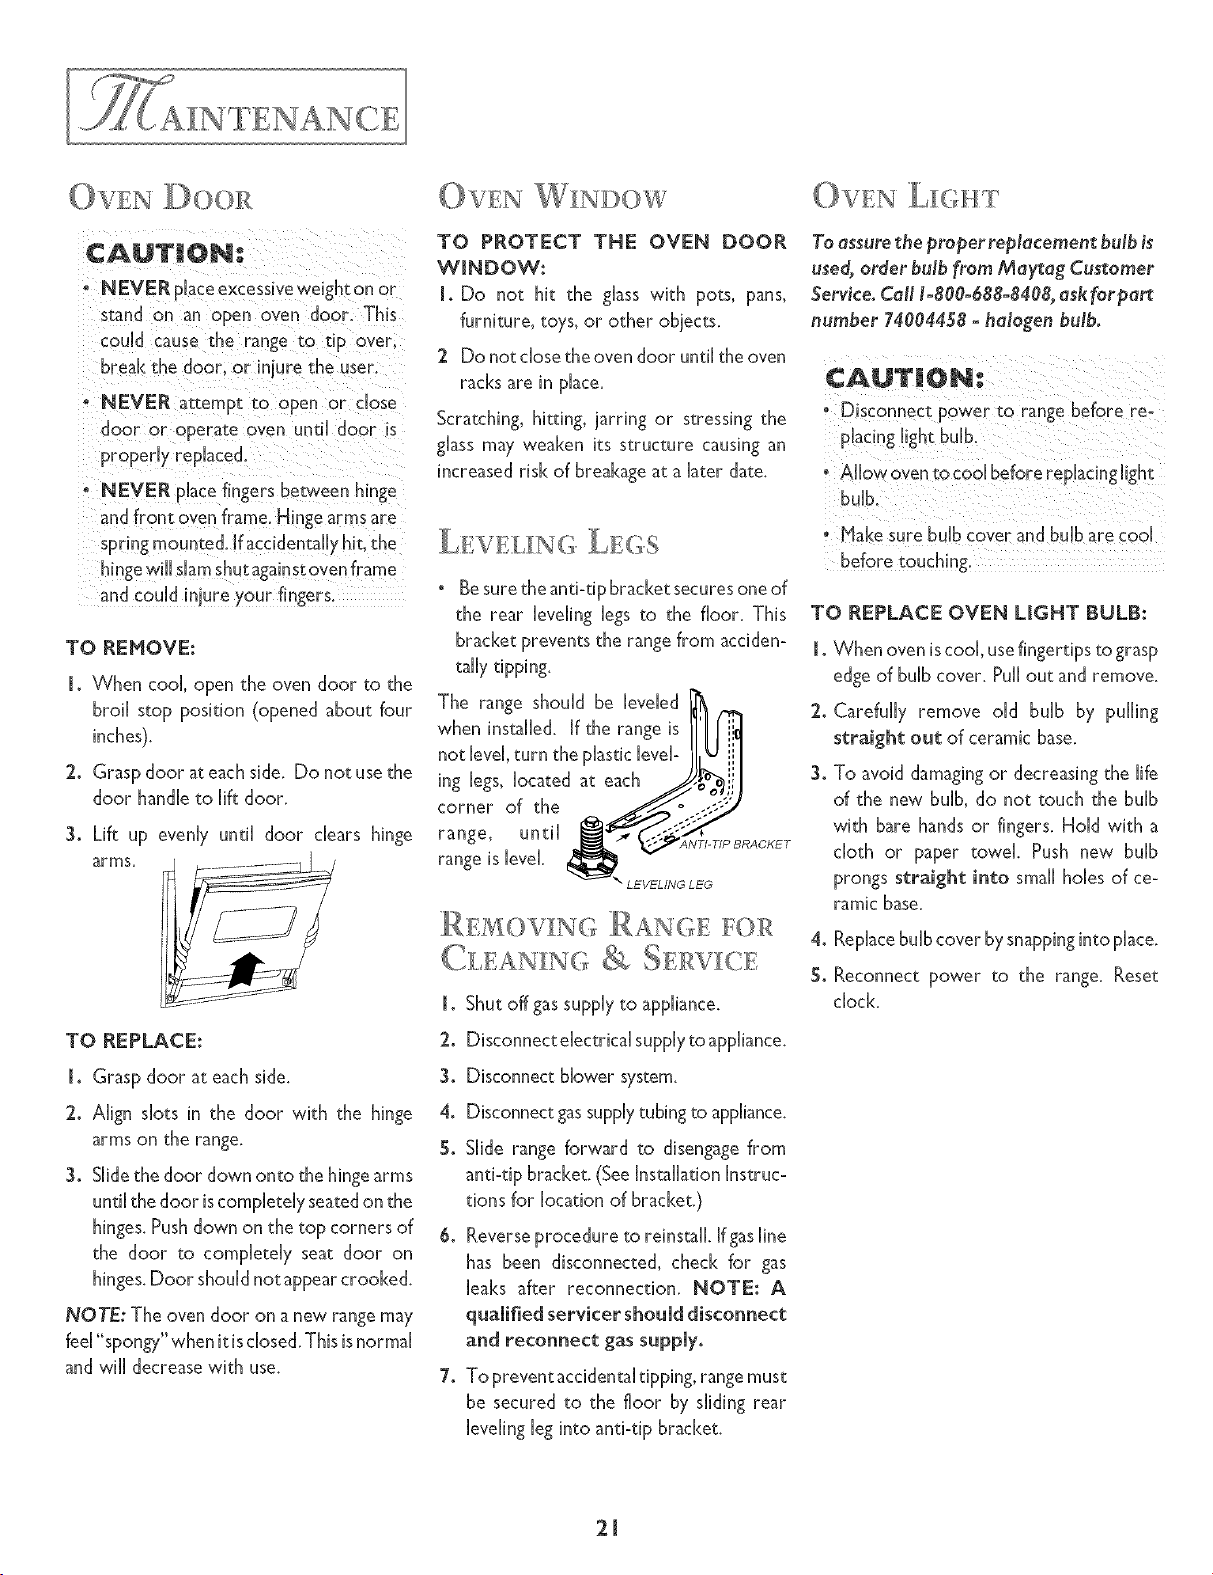
3o Lift up evenly until door dears hinge
arms.
TO REPLACE:
l o Grasp door at each side.
2. Align slots in the door with the hinge
arms on the range.
3o Slidethe door down onto the hingearms
until the door iscompletely seatedon the
hinges.Pushdown on the top corners of
the door to completely seat door on
hinges.Door should not appear crooked.
NOTE: The oven door on a new rangemay
fee["spongy" when it isdosed. This isnormal
and will decreasewith use.
©WEN W NDOW
TO PROTECT THE OVEN DOOR
WINDOW:
[. Do not hit the glass with pots, pans,
furniture, toys, or other obiects.
2 Do not closethe oven door until the oven
racks are inplace.
Scratching, hitting, iarring or stressing the
glass may weaken its structure causingan
increased risk of breakage at a later date.
LE(:;S
° Be sure the anti-tip bracket secures one of
the rear leveling legs m the floor. This
bracket prevents the range from acciden-
tally tipping.
The range should be leveled [J_
when installed. [f the range is II'll[ iid
notlevel,turntheplasticlevel-)ILu [[I
legs,locatedateachJ #" iil
corner of the /_° ..-.'-"J
range, until
_" "._,"f ANTI-T/P BRAOKET
range is level,
_" LEVELING LEG
REJV_OV_N/........... (::,RANGE FO]:{
CLEANING &. SERV;gCE
l o Shut offgas supply to appliance.
2. Disconnecte[ectrica[ supp[ytoapp[iance.
3o Disconnect blower system.
4. Disconnect gas supply tubing m appliance.
5o Slide range forward to disengage from
anti-tip bracket. (See Installation Instruc-
tions for location of brackeQ
6o Reverse procedure m reinstall. Ifgas line
has been disconnected, check for gas
leaks after reconnection. NOTE; A
qualified servicer should disconnect
and reconnect gas supply°
7o To prevent accidental tipping, range must
be secured to the floor by sliding rear
leveling leg into anti-tip bracket.
{)VEN L_(:;]t/F
To assure the proper replacemen_ bulb is
used, order bulb from May_ag Customer
Service. CaN 1-800-688-8408, ask for par_
number 74004458 = halogen bulbo
CAUTION.
, Disconnect power to range before rer
p!acing light bulb,
* Hake Sure bulb cove_ and bulb are cool
TO REPLACE OVEN UGNT BULB:
l oWhen oven is cool usefingertips m grasp
edge of bulb cover. Pull out and remove.
2. Carefully remove old bulb by pulling
straight out of ceramic base.
3. To avoid damagingor decreasingthe life
of the new bulb, do not touch the bulb
with hare hands or fingers. Hold with a
cloth or paper towel. Push new bulb
prongs straight into small holes of ce-
ramic base.
4. Replace bulb cover by snapping into place.
5o Reconnect power to the range. Reset
clock.
2[
Loading ...
Loading ...
Loading ...