Loading ...
Loading ...
Loading ...
27
EN
Preparation
1
Initial setup
After turning the camera on for the fi rst time, perform the initial setup by choosing a
language and setting the camera clock.
• Date and time information is recorded on the card together with the images.
• The fi le name is also included with the date and time information. Be sure to set the
correct date and time before using the camera. Some functions cannot be used if the date
and time have not been set.
1
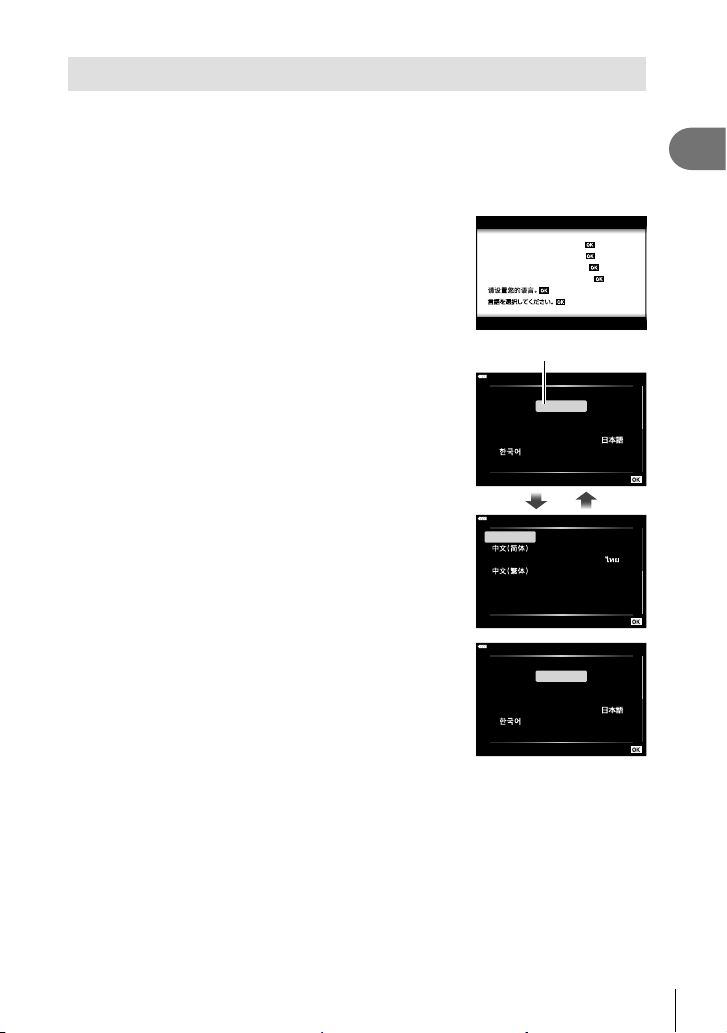
Press the Q button when the initial setup dialog is
displaying prompting you to choose a language.
Please select your language.
Por favor, selecciona tu idioma.
Veuillez choisir votre langue.
Bitte wählen Sie Ihre Sprache.
2
Highlight the desired language using the front or
rear dial or the FGHI buttons on the arrow pad.
• The language-selection dialog has two pages of
options. Use the front or rear dial or the FGHI
buttons on the arrow pad to move the cursor between
pages.
W
Hrvatski
Dansk
Eesti
Deutsch
Indonesia
Norsk
ýHVN\
English
Suomi
ǼȜȜȘȞȚțȐ
Italiano
Latviski
Polski
Ȼɴɥɝɚɪɫɤɢ
Nederlands
Français
0DJ\DU
/LHWXYLǐN
Português(Pt)
Set
Cursor
W
Romanian
Español
Viet Nam
Ɋɭɫɫɤɢɣ
Slovensky
Svenska
Türkçe
Srpski
6ORYHQãþLQD
ɍɤɪɚʀɧɫɶɤɚ
Setare
3
Press the Q button when the desired language is
highlighted.
• If you press the shutter button before pressing the Q
button, the camera will exit to shooting mode and no
language will be selected. You can perform the initial
setup by turning the camera off and then on again to
display the initial setup dialog and repeating the process
from Step 1.
W
Set
Hrvatski
Dansk
Eesti
Deutsch
Indonesia
Norsk
ýHVN\
English
Suomi
ǼȜȜȘȞȚțȐ
Italiano
Latviski
Polski
Ȼɴɥɝɚɪɫɤɢ
Nederlands
Français
0DJ\DU
/LHWXYLǐN
Português(Pt)
• The language can be changed at any time from the d setup menu. g “What to Do
If You Can’t Read the Display” (P. 29)
Loading ...
Loading ...
Loading ...