Loading ...
Loading ...
Loading ...
User’s Manual
5. Maintenance
5.1 Calibrate the Scanner
Calibrate only if the scanned image looks fuzzy, the color looks abnormal (e.g., darker than
normal), after more than 8,000 scanned, or the scanner has been stored without use for a
long time. The calibration process resets the Contact Image Sensor to resume its color and
sharpness precision.
Calibration can only be performed with the wand scanner out of the feeder dock. When the
scanner is attached to the feeder dock, the calibration feature is disabled.
To calibrate the scanner, complete the following steps:
1. Make sure the battery is fully charged and a memory card is inserted.
2. Remove the calibration sheet from its plastic cover and lay it on a flat surface with the
printed side UP.
3. Remove the scanner from the feeder dock.
4. Place the scanner on the white area of the calibration sheet, at the top of the white
area.
* Make sure the sheet is clean (i.e. no debris or colored objects).
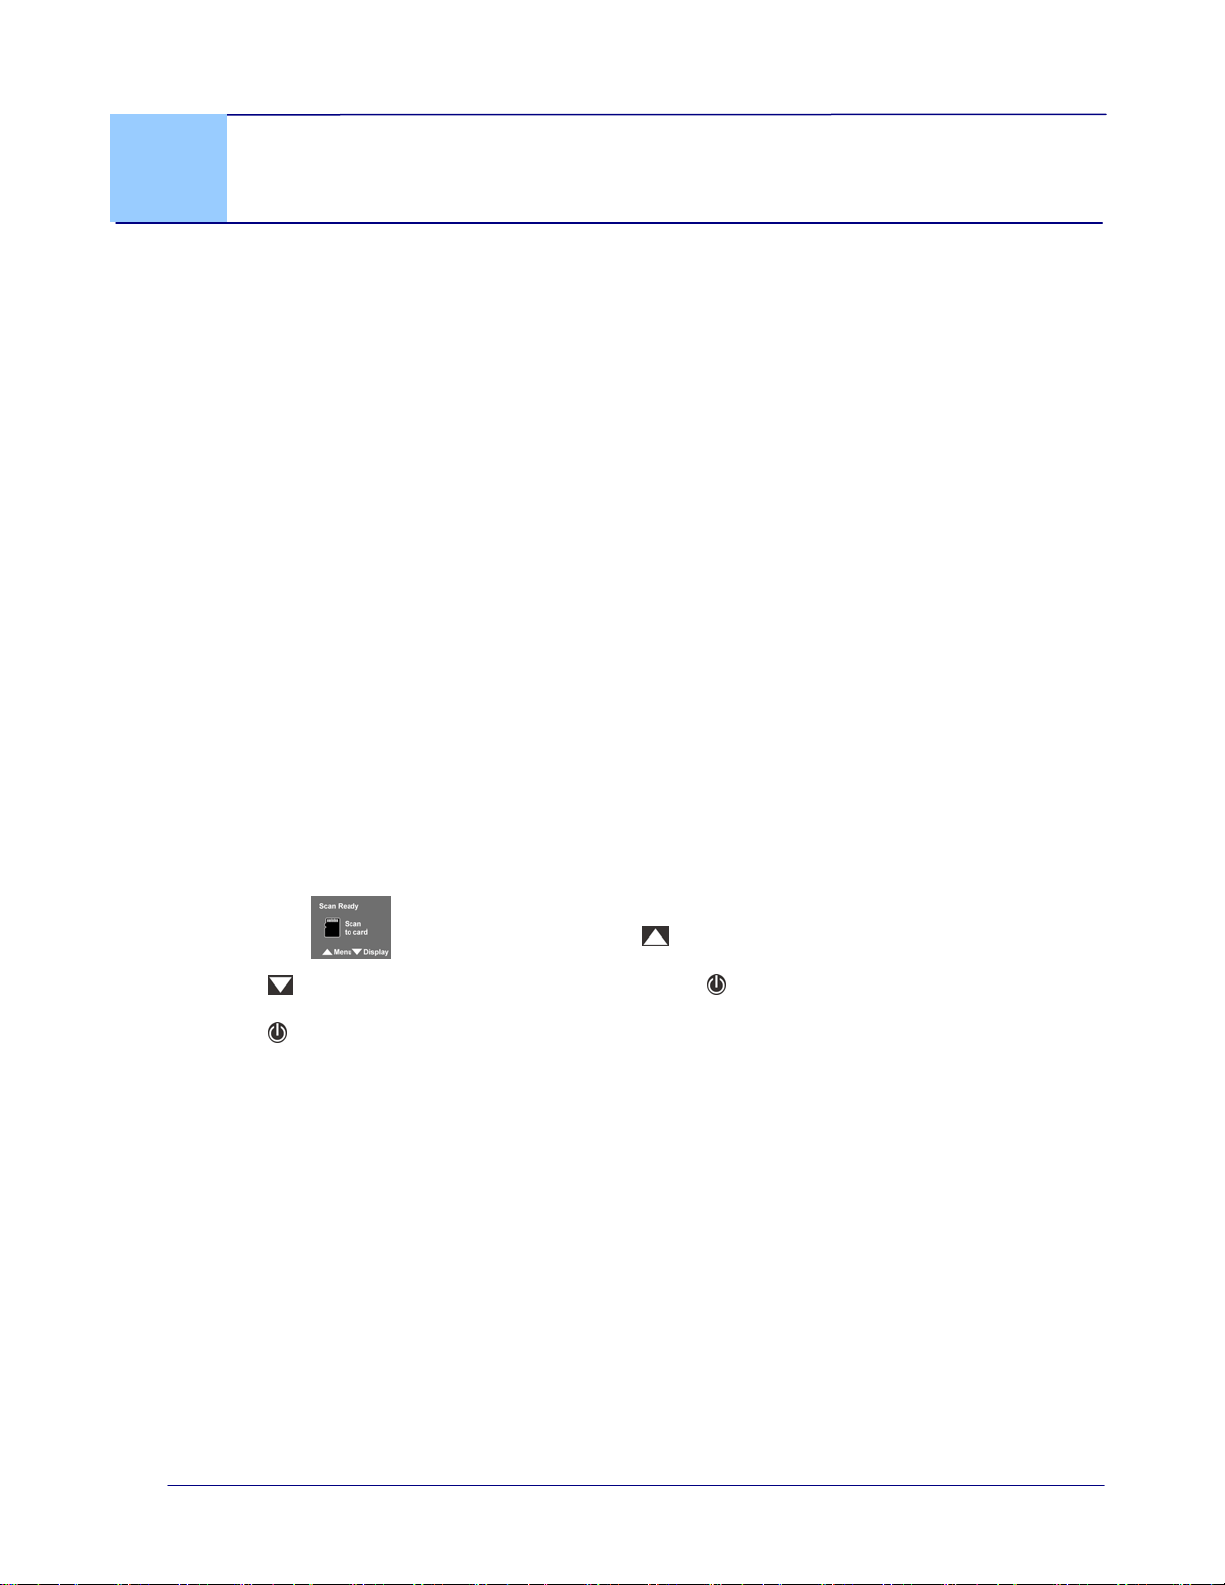
5. With the screen displayed, press
to enter the Menu mode.
6. Press
to scroll to Calibration, and then press to select it.
7. Press
to select YES.
8. The scanner enters Calibration mode. Slowly slide the scanner down over ONLY the
white area of the calibration sheet.
9. The scanner completes the calibration sequence and automatically powers off.
10. Carefully place the calibration sheet back into the plastic cover and store it in a safe
place for future use.
5-1
Loading ...
Loading ...
Loading ...