Loading ...
Loading ...
Loading ...
ENGLISH
8
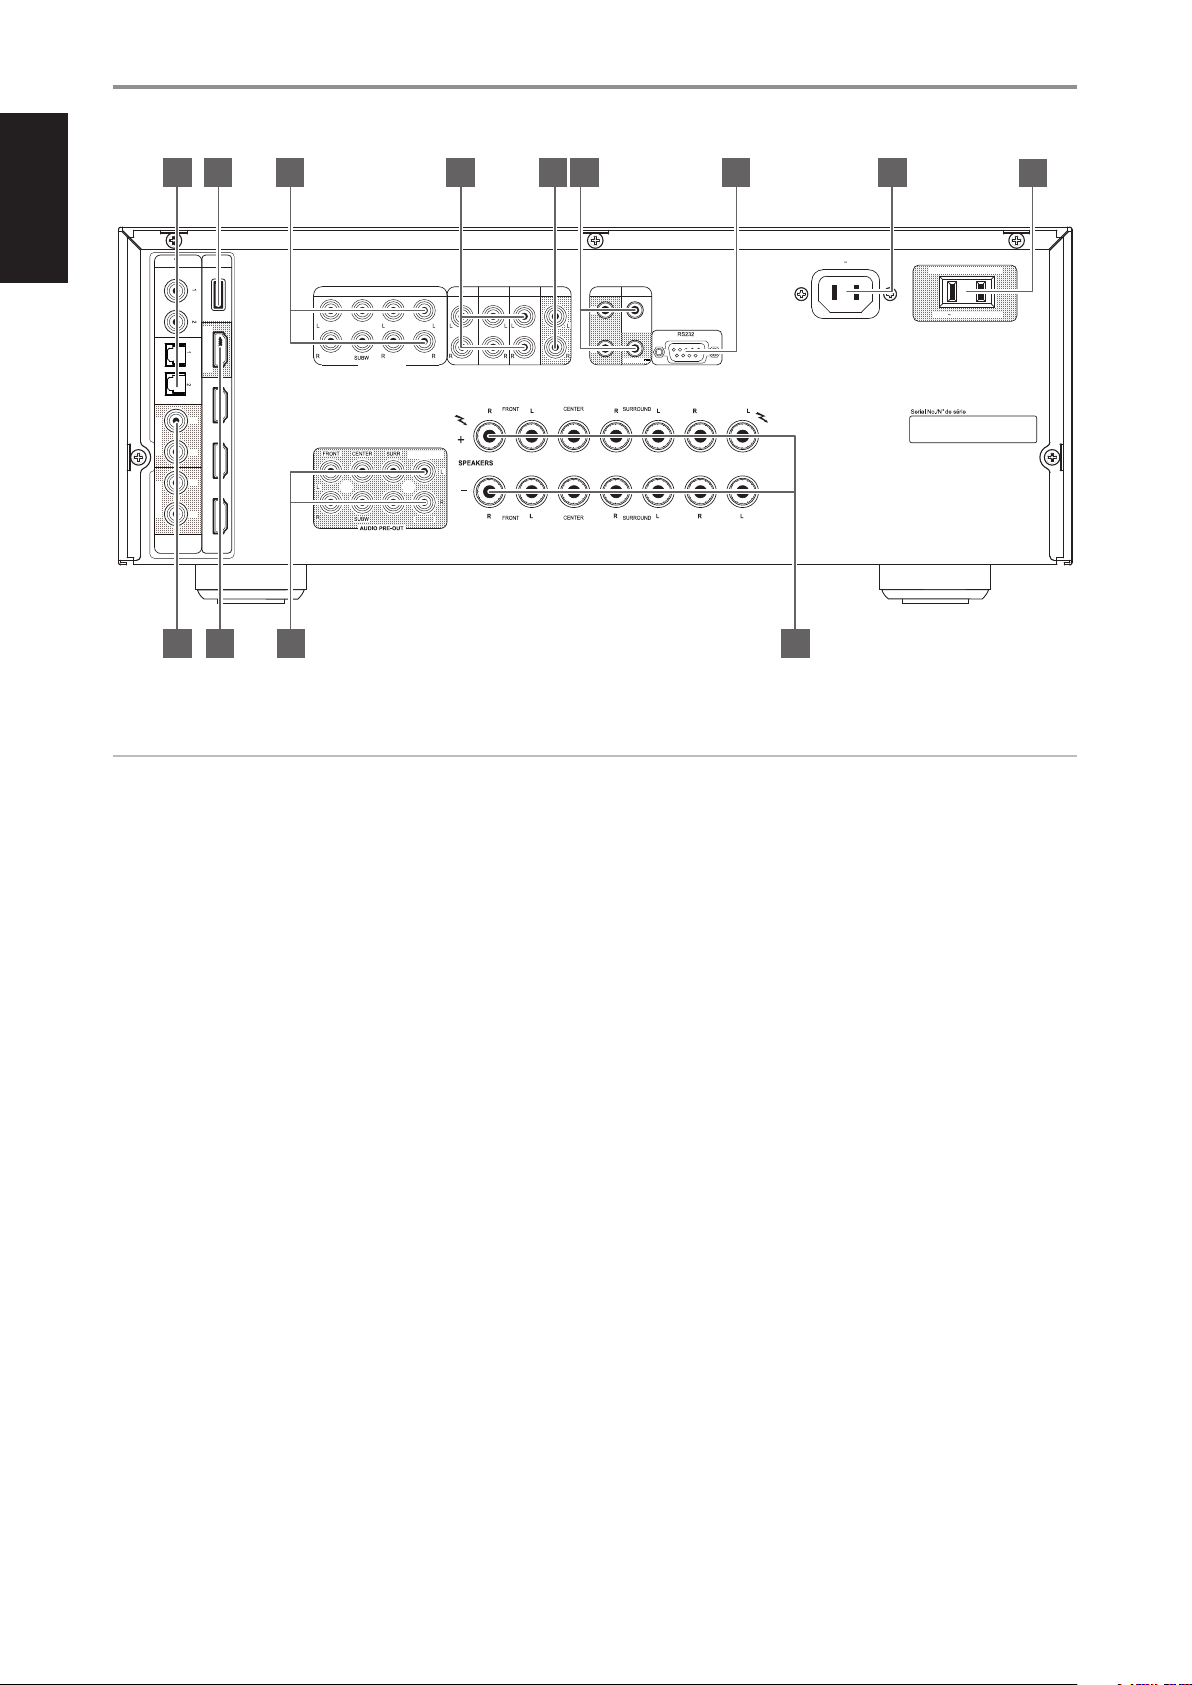
1 DIGITAL AUDIO IN (COAXIAL 1-2, OPTICAL 1-2)
• Connect to the corresponding optical or coaxial digital output of
sources such as CD or BD/DVD players, digital cable box, digital
tuners and other applicable components.
• Coaxial and optical digital input association is congurable via the
Source Setup item of the Setup Menu OSD.
2 USB
• Connect the USB connector of the supplied BluOS/USB hub to this
USB input. Ensure that the Wi-Fi dongle and Bluetooth USB Micro
Adaptor are securely connected to any of the 4 ports of the USB
hub. If wireless connectivity is poor, connect Wi-Fi dongle to the
supplied extension cable and straighten out for better reception.
• Refer to the instructions on HOW TO SETUP WIRELESS CONNECTION
in the BluOS SETUP menu below.
3 7.1 CH INPUT
• Connect to the corresponding analog audio output of a
multichannel source component such as a DVD-Audio or
multichannel-SACD player or external multichannel decoder (disc
copy protected formats only allow analog signal transfer). Typically,
these sources will produce 5.1-channel output, in which case the
Surround Back jacks are left unconnected. The signal present at
these jacks can be heard by selecting Source 7 (7.1 CHANNEL INPUT
is defaulted to this Source).
• There is no bass-management or other processing (other than
master-volume control) available to this 7.1 channel input.
• While the multichannel audio output of a DVD/BD player can be
connected to these jacks, using the T 758’s own Dolby Digital and
DTS decoding and digital-analog converters via a digital connection
will usually produce superior results.
4 AUDIO 1 - 3
• These comprise the T 758’s other sets of principal input. Connect
these analog audio input ports to the corresponding audio output
ports of source components such as CD players or other line level
audio sources.
5 ZONE 2
• Send zone selected audio source to the corresponding audio input
of a separately located additional amplier or receiver (not supplied)
that can power its matching set of speakers.
• Use high quality patch cables to reduce noise pickup over long
distance runs.
IDENTIFICATION OF CONTROLS
REAR PANEL
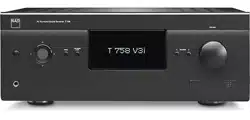
© NAD T 758
BACK/FRONT/
ZONE 2/HT 1/HT 2
BACK/FRONT/
ZONE 2/HT 1/HT 2
7.1 CH INPUT
AUDIO 1FRONT CENTER SURR SURR-B AUDIO 2 AUDIO 3 ZONE 2
IR INIR OUT
2
BACK/FRONT/
ZONE 2/HT 1/HT 2
1
SWITCHED AC OUTLET
120V 60Hz 100W 1A MAX
120V 60Hz
USB/HDMI
HDMI OUT (4K) HDMI IN 3USB HDMI IN 2
HDMI IN 1
COAXIAL OPTICAL
AUDIO
PRE-OUT
DIGITAL
AUDIO IN
L L
R
R
HT 2/SURR-B HT 1/SURR-B
TRIG OUT +12V
ATTENTION!
Please make sure that the T 758 is powered o or unplugged from the mains power source before making any connections. It is also advisable to power
down or unplug all associated components while making or breaking any signal or AC power connections.
3
12
4
13
5 6 7 81
10
2
11
9
Loading ...
Loading ...
Loading ...