Loading ...
Loading ...
Loading ...
ENGLISH
26
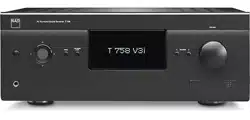
FRONT PANEL DISPLAY SETUP
The Vacuum Fluorescent Display (VFD) and On-Screen Display (OSD) can be
shown in various ways by navigating through the parameters at the Front
Panel Display Setup menu.
NOTE
The congurations set forth at “Front Panel Display Setup” are carried
over whenever it is enabled during A/V Presets setting. Please see also
the section below about “A/V Presets”.
Display: Select “On” to display all applicable data or characters at the
VFD. Nothing will be shown at VFD if “Temp” is selected. At “Temp” setting
however, whenever any of the front panel controls or their corresponding
keys in the remote control is activated, the appropriate VFD characters will
be shown temporarily and then fade away.
Dimmer: If it is desired to reduce the brightness of the VFD, set Dimmer to
“Dim”. Otherwise, select “Bright” to return to normal VFD brightness.
Line 1, Line 2: The VFD shows two main lines of data or characters. Line
2 is the line of data or characters located at the lower bottom of the VFD
while directly above it is Line 1. For both lines, one can select which display
could be shown by choosing through the following
Main Source: Shows the active Source.
Volume: Current Volume level is shown.
Listening Mode: Selected Listening Mode is shown.
Audio Source Format: Shows the active Source’s detected audio format.
Audio Codec: Displays the detected audio stream format like Analog,
PCM Surround, Dolby TrueHD, DTS-HD Master Audio and other formats.
Video Mode: Show the video resolution of the active input source.
Details shown include the video resolution with frame rate. For a better
understanding of these video details, consult with your NAD Audio
Specialist or your distributor’s technical department.
Zone 2 Source: The assigned Source for Zone 2 is shown.
O: Select “O” if it is desired not to show any data at the applicable Line.
Temp Line: Choose between Line 1 and Line 2 as the desired line where
VFD will be temporarily shown if “Temp” is selected at “Display” option as
described above.
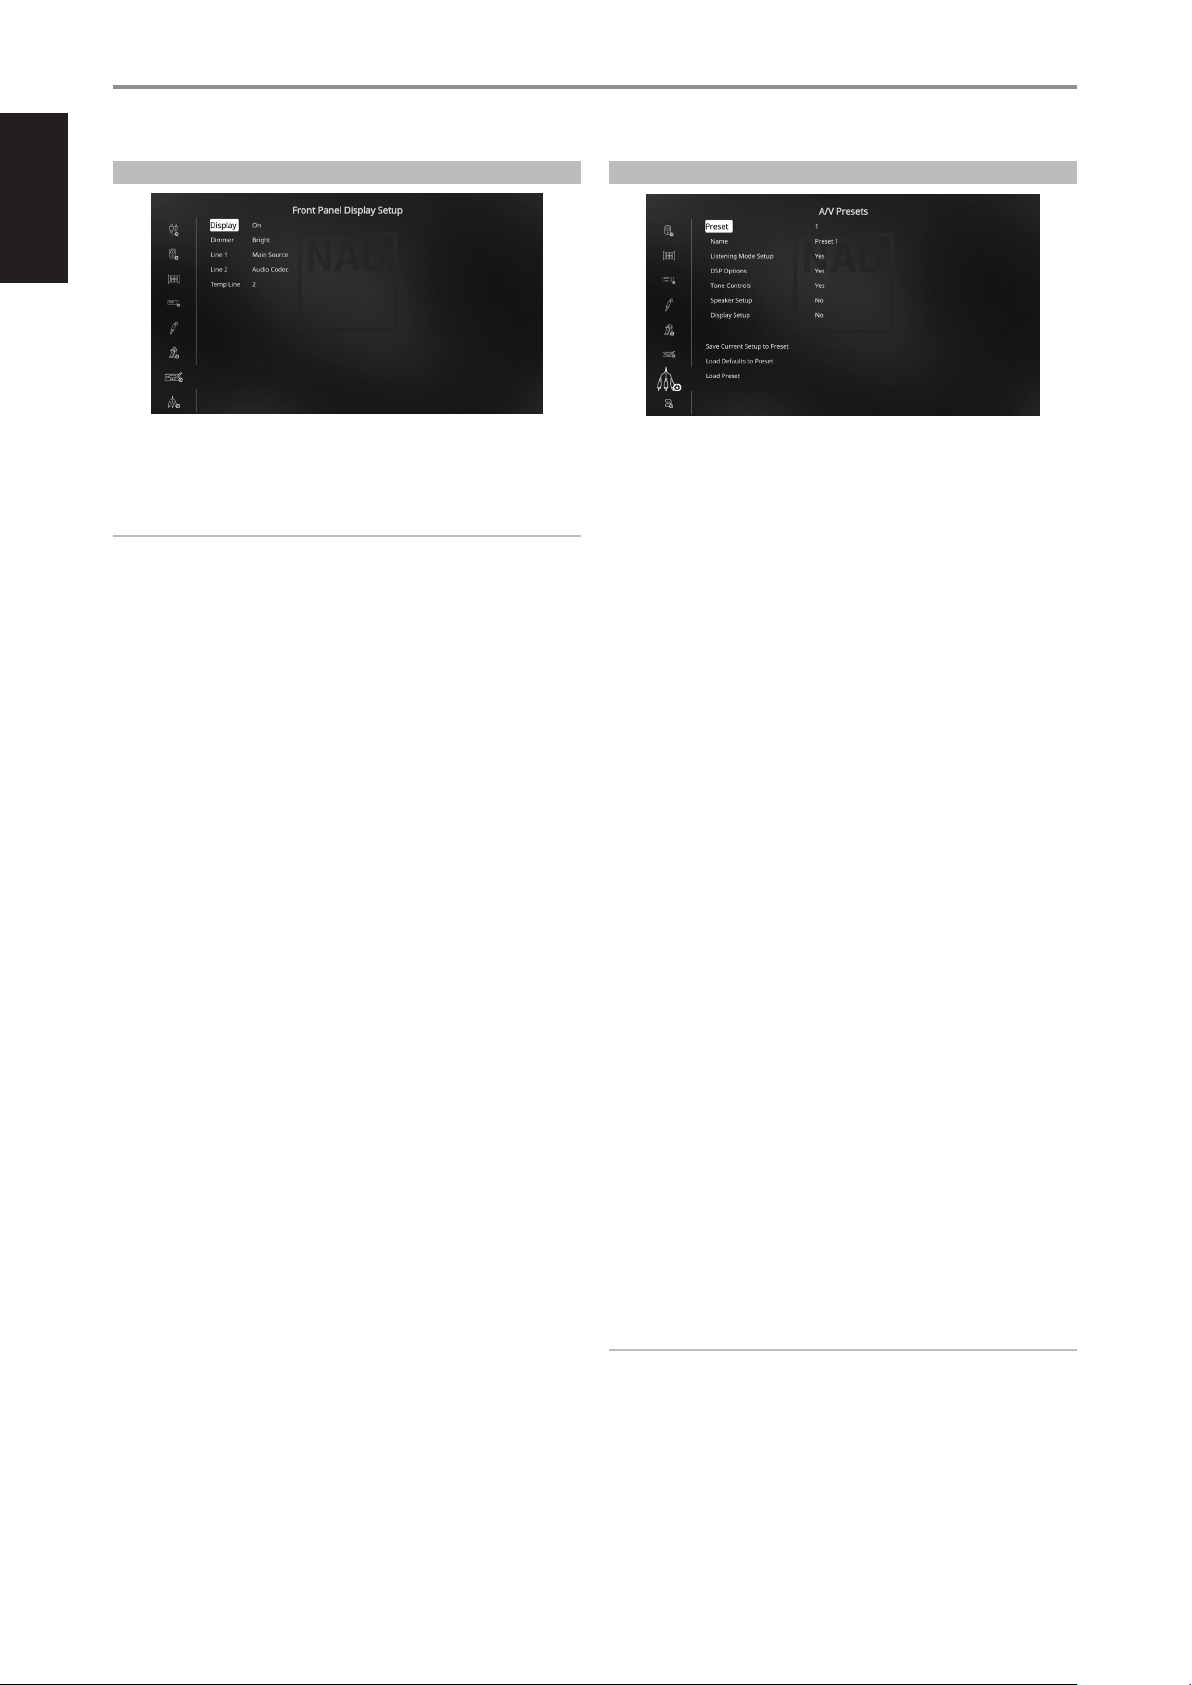
A/V PRESETS
The T 758’s simple but powerfully exible system of “A/V Presets” allows
you to customize virtually every aspect of your audio-video playback, and
recall them with a single key-press. The parameters “DSP Options” and
“Tone Controls” accessible via the “Main Menu” together with “Listening
Mode Setup”, “Speaker Setup” and “Front Panel Display Setup” congurable
through “Setup Menu” are stored together as a single A/V Preset.
You might create one A/V Preset optimized for pop music and another for
classical. One more A/V Preset can be set up to recall each family member’s
favorite setting or one for fully cinematic home-theater playback and yet
another one for late-night movies, with each A/V Preset ne-tuned to a
particular scenario or preference.
CREATING PRESETS
Creating an A/V Preset consists simply of storing a complete set of the
parameters set forth in “DSP Options” and “Tone Controls” accessible via the
“Main Menu” together with “Listening Mode Setup”, “Speaker Setup” and
“Front Panel Display Setup” congurable through “Setup Menu”.
Scroll to “A/V Presets” using the [ D/F ] keys to save a collection of said
parameter settings to a Preset. Select a Preset number and by pressing the
[ D/F ] keys, you can selectively include in the particular A/V Preset any of
the above-mentioned parameter settings by choosing “Yes”. If you decide
not to include in the particular A/V Preset a certain parameter setting,
select “No”.
Now in order to save the settings chosen for the particular A/V Preset
number, scroll down to “Save Current Setup to Preset” and press the [ S ]
key. If you chose to load instead the default settings, scroll down to “Load
Defaults to Preset” and press the [ S ] key to restore the default settings.
In addition to the parameter settings, the A/V Preset label itself can be
assigned a new name. This new Name will be shown in the VFD as well as
on the OSD.
To rename the A/V Preset label, scroll to “Name” and press [ S ] to go
the rst character. Then, press [ D/F ] to pick and select through the
alphanumeric selections. Press [ A/S ] to move to the next character or
back to the previous character and at the same time save the changes
done on the current character.
NOTE
The selected A/V Preset remains in force until you select a dierent A/V
Preset.
OPERATION
USING THE T 758 SETUP MENU
Loading ...
Loading ...
Loading ...