Loading ...
Loading ...
Loading ...
4
Playback
93
5 Select [SD1] or [SD2], and press E.
6 Select [Continue] or [Finish], and press E.
When [Continue] is selected, the screen of Step 3
reappears.
u Caution
• [RAW Development] can be executed only for RAW images
captured with this camera.
• The RAW images captured when [Drive Mode] is set to [Multi-
exposure] or [Interval Composite] in the A4 menu are
developed according to the [Lens Correction] setting used
during shooting. The [Lens Correction] setting cannot be
changed when developing the RAW images.
t Memo
• When [RAW Development] is executed from the multi-image
display screen, folder display screen, or shooting date display
screen, a new folder is created, and the images are stored in
it.
• For [Digital Filter], [Clarity], [Skin Tone], [HDR Capture], and
[Pixel Shift Resolution], the setting item of which parameters
can be changed varies depending on the item used during
shooting. For the RAW images captured using [HDR Capture]
or [Pixel Shift Resolution], you cannot change the parameters
of [Digital Filter], [Clarity], and [Skin Tone] when developing
the RAW images.
• With the provided software “Digital Camera Utility 5”, you can
develop RAW images on a computer. (p.98)
u Caution
• Images already resized or cropped to the minimum file size
cannot be processed.
You can change the number of recorded pixels of the selected
image, and save it as a new file.
1 Display the image to edit in the single image
display.
2 Select [Resize] in the C5 menu or on the
playback function selection screen.
The [Resize] screen appears.
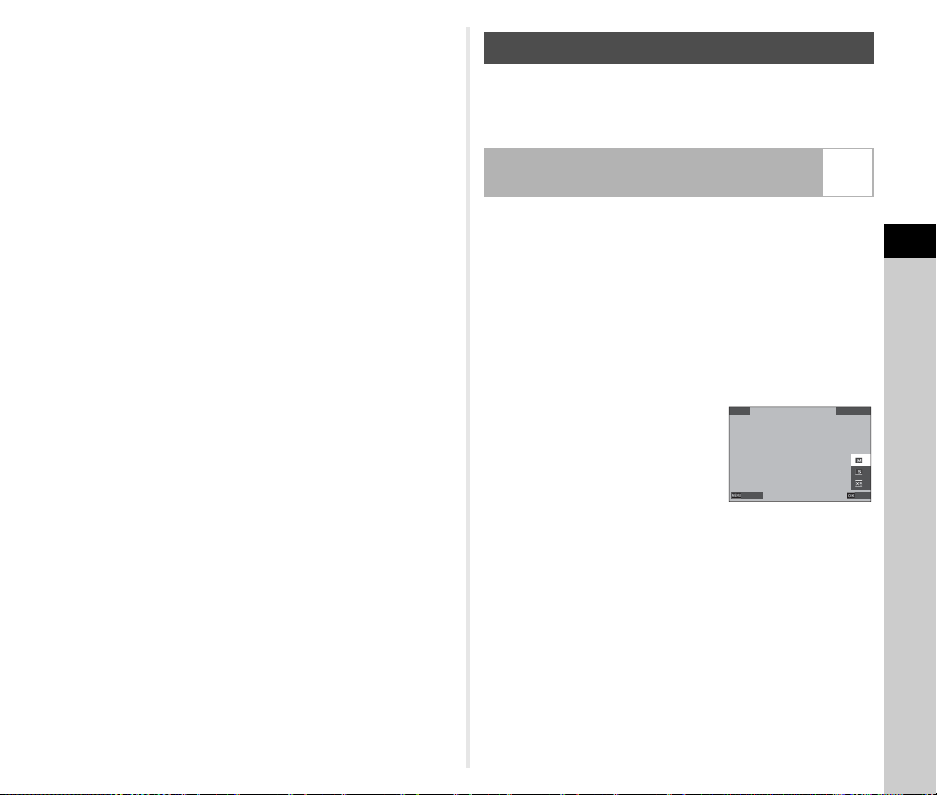
3 Use AB to select the
number of recorded pixels
and press E.
You can select an image size
smaller than that of the original
image.
The save confirmation screen appears.
4 Select [SD1] or [SD2], and press E.
u Caution
• [Resize] can be executed only for JPEG images captured
with this camera.
Changing the Image Size
Changing the Number of Recorded Pixels
(Resize)
C5
4752x3168
4752x3168
Resize
Resize
Cancel
Cancel
Save
Save
Loading ...
Loading ...
Loading ...