Loading ...
Loading ...
Loading ...
safety instructions to operator
15. Make sure the top of the arbor or cuffing tool rotates
toward you when standing in normal operating position.
Also make sure the cutting tool, arbor collars and arbor
nut are installed properly. Keep the cutting tool as law
as possible for the operation being performed, Keep
all guards in place whenever possible.
]6, Do not useany blade or other cuffing tool marked for
an operating speed in excessof the designspeed of the
saw. Never use a cutting tool larger in diameter than
the diameter for which the saw was designed. For
greatest safety and efficiency when ripping, use the
maximum diameter blade for which the saw isdesigned,
since under these conditions the spreader is nearest
the blade,
]7. Adjust table inserts flush with, Or slightly below, the
table top.
18. For operations which do not permit the useof a spread-
er, seriousconsideration should be given to the use of
jigs or fixtures to hold the work so the hands of the op-
erator ore removed a safe distance from the point of
operation. (See the booklet "How To Do More _,Nith
Your Bench Saw.")
19. The use of abrasive or cut-off wheels, or wire wheels
can be dangerous and is not recommended. (Abrasive
or cut-off wheelsare used to saw many different ma-
terials including metals, stone, and glass.)
20. Objects can be thrown upward toward the operator by
the back of the blade if proper operating procedures
are not followed. This usually occurswhen a small loose
piece of wood or other object works around to the rear
of the revolving blade. It can usually be avoided by re-
moving all loose pieces from the table immediately
after they are cut off, using a long stick of wood, and
by keeping the guard and spreader in place at all times.
Use extra caution when the guard assembly is removed
for dadoing or molding, and replace the guard as soon
as that operation is completed.
21. Never perform any operation "freehand." This term
............ the stock into the saw blade or other
cutting tool without using the miter gauge, rip fence,
taper jig, or some other device which prevents rotating
or twisting of the workpiece during the operation.
22. Never turn your saw "ON" before clearing the table
of all objects (tools, scraps of wood, etc.) except the
workpiece and related feed or support devices for the
operation planned.
23. Safety is a combination of operator common senseand
alertness at all timeswhen the saw isbeing used.
24. Do not cycle the motor switchon and off rapidly, as this
may cause the saw blade to loosen. In the event this
should ever occur, allow the saw blade to come to a
complete step and retighten the arbar nut normally, not
excessively.
\!VARNENG: Do not allow familiarity
(gained from frequent use of your saw) to
became commonplace. Always remember
that a careless fraction of a second is suf-
ficient to inflict severe injury.
CONTENTS
Page Page
Unpacking and Pre-Assembly Instructions ... 5 Proper Operating Procedures . 20
Motor Specifications and Mounting ....... 14 Accessories ............... 25
Operating Controls .................... 19 Repair Parts ......................... 26
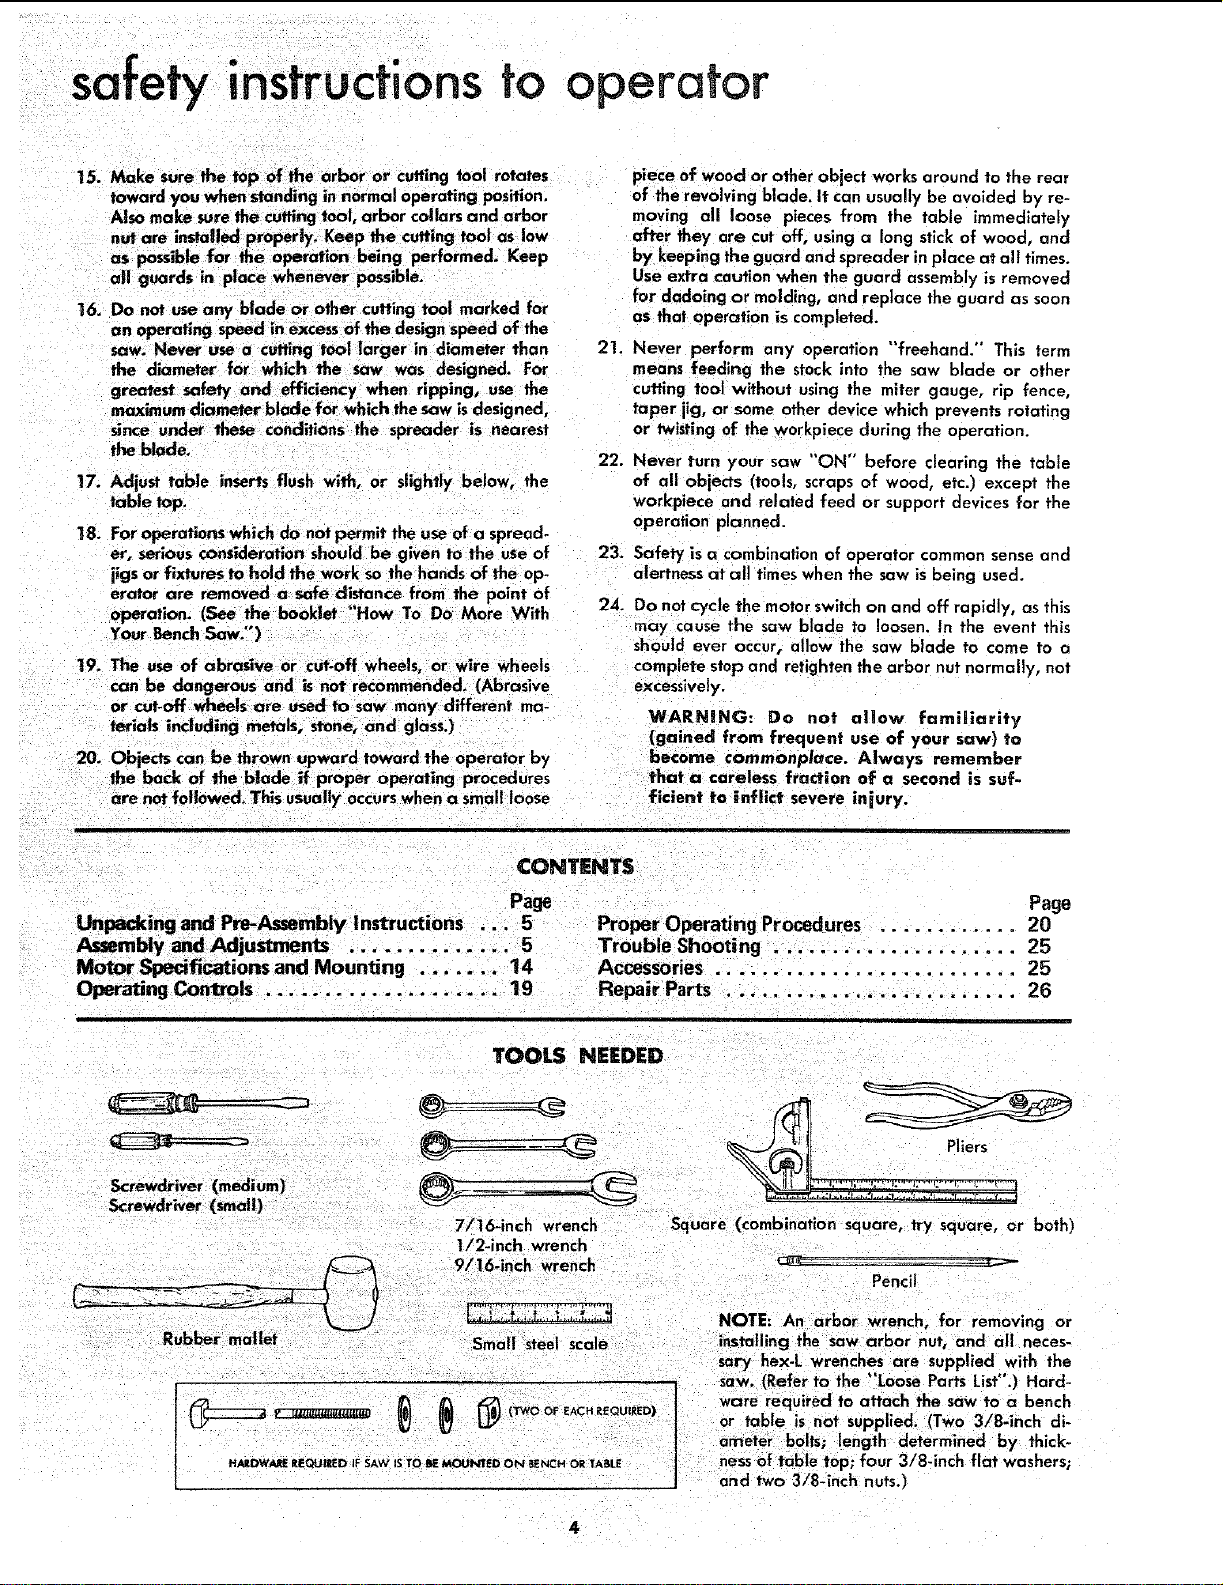
TOOLS NEEDED
Screwdriver (medium)
Screwdriver (small)
Rubber mallet
7/16-inch wrench
1/2-inch wrench
9/16.inch wrench
-_,,._ 4, ,_.r,-1. j-. ,,,
Small steel scale
v _ls_utu_ _ (TWO OF EACH I_EQUIEED)
HARDWARE RIEQUIEEO IF SAW IS TO lie MOUNTED ON BENCH OR TASBE
Square (combination square, try square, or both)
Pencil
ware required to attach the saw to a bench
or table is not supplied. (Two 3/8-inch di-
ameter bolls; length determined by thick-
nessof table top; four 3/8-inch flat washers;
arid two 3/8-inch nuts.l
Loading ...
Loading ...
Loading ...