Loading ...
Loading ...
Loading ...
13o Repeat steps 10-11 until the bevel lock
wilt not touch the left side of the ,yoke, and
the gap is not more than 1/16 inch_
14. Lock the bevel lock.
15. Snap the yokeplug into place. The yoke
plug is in the loose parts bag
Mounting the Saw
Both Models
1 Hold the saw by the front edge and the
back of the column support, and lift it onto
the cabinet leg seL Make sure that four holes
in the bottom of the saw line up with four
holes in the top of the cabinet/leg seL
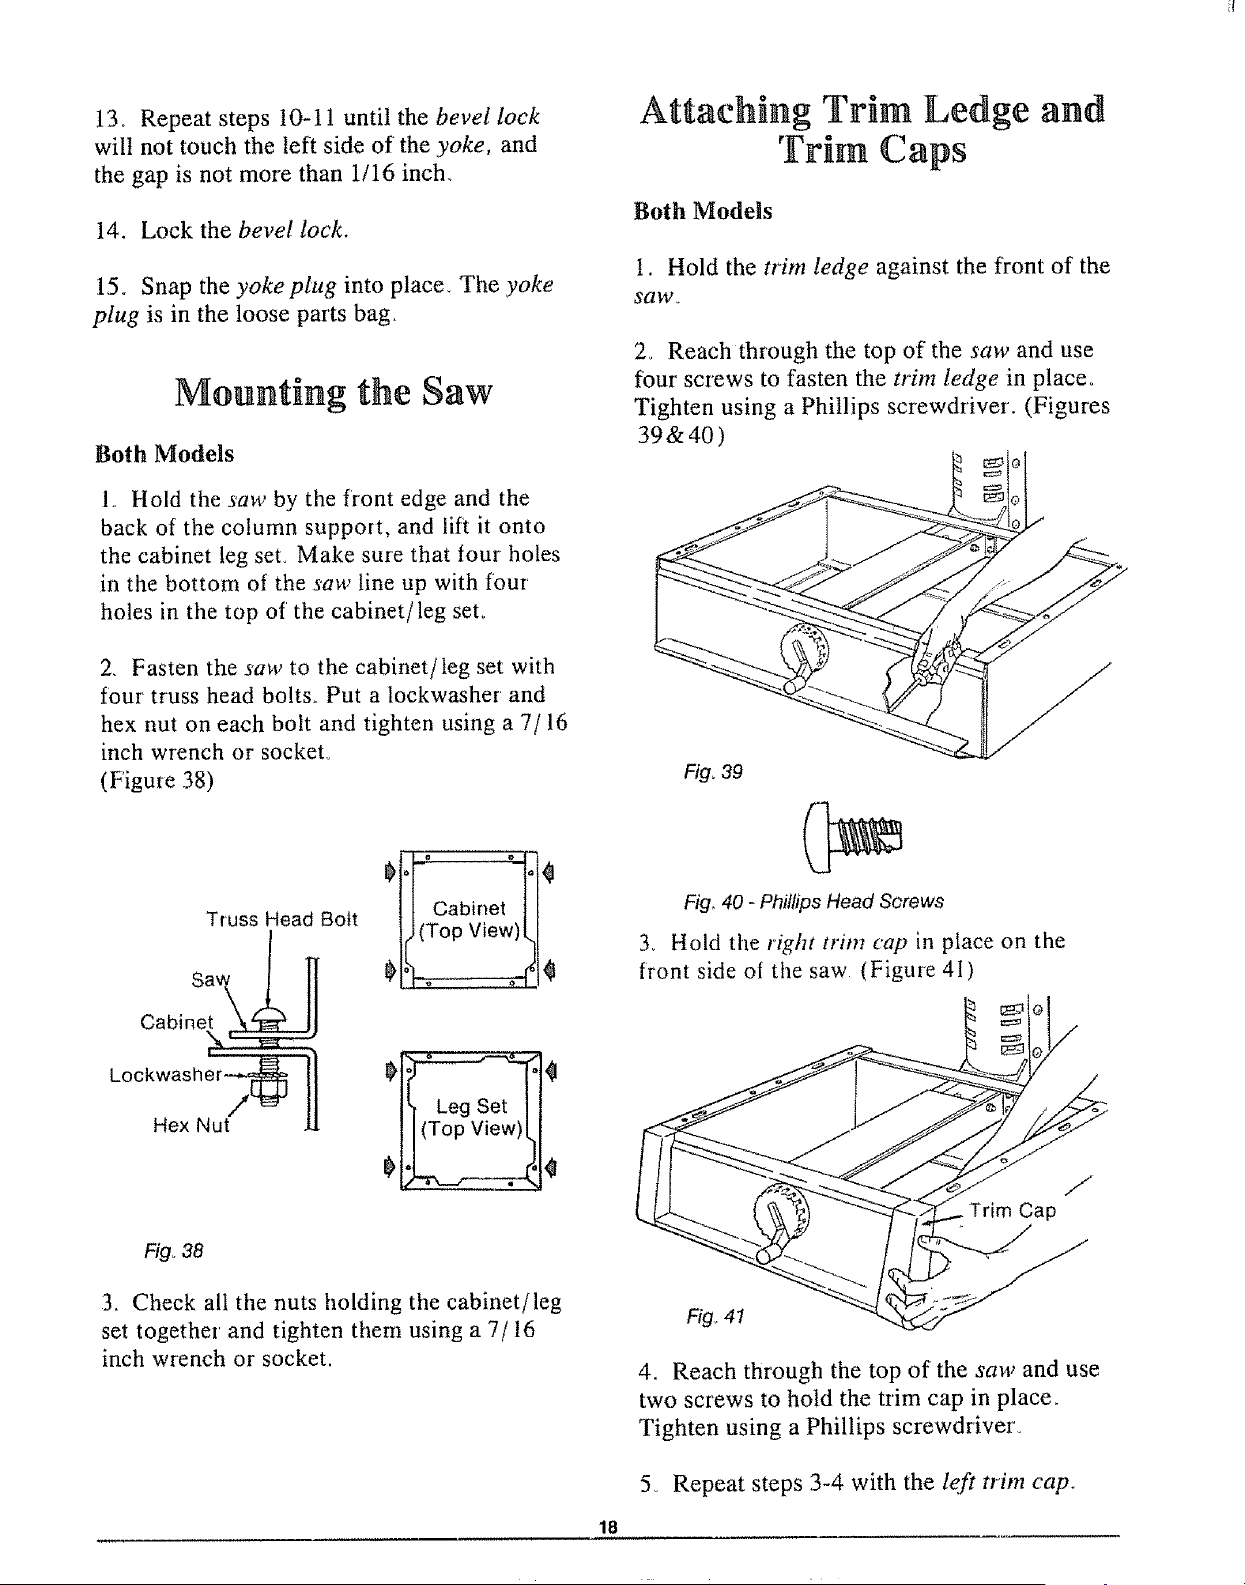
2. Fasten the saw to the cabinet/leg set with
four truss head bolts_ Put a lockwasher and
hex nut on each bolt and tighten using a 7/16
inch wrench or socket°
(Figuie 38)
Truss Head Bolt
Cabinet
Loci
Hex Nut
01°Foto[0
11Cabinet I /
Fig. 38
3. Check all the nuts holding the cabinet/leg
set together and tighten them using a 7/16
inch wrench or socket.
18
Attaching Trim Ledge and
Trim Caps
Both Models
1. Hold the trim ledge against the front of the
saw.
2.. Reach through the top of the saw and use
four screws to fasten the trim ledge in place.
Tighten using a Phillips screwdriver. (Figures
39&40)
Fig, 39
Fig_ 40 - Phillips Head Screws
3. Hold the right trim cap in place on the
front side of the saw (Figure 41)
J
Trim Cap
Fig,.41
4. Reach through the top of the saw and use
two screws to hold the trim cap in place,
Tighten using a Phillips screwdriver_
5_ Repeat steps 3-4 with the left trim cap.
Loading ...
Loading ...
Loading ...