Loading ...
Loading ...
Loading ...
26 Put a lockwasher and hex nut on the bolt
and tighten using a 7/16 inch wrench or
socket.
27° Repeat steps 25-26 with the left spacer_
28_ Move the cabinet to the location where
you will use your saw.
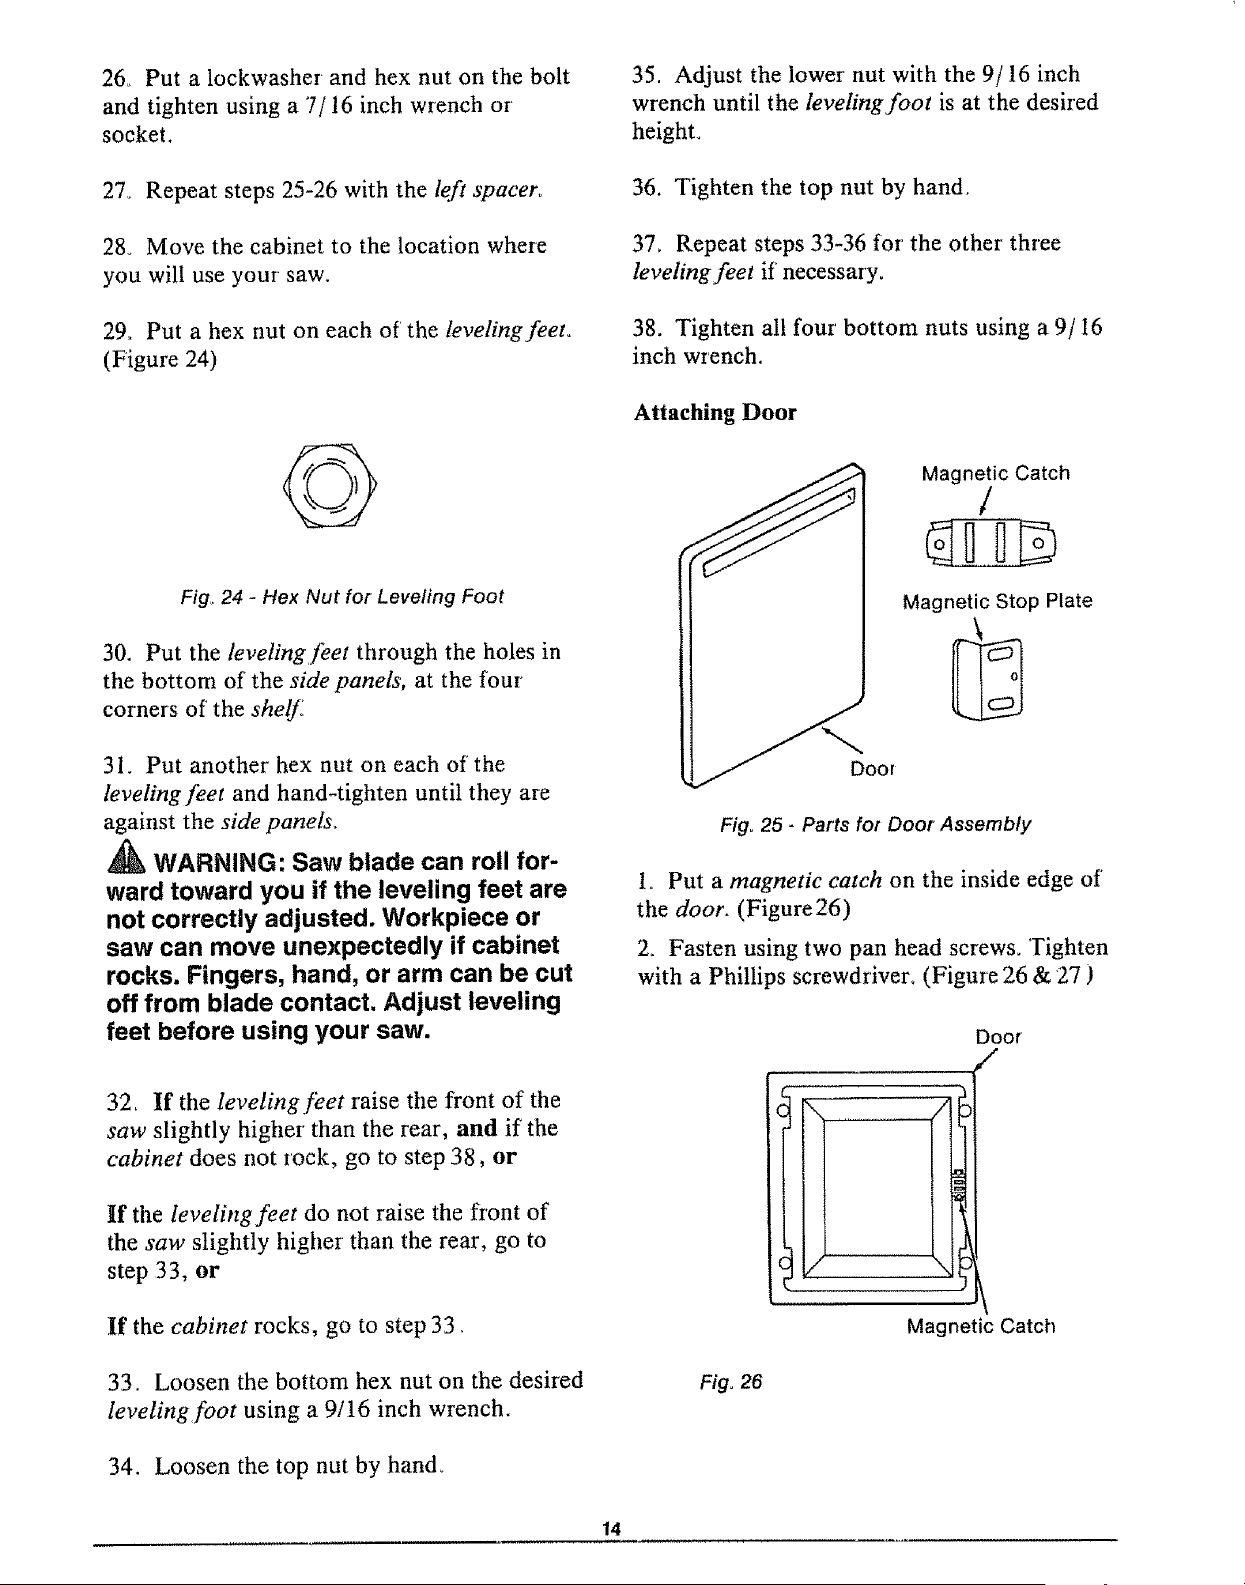
29° Put a hex nut on each of the levelingfeeto
(Figure 24)
Fig° 24 - Hex Nut for Leveling Foot
30. Put the leveling feet through the holes in
the bottom of the side panels, at the four
corner's of the shelf
31. Put another hex nut on each of the
leveling feet and hand-tighten until they are
against the side panels_
WARNING: Saw blade can roll for-
ward toward you if the leveling feet are
not correctly adjusted. Workpiece or
saw can move unexpectedly if cabinet
rocks. Fingers, hand, or arm can be cut
off from blade contact. Adjust leveling
feet before using your saw.
32, If the leveling feet raise the front of tile
saw slightly higher than the rear, and if the
cabinet does not rock, go to step 38, or
If the leveling feet do not raise the front of
the saw slightly higher than the rear, go to
step 33, or
If the cabinet rocks, go to step 33,
33. Loosen the bottom hex nut on the desired
leveling foot using a 9/16 inch wrench.
34. Loosen the top nut by hand_
35. Adjust the lower' nut with the 9/16 inch
wrench until the leveling foot is at the desired
height°
36. Tighten the top nut by hand,
37_ Repeat steps 33-36 for the other' three
leveling feet if necessary.
38. Tighten all four bottom nuts using a 9/16
inch wrench.
Attaching Door
Magnetic Catch
/
Magnetic Stop Plate
Fig, 25 - Parts for Door Assembly
Io Put a magnet& catch on the inside edge of'
the door. (Figure26)
2_ Fasten using two pan head screws. Tighten
with a Phillips screwdriver_ (Figure 26 & 27 )
Door
,,,-
Magnetic Catch
Fig, 26
14
Loading ...
Loading ...
Loading ...