Loading ...
Loading ...
Loading ...
STARTING AND DRIVING
}}
* Option/accessory.
471
Activating and deactivating the
compass*
An integrated compass in the upper right corner
of the rearview mirror shows the direction the
vehicle is traveling.
Activating and deactivating the
compass
The compass is automatically activated when the
vehicle is started.
To deactivate/activate the compass manually:
–
Use a paper clip or similar object to press the
button on the bottom of the mirror.
Related information
•
Compass* (p. 470)
•
Calibrating the compass* (p. 471)
Calibrating the compass*
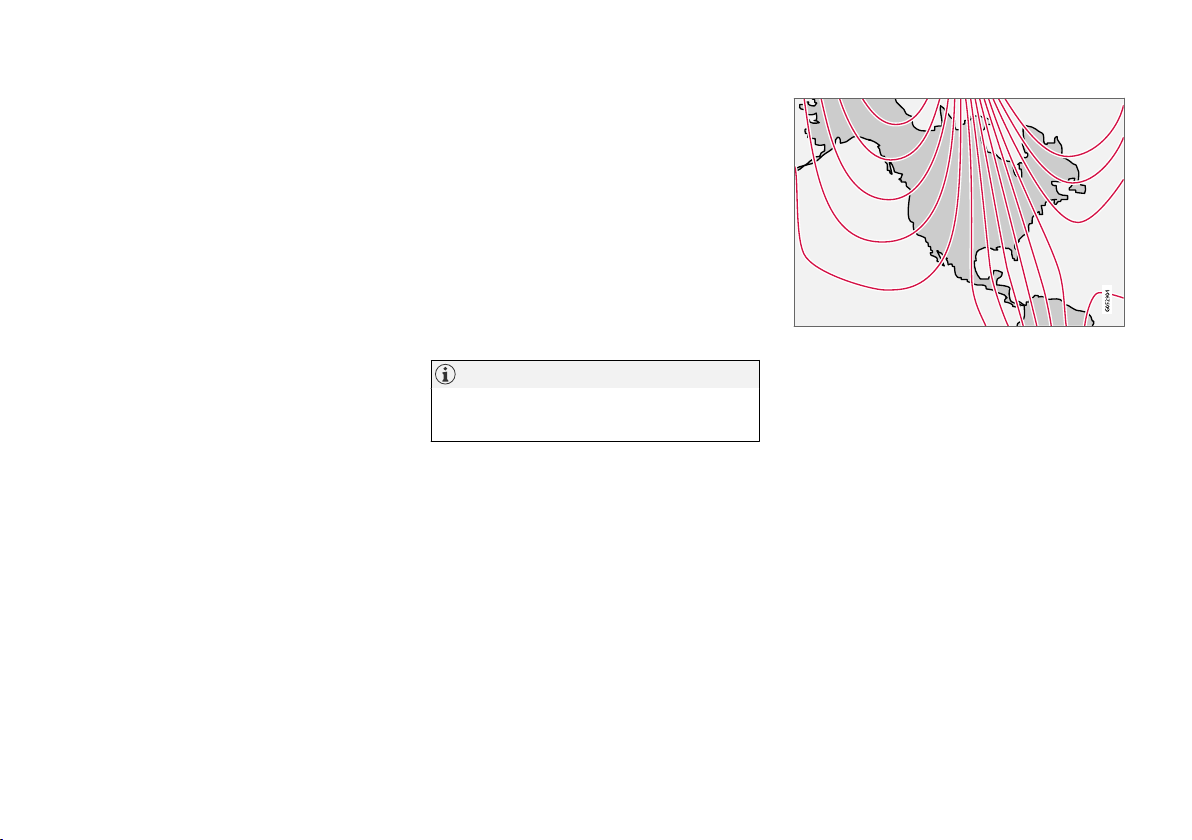
The globe is divided into 15 magnetic zones.
The compass should be calibrated if the vehicle
is driven from one zone to another.
To calibrate the compass:
1. Stop the vehicle in a large, open area away
from steel constructions and high-voltage
power lines.
2. Start the engine and switch off all electrical
equipment (climate system, wipers, etc.) and
make sure all doors are closed.
NOTE
Calibration may fail or not even be initiated if
electrical equipment is not turned off.
3. Hold the button on the bottom of the rear-
view mirror pressed for about 3 seconds
(using e.g. a paper clip). The number of the
current magnetic zone is shown.
15
14
13
12
11
9
8
7
6
5
4
3
2
1
10
Magnetic zones.
4. Press the button on the underside of the
mirror repeatedly until the desired magnetic
zone (
1–15) appears (see the map of mag-
netic zones).
5.
Wait until the display again shows
C, or
press and hold the button on the underside
of the rearview mirror for approx. 6 seconds
until C is displayed.
6. Drive slowly in a circle at a speed of no more
than 10 km/h (6 mph) until a compass direc-
tion is shown in the display. This indicates
that calibration is complete. Drive in a circle
two more times to fine-tune the calibration.
7.
Vehicles with heated windshields*: If
C is
shown in the display when the windshield
heating function is activated, perform step 6
above with the heating function on.
8. Repeat the above procedure as needed.
Loading ...
Loading ...
Loading ...