Loading ...
Loading ...
Loading ...
41
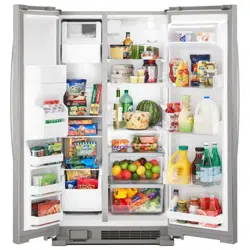
Style 2
To access the On/off switch located on the bottom of the ice
maker, lift and open the ice maker door.
■ To turn on the ice maker, lift and open the ice maker door and
turn the switch to the On position (towards the right).
■ To turn the ice maker off manually, lift and open the ice maker
door and turn the switch to the Off position (towards the left).
You can continue to dispense ice but will not be able to make
any more.
NOTE: The ice maker has an automatic shut-off feature
to prevent the storage bin from over-lling during normal
operation. As ice is produced, the cubes will ll the storage
bin and will raise the wire closing arm to the OFF position (up).
When the storage bin is full, the ice maker will automatically
stop producing ice, although the ice maker’s On/Off button
will remain in the ON position (down).
Removing and Replacing the Ice Storage Bin:
1. Pull the bottom part of the cover panel upwards.
2. Lift the plastic closing arm until it clicks into the Off Position
(up).
3. Lift up the front of the storage bin and pull it out.
4. Replace the bin by pushing it in all the way or the dispenser
will not work.
5. To resume ice production, lower the plastic closing arm to the
On position (down). Check that the door is tightly closed.
REFRIGERATOR
FEATURES
Important information to know about glass shelves
and covers:
Do not clean glass shelves or covers with warm water when
they are cold. Shelves and covers may break if exposed to
sudden temperature changes or impact, such as bumping.
Tempered glass is designed to shatter into many small,
pebble-size pieces. This is normal. Glass shelves and covers
are heavy. Use both hands when removing them to avoid
dropping.
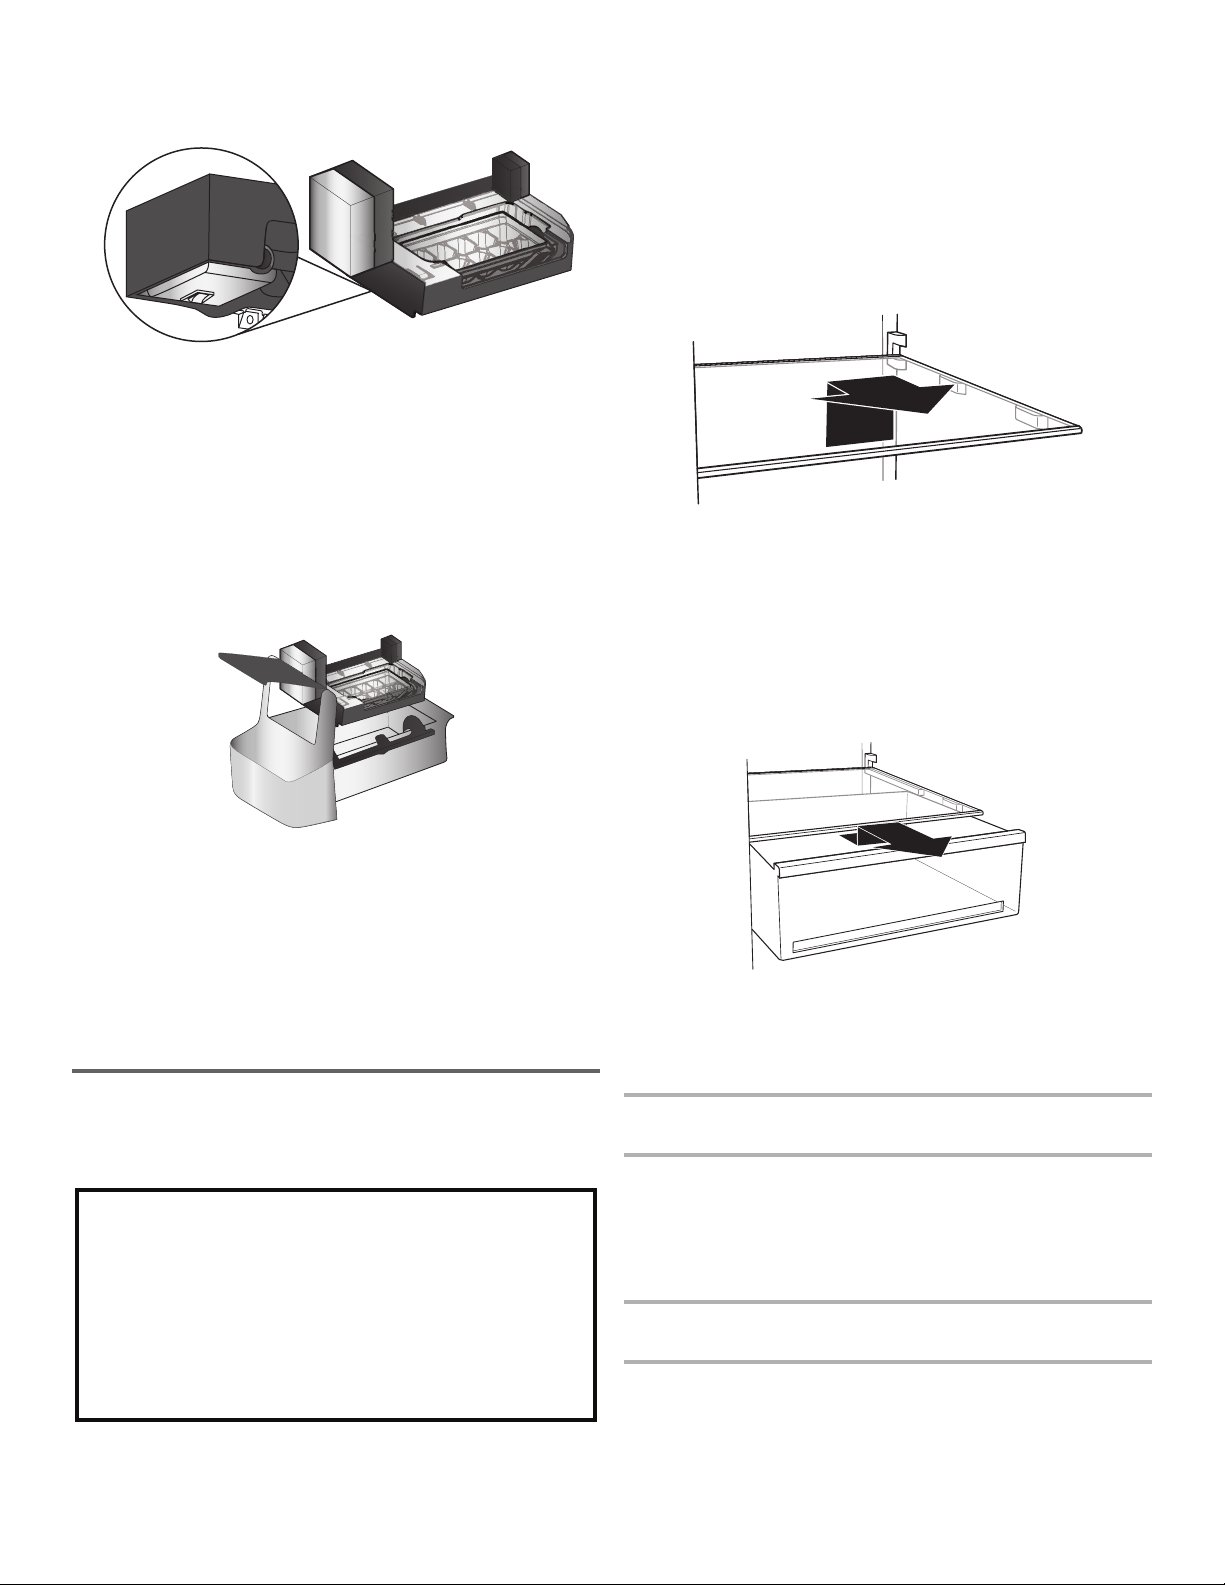
REFRIGERATOR SHELVES
(number of shelves varies by model)
Store similar foods together and adjust the shelves to t different
heights. This reduces the time the refrigerator door is open and
saves energy.
To Remove and Replace a Shelf:
1. Lift the back of the shelf to remove from the ribs. Pull the shelf
forward until it is released.
2. Replace the shelf by aligning the shelf with the ribs. Slide the
shelf onto the shelf supports. Be sure that the shelf is securely
in position.
DELI DRAWER
(on some models)
The deli drawer is very handy for storing raisins, nuts, spreads
and other small items at the refrigerator’s normal temperature.
To Remove and Replace the Deli Drawer:
1. Remove the deli drawer by sliding it straight out to the stop.
Lift the front and out of the ribs. Tilt the drawer sideways to
remove it from the refrigerator compartment.
2. Replace the deli drawer by sliding it backwards past the stop
and pushing it into place.
CONVERTIBLE VEGETABLES/MEAT
DRAWER, CRISPER AND COVERS
(on some models)
Crisper and Convertible Vegetable/Meat
Drawers
To remove and replace the drawers:
1. Slide the vegetable drawer and the meat drawer out to the
stop. Lift the front of the drawer with one hand while supporting
the bottom of the drawer with the other hand, and slide it out.
2. Replace the vegetable drawer or the meat drawer by sliding it
back in fully past the drawer stop.
Crisper and Convertible Vegetable/Meat
Drawer Covers
To remove and replace the covers:
1. Remove the vegetable or meat drawers. Tilt the front of the
drawer cover upwards and pull it out to release the stops from
the tracks. Repeat these steps to remove the meat drawer
cover.
Loading ...
Loading ...
Loading ...