Loading ...
Loading ...
Loading ...
Initial operation 11
Basic setup
Step 1: set up the language
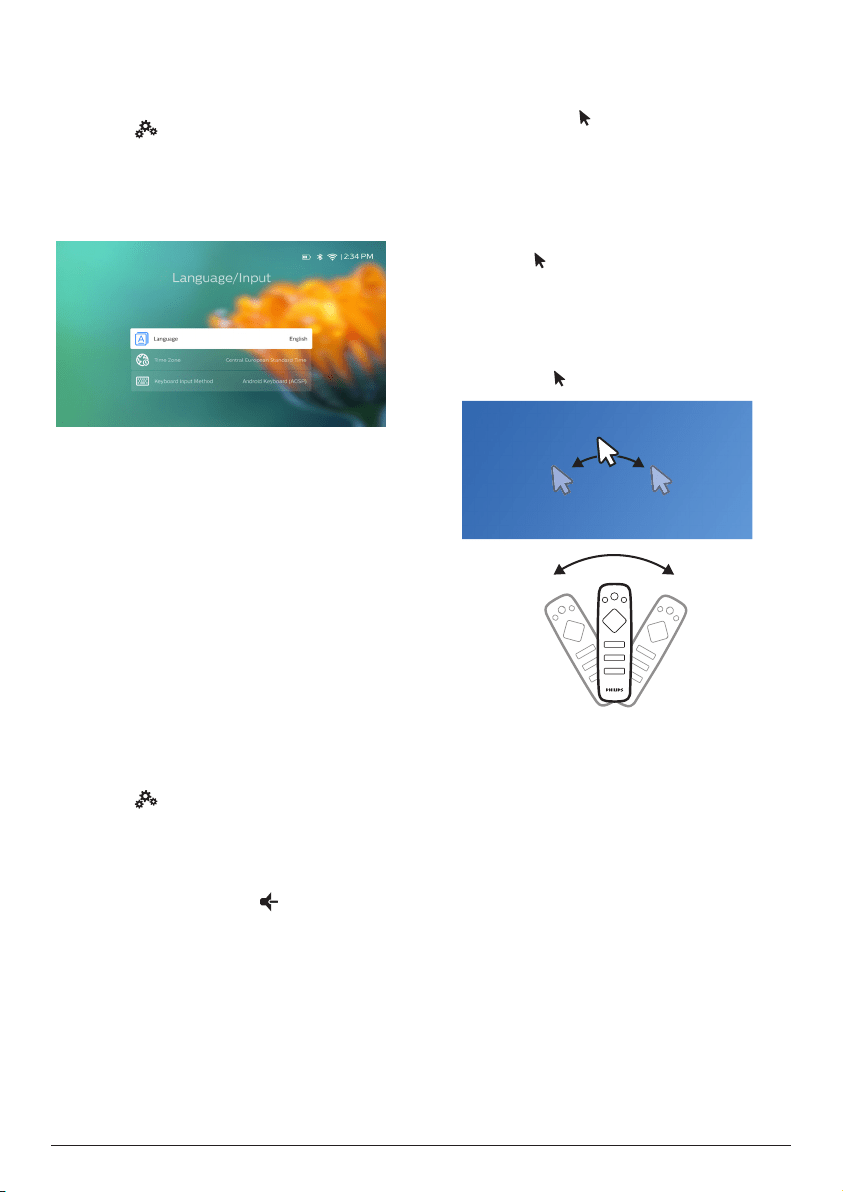
1 Select on the upper right of the home
screen, and press OK, then go to Projector
Settings - Language/Input. The following
Language & Input
menu appears. Use the
Navigation buttons and OK on the remote
control to make changes.
• Language: Select your desired language for
on-screen menus.
• Time Zone: Select your time zone.
• Keyboard Input Method: Select English
keyboard or other input methods.
Step 2: activate on-screen
pointer
Activate the on-screen pointer (mouse cursor)
to replace the function of the Navigation
buttons on the remote control. The on-screen
pointer is useful when you input text through
pop-up virtual keyboard, browse the Internet,
or use some certain apps.
Before you can use the on-screen pointer, pair
the remote control with the projector.
1 Go to the Bluetooth settings interface.
Select on the upper right of the home
screen, and press OK, then go to Projector
Settings - Bluetooth On. Enable Bluetooth
by selecting Switch Bluetooth if not
enabled.
2 Press and hold OK and on the remote
control until the LED on the remote control
flashes red. Bluetooth on the remote
control is activated.
3 Select Scan for devices in the Bluetooth
settings interface to search for Bleutooth
devices available.
4 Select Philips AirMote from the Bluetooth
device list, and press OK. Then the remote
control is paired with the projector.
To use on-screen pointer
1 When the remote control is paired with the
projector, press on the remote control to
display or cancel the on-screen pointer.
2 When the pointer (angled arrow) is
displayed on the projection screen,
move the remote control in the air then
the pointer moves across the screen
correspondingly.
3 Press the button on the remote control
to confirm selection (the OK button is
disabled).
4 The on-screen pointer is disabled if you
press the Navigation button on the remote
control. To enable the on-screen pointer
again, press .
Loading ...
Loading ...
Loading ...