Loading ...
Loading ...
Loading ...
10 Philips · PicoPix Max
Image shape correction
Auto correction (vertical keystone)
The projector can automatically correct the
image to be rectangular when you tilt the
projector upwards or downwards.
To enable auto vertical keystone correction,
select on the upper right of the home
screen, and press OK, then go to Projector
Settings - Image - Keystone Correction - Auto
Keystone Correction.
Calibration
Correct the image to be rectangular when the
projector is placed level, or if the auto keystone
correction does not correct the image ideally.
Perform image shape calibration as follows.
1 Place the projector on the floor, or a straight
(level) surface.
2 Enable auto vertical keystone correction,
select on the upper right of the home
screen, and press OK, then go to Projector
Settings - Image - Keystone Correction -
Auto Keystone Correction.
3 Select Calibration under Keystone
Correction, then press OK to perform
calibration.
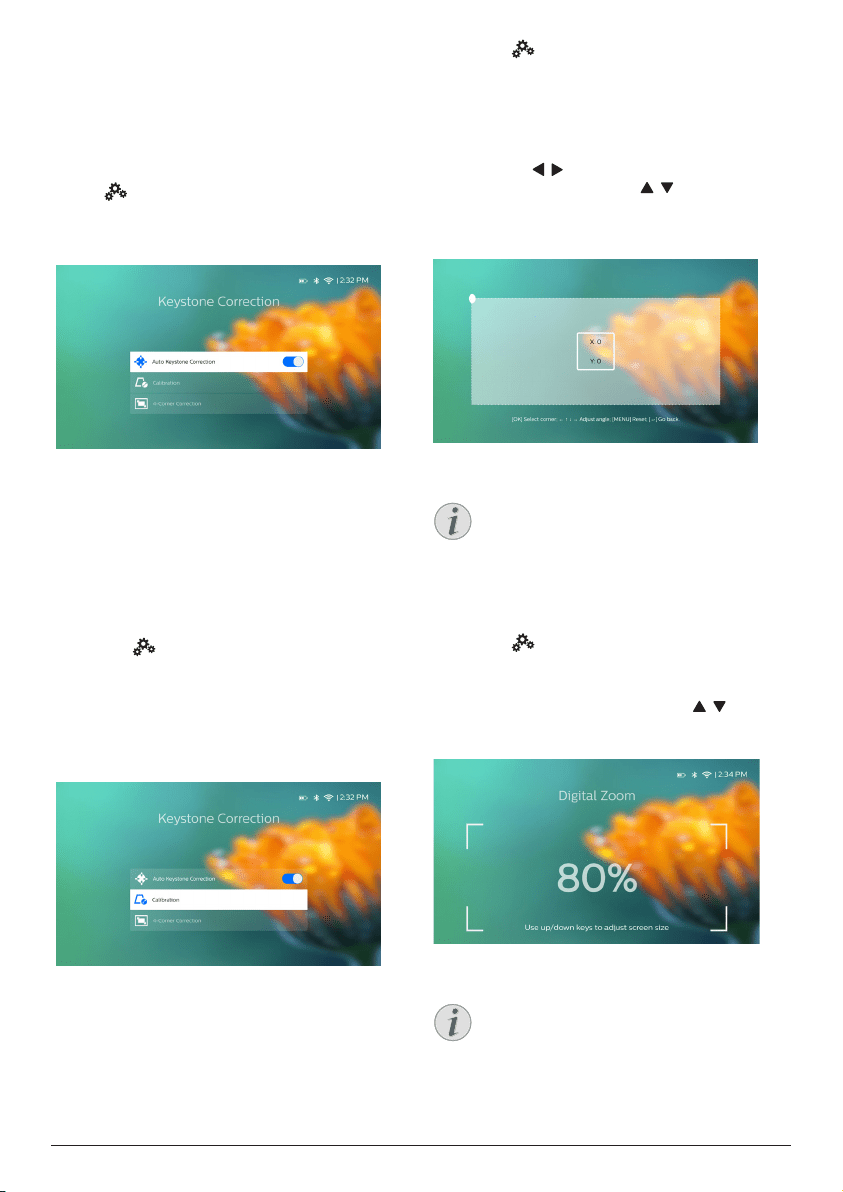
Customized correction (4-corner correction)
You can manually adjust the image shape by
re-positioning four corners of the projection
image. This also lets you correct for left or right
position of the projector.
1 Select on the upper right of the home
screen, and press OK, then go to Projector
Settings - Image - Keystone Correction -
4-Corner Correction.
2 In the 4-corner correction interface, press
OK to select an image corner, then press
and hold / to adjust the horizontal
positioning values, and / to adjust the
vertical positioning values. Repeat the
same step to adjust positioning values of
the other image corners if desired.
Notice
4-corner correction is not available when
using HDMI or USB-C video input.
Screen size adjustment (digital scalling)
You can manually reduce the screen size up to
80%.
1 Select on the upper right of the home
screen, and press OK, then go to Projector
Settings - Image - Digital Zoom.
2 In the zooming interface, press / to
adjust screen size with 80-100% scaling
range.
Notice
Digital zooming is not available when
using HDMI or USB-C video input.
Loading ...
Loading ...
Loading ...