Loading ...
Loading ...
Loading ...
Steps to Pressure Cook
Add ingredients to the inner pot and insert the inner pot into the cooker base.
Place the lid on the cooker base and turn it clockwise to close it.
Connect the power cord. The LCD will display OFF, indicating that the pressure cooker is in
standby mode.
Select the desired Smart Program: Soup/Broth, Rice, Canning, or Pressure Cook.
Touch the ‘Hour’ field to select it, then turn the central dial to adjust the time to the desired
hour. Repeat the process to adjust the ‘Minute’ field. Does not apply to Rice.
Touch the Pressure field to toggle between Low, High, and Max pressure and select the
desired pressure.
Touch the Keep Warm field to turn the setting ON or OFF.
Touch the Venting field to toggle between the venting options: NR, PR, QR, and select
the desired venting method.
Touch Start to begin. The pressure cooker will beep 3 times.
Depending on the amount of food and its temperature, the Pre-Heat cycle may take up to
40 minutes. As the cooker heats up and pressure builds, the float valve will rise on its own.
When working pressure is reached, the cooker will enter the Cook cycle and the LCD will
display the remaining cooking time.
When cooking is finished, the pressure cooker will either remain in Keep Warm mode or
standby mode displaying OFF.
The pressure will be released as selected in the Venting step: NR, PR, QR.
Ensure the float valve is down and the Pressure Indicator is OFF before opening the lid.
The following pressure cooking programs are available: Soup/Broth, Rice, Canning,
or Pressure Cook.
1
2
3
4
5
6
7
8
9
10
11
12
13
21
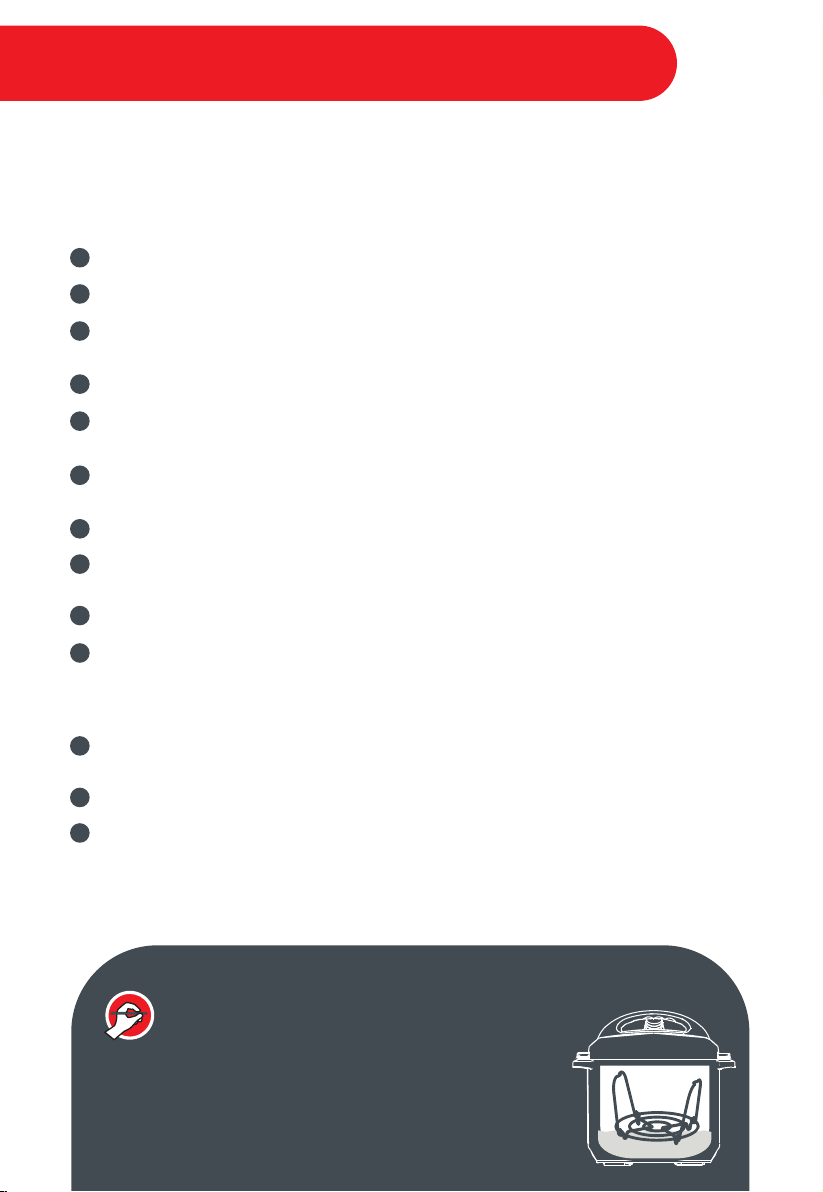
INSTANT TIP: Pressure Cook with the Steam Rack
When pressure cooking, use the steam rack to lift your
food out of the cooking liquid. This will help distribute
heat evenly and prevent the leeching of nutrients.
Smart Program - Pressure Cook
Loading ...
Loading ...
Loading ...