Loading ...
Loading ...
Loading ...
121
1
2
3
4
5
6
7
8
9
10
Cover
Before Use
Common Camera
Operations
Advanced Guide
Camera Basics
Auto Mode /
Hybrid Auto Mode
Other Shooting
Modes
Tv, Av, M, C1,
and C2 Mode
Playback Mode
Wi-Fi Functions
Setting Menu
Accessories
Appendix
Index
Basic Guide
P Mode
• If [Auto] does not produce the expected results, try correcting images using
[Low], [Medium], or [High].
Still Images
Correcting Red-Eye
Automatically corrects images affected by red-eye. You can save the
correctedimageasaseparatele.
1 Choose [Red-Eye Correction].
Press the <n> button, and then
choose [Red-Eye Correction] on the [1]
tab (=
25).
2 Choose an image.
Press the <q><r> buttons or turn the
<7> dial to choose an image.
3 Correct the image.
Press the <m> button.
Red-eye detected by the camera is now
corrected, and frames are displayed
around corrected image areas.
Enlarge or reduce images as needed.
Follow the steps in “Magnifying Images”
(=
109).
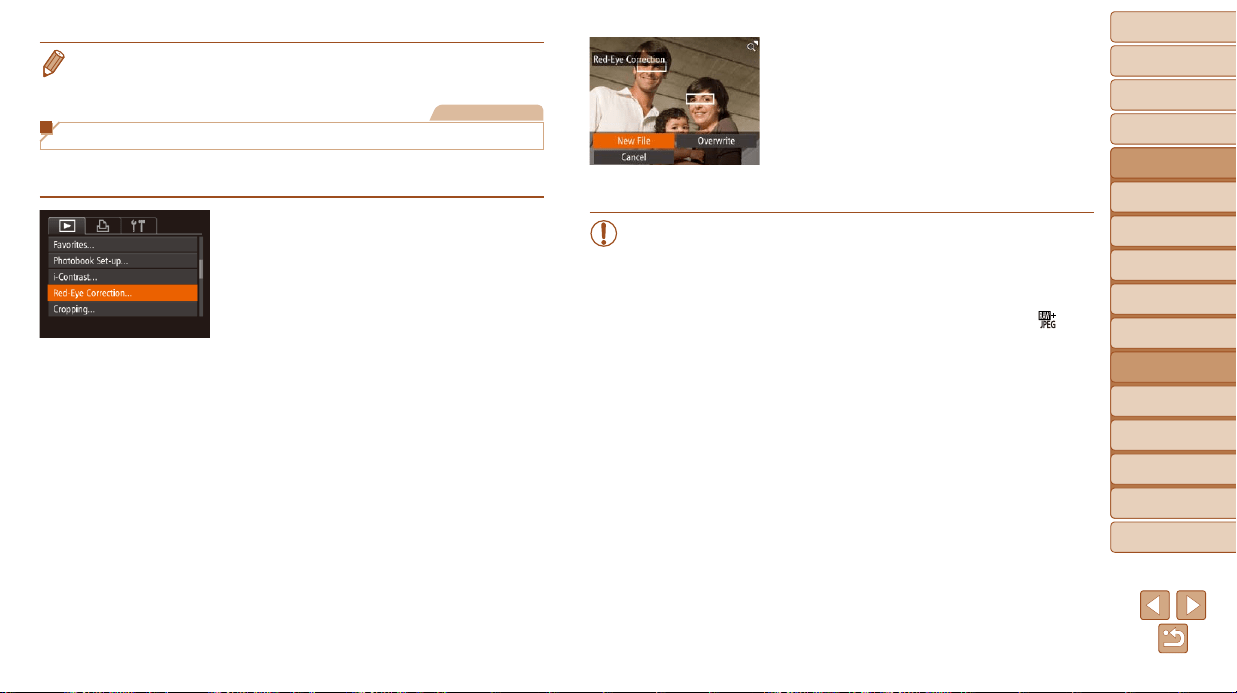
4 Save as a new image and
review.
Press the <o><p><q><r> buttons or
turn the <7> dial to choose [New File],
and then press the <m> button.
Theimageisnowsavedasanewle.
Follow step 5 in “Resizing Images”
(=
119).
• Some images may not be corrected accurately.
• To overwrite the original image with the corrected image, choose
[Overwrite] in step 4. In this case, the original image will be erased.
• Protected images cannot be overwritten.
• RAW images cannot be edited this way.
• Red-eye correction can be applied to JPEG images shot in [
], but
the original image cannot be overwritten.
Loading ...
Loading ...
Loading ...