Loading ...
Loading ...
Loading ...
106
1
2
3
4
5
6
7
8
9
10
Cover
Before Use
Common Camera
Operations
Advanced Guide
Camera Basics
Auto Mode /
Hybrid Auto Mode
Other Shooting
Modes
Tv, Av, M, C1,
and C2 Mode
Playback Mode
Wi-Fi Functions
Setting Menu
Accessories
Appendix
Index
Basic Guide
P Mode
Still Images Movies
Finding Images Matching Specied
Conditions
Finddesiredimagesquicklyonamemorycardfullofimagesbyltering
imagedisplayaccordingtoyourspeciedconditions.Youcanalsoprotect
(=
111) or delete (=
114) these images all at once.
Favorites
Displays images tagged as favorites (=
117).
Shot Date Displaystheimagesshotonaspecicdate.
People Displays images with detected faces.
Still image/Movie
Displays still images, movies, or movies shot in
[
] mode (=
31).
Name
Displays images of a registered person (=
39).
Still Images Movies
Filtering Display by [ ], [ ], [ ], or [ ]
1 Choosetherstconditionfor
image display or navigation.
In single-image display, press the < >
button, and then press the <o><p>
buttonstochooseadisplaylter.
When [ ] or [ ] is selected, you can
view only images matching this condition
by pressing the <q><r> buttons or
turning the <7> dial. To perform an
action for all of these images together,
press the <m> button and go to step 3.
2 Choose the second condition
and check the images found.
Press the <q><r> buttons to choose
another condition. Once you turn the
<7> dial, you can view the images
narrowed down by your conditions.
To cancel this mode, press the <n>
button.
Toswitchtolteredimagedisplay,press
the <m> button and go to step 3.
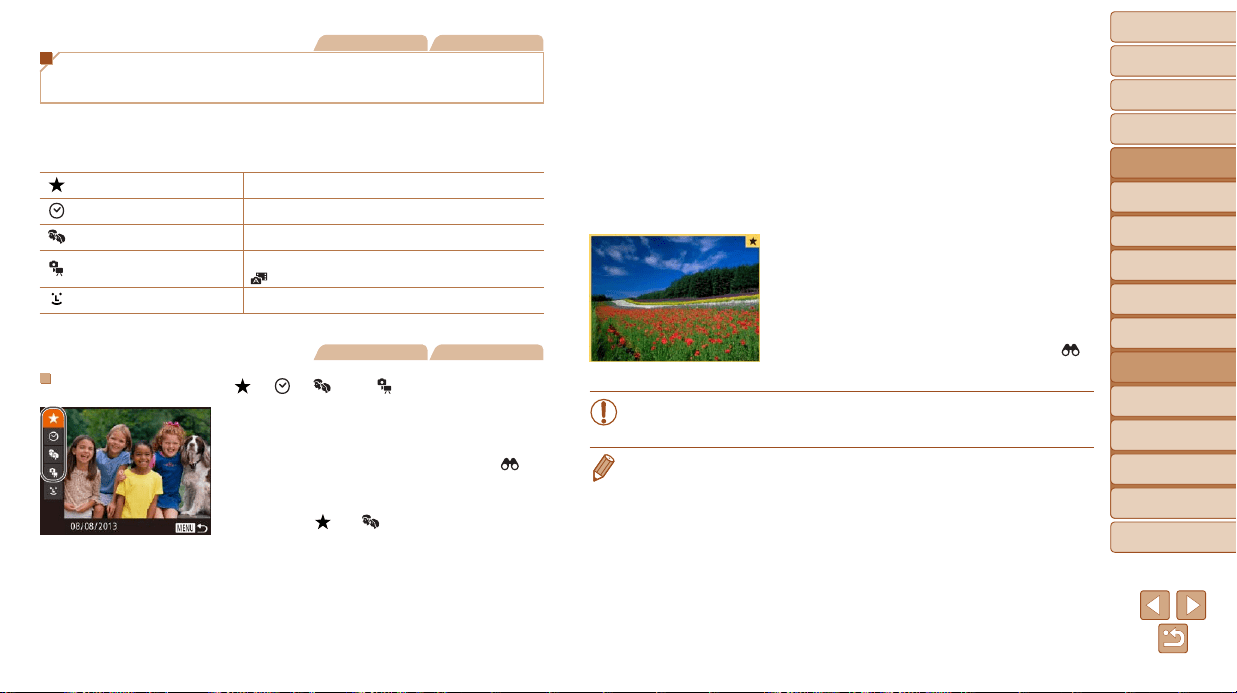
3 Viewthelteredimages.
Images matching your conditions are
displayed in yellow frames. To view
only these images, press the <q><r>
buttons, or turn the <7> dial.
Tocancelltereddisplay,pressthe< >
button.
• When the camera has found no corresponding images for some
conditions, those conditions will not be available.
• To show or hide information, press the <p> button in step 3.
• Options for viewing the images found (in step 3) include “Navigating through
Images in an Index” (=
105), “Magnifying Images” (=
109), and “Viewing
Slideshows” (=
110). You can protect, erase, or print all images found or add
them to a photobook by choosing [Select All Images in Search] in “Protecting
Images” (=
111), “Erasing Multiple Images at Once” (=
114), “Adding
Images to the Print List (DPOF)” (=
180), or “Adding Images to a Photobook”
(=
182).
• If you edit images and save them as new images (=
118 – 121), a message
is displayed, and the images that were found are no longer shown.
Loading ...
Loading ...
Loading ...