Loading ...
Loading ...
Loading ...
Advanced Projection
164
■ Black Level Adjustment
In overlapping projection, dark colors are projected with less intensity than other
colors in the overlapping area. You can make this overlapping area less distracting
by adjusting the black level of non-overlapping image areas.
Here, the non-overlapping image area (from the end marker toward the center of
the image) is called area “D.”
Normally, three areas are identified in the context of end markers: A, B, and C.
In the following instructions, only area D is adjusted, and the widths of A, B, and C
are left at the default value of 0.
1 In the [Install settings] menu, select [Professional settings] > [Edge
blending] > [Adjust] > [Black level adjustment] > [Adjust].
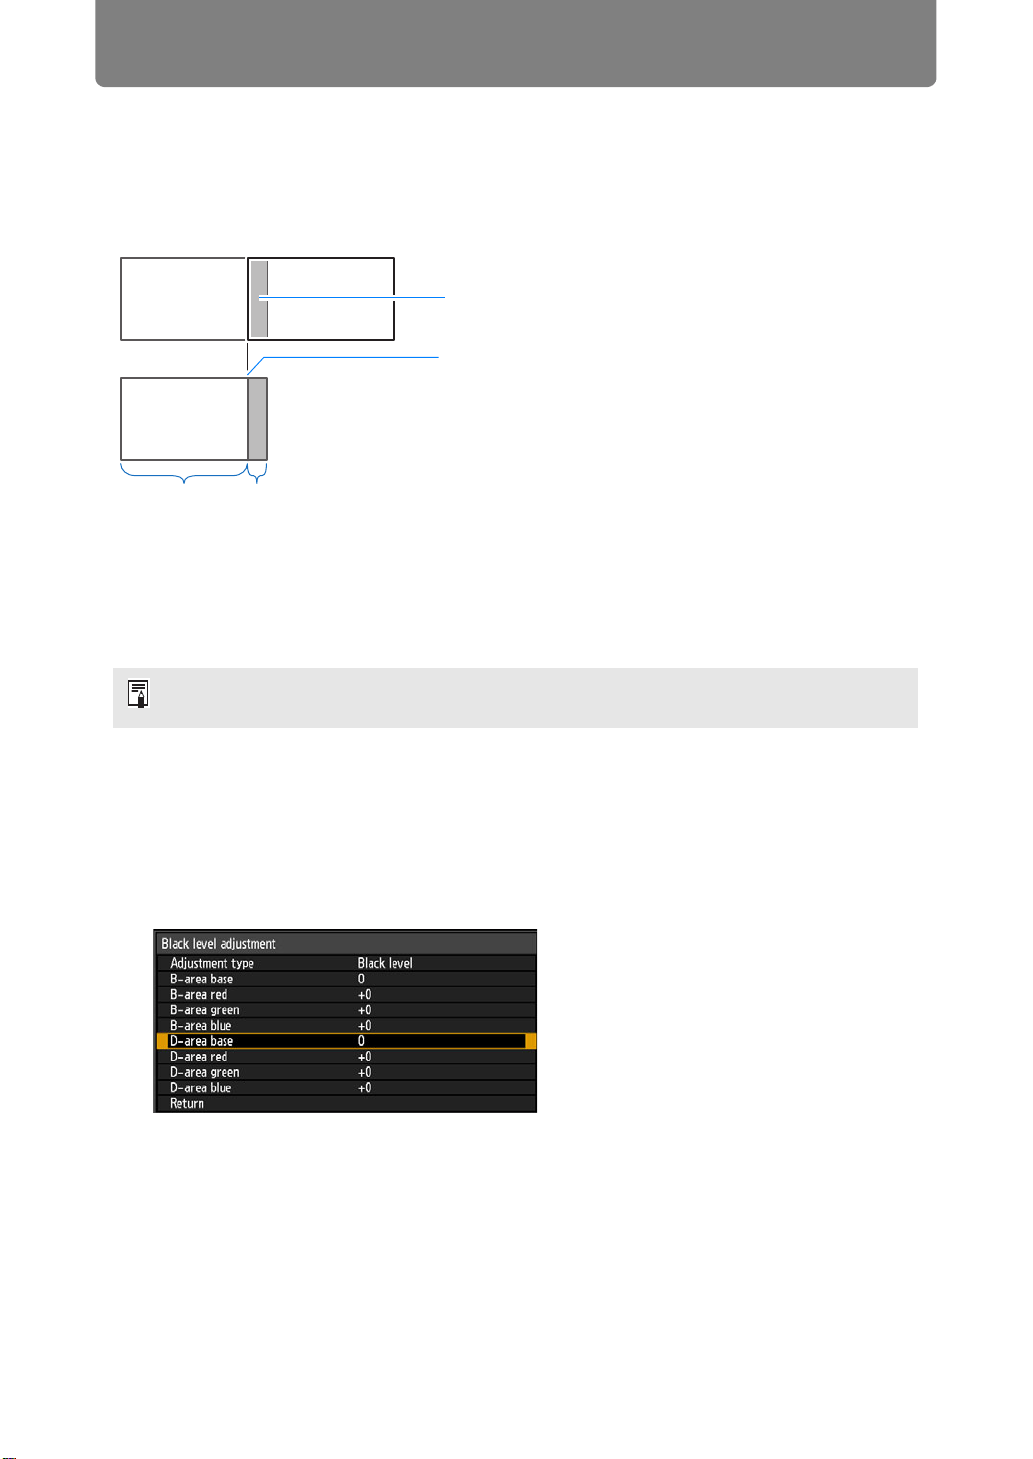
2 Select [Adjustment type] > [Black level].
3 After selecting [D-area base], as you watch the image, adjust the values
so that the brightness and colors of the blending area and area D match.
Adjust [D-area base] to lighten the black level, and adjust [Red], [Green], and
[Blue] to obtain an optimal black level color tone, as needed.
4 Repeat this adjustment on all projectors.
To prepare for adjustment, set [No signal screen] to [Black], start projection with no input
signal, and turn off the room lights, so that you can check dark image areas. (P117)
Area where dark colors look lighter
Left image Right image
Position of end marker (hidden)
D-area Blending area
Loading ...
Loading ...
Loading ...