Loading ...
Loading ...
Loading ...
16
• Preparation of each cappuccino or milk-based coee can
be customised (see sections “14. Customising the drinks”
and “15. Memorising your personal prole”).
• Do not leave the milk container out of the refrigerator for
long periods. The warmer the milk (5°C is ideal), the poorer
the quality of froth produced.
Once the coee has been made, the appliance is ready to make
the next drink.
10.4 Cleaning the milk container after every use
Important! Danger of burns
When cleaning the internal tubes of the milk container, a little
hot water and steam leak out of the frothed milk spout (D5).
Avoid contact with splashes of water.
Each time you use a milk function, “TURN DIAL TO <CLEAN>
POSITION TO START CLEANING” appears on the display:
1. Leave the milk container (D) in the machine (you do not
need to empty it);
2. Place a cup or other recipient under the frothed milk spout
(g. 20);
3. Turn the froth adjustment dial (D1) to “CLEAN”. “CLEANING
MILK CONTAINER UNDERWAY PLACE A RECIPIENT UNDER
MILK SPOUT” appears on the display (B) (g. 21) togeth-
er with a bar which gradually lls as cleaning progresses.
Cleaning stops automatically;
4. Turn the dial back to one of the froth selections;
5. Remove the milk container and always clean the steam
connection nozzle (A9) with a sponge (g. 22).
Please note!
• To prepare a number of cappuccinos or milk-based coees,
clean the milk container after you have prepared the last
drink only. To proceed with making the next drinks, press “
ESC”.
• If you do not clean the milk container, the sym-
bol appears on the display to remind you that it needs
cleaning.
• The milk container can be kept in the refrigerator.
• In some cases, before cleaning you must wait for the appli-
ance to heat up.
11.
MAKING HOT CHOCOLATE
Please note!
When in energy saving mode, a few seconds may elapse before
the rst drink is delivered.
You can make one or two cups of hot chocolate.
Choose CHOCOLATE from the homepage, then proceed as
follows:
1. Lift the carafe lid (E1) (g. 23);
2. Pull the release slide (E6) and extract the carafe funnel (E2)
(g. 23);
3. Make sure the steam spout (E3) and stirrer (E4) are insert-
ed (g. 24);
4. “INSERT STIRRER IN CHOCOLATE CARAFE (STEP 1 OF 4)”
(g. 25): attach the funnel to the carafe, then press “
NEXT”;
5. “POUR MILK OR WATER (STEP 2 OF 4)” (g. 26): to make
one cup of chocolate, pour milk at refrigerator temperature
(or cold water) into the funnel up to the level. To
make two cups or one mug of hot chocolate, pour the milk
(or water) into the funnel up to the level.
When you have added the milk, press “
NEXT”;
6. “ADD CHOCOLATE POWDER THROUGH THE FUNNEL (STEP
3 OF 4)” (g. 27): to make one cup of chocolate, add two
measures (C2) (25 g) of hot chocolate powder. To make two
cups or one mug of hot chocolate, added 4 measures of hot
chocolate powder. When you have added the hot chocolate
powder, press “
NEXT”;
Important!
• Make sure the hole in the funnel shown in g. 28 is clean.
Please note!
• The milk must be poured into the funnel when the steam
spout and stirrer are already in place. Do not exceed the
MAX level marked on the carafe. Increase or reduce the
quantity of hot chocolate powder according to taste.
• To use water instead of milk, follow the instructions for
milk.
• To prepare hot chocolate correctly, rst pour the milk into
the funnel, then add the hot chocolate or cocoa powder as
shown on the hot chocolate carafe lid.
7. “CLOSE THE LID AND INSERT CHOCOLATE CARAFE (STEP 4
OF 4)”: Close the lid (g. 29) and attach the carafe to the
connection nozzle, pushing as far as it will go (g. 30). The
appliance emits a beep (if the beep function is enabled).
The hot chocolate settings screen is displayed;
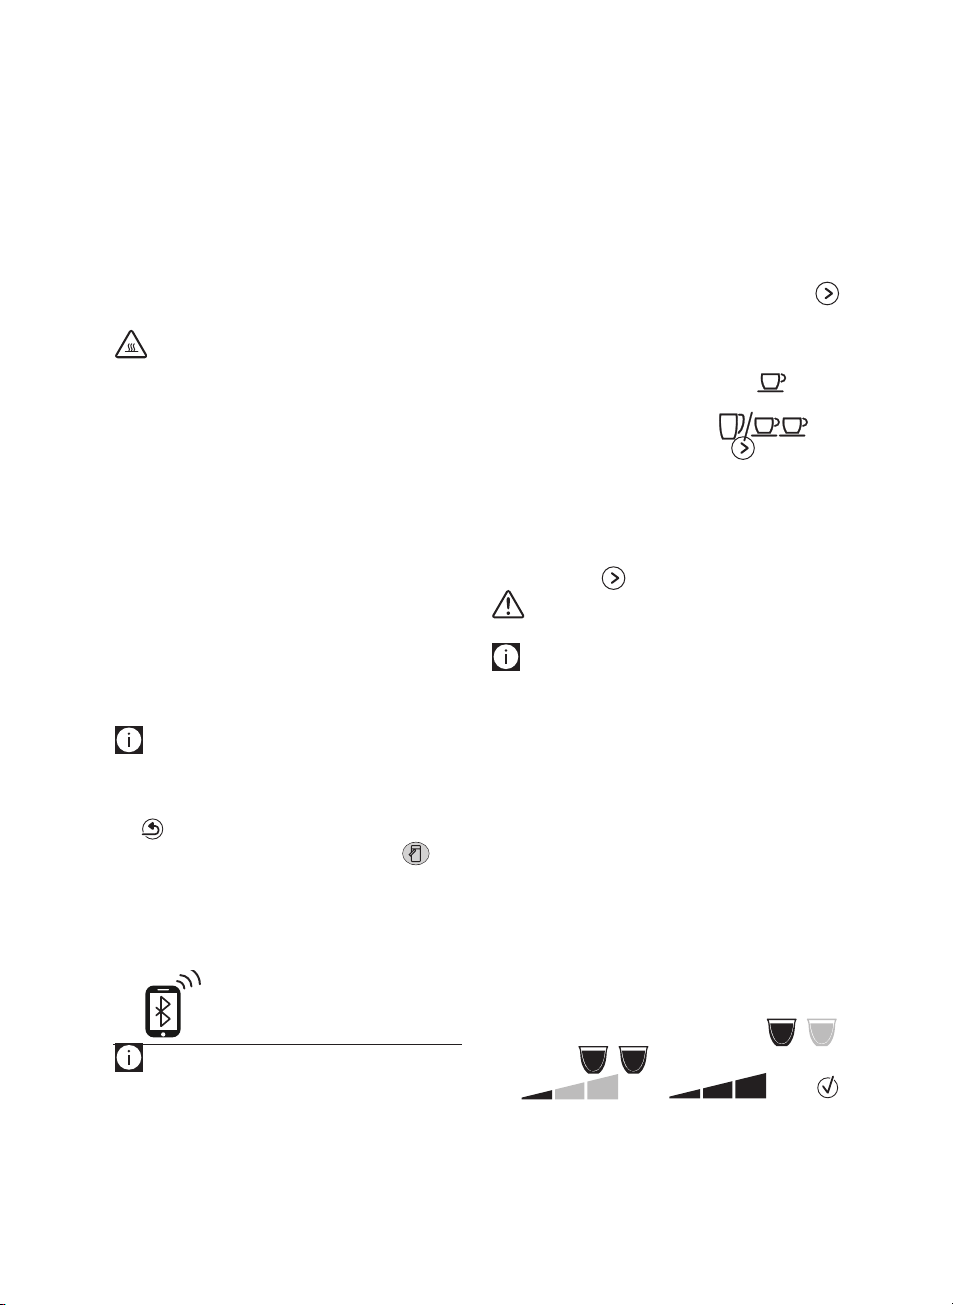
8.
“SELECT CUPS NUMBER AND DENSITY, PRESS OK TO START”:
press the selection arrows to choose 1 cup (
or 2 cups ( )
and the required density (min=
; max = ). Press “
OK” to start the function. The appliance starts mixing the
hot chocolate powder then delivers steam to heat it.
Loading ...
Loading ...
Loading ...