Loading ...
Loading ...
Loading ...
7
EN
DE
FR
NL
IT
DA
SV
NO
FI
Pressure release and removing the lid
• You can release pressure in two ways:
1. Automatic pressure release: When the appliance is in Keep Warm,
pressure will drop slowly (takes between 12 min and 30 min). Please
bear in mind that during this time, cooking will continue. You can
switch to quick pressure release at any time.
2. Quick pressure release: Place the pressure valve on to release
pressure
- fig. 15. Steam will immediately start to be released.
• Hot steam will be released upwards. When releasing pressure, keep your
hands and face away from hot steam ejected from the pressure limit
valve.
• As the pressure limit valve may be hot, we recommend using a kitchen
utensil like tongs or a wooden spoon or using gloves as protection to turn
the valve.
• Unplug the power cord - fig. 16.
• To remove lid, take hold of the handle, turn it clockwise and lift the lid
- fig. 2 + 3.
Cleaning and maintenance
• Once your food is cooked, unplug the appliance before
cleaning it - fig. 16. It is recommended to clean your
appliance after each use. Pay specific attention to the
cleaning of the sealing gasket.
• Clean the housing with a damp cloth. Do not immerse the appliance in water or pour water into
the housing.
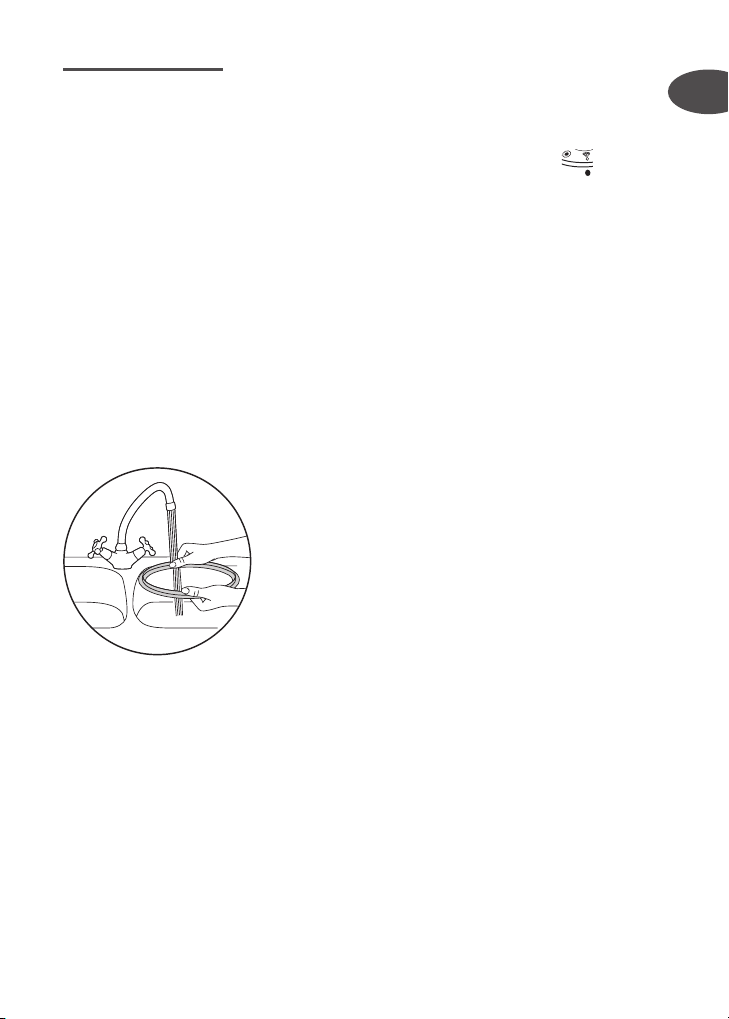
• Remove the condensation collector and clean it thoroughly under water. Place it back in its
original position - fig. 17 + 18.
• Clean the upper rim of the cooking pot with a damp cloth.
• Rinse the inside of the lid including the sealing gasket, pressure limit valve, float valve
protective cover, air escape and float valve. Dry them off thoroughly before placing them back.
• Clean the cooking pot, condensation collector and steaming basket in the dishwasher - fig. 4.
Do not use a scourer to clean the pot as this can damage the non stick coating.
• To clean the gasket supporting cover, separate the gasket supporting cover from the lid. To do
this, take a hold of the knob on the lid and pull the sealing gasket upwards. Once clean, place
the gasket and gasket supporting cover back in their original position - fig. 19 + 23.
MULTICOOK_NC00013813_Mise en page 1 16/03/10 16:48 Page7
Loading ...
Loading ...
Loading ...