Loading ...
Loading ...
Loading ...
u
Regularly clean the drain opening to allow the water to flow
away (see 6.5) .
Freezer compartment:
A layer of frost or ice can build up in the freezer compartment
after a long period of operation.
The layer of frost or ice builds up faster if the appliance is
opened often or if the food is warm when placed inside.
However, a thick layer of ice will increase the appliance‘s
energy consumption. You should therefore defrost the appli-
ance regularly.
Thawing process:
WARNING
Danger of injury and damage
u
Do not use any mechanical aids or other means not recom-
mended by the manufacturer in order to accelerate the
defrosting process.
u
Do not use electrical heating or steam cleaning equipment,
open flames or defrosting sprays to defrost.
u
Do not use sharp implements to remove the ice.
u
Do not damage the pipework in the refrigerant circuit.
u
Switch on SuperFrost one day before defrosting.
w
The frozen goods are provided with a “cold reserve”.
u
Switch off the appliance.
u
Pull out the power plug or switch off the fuse.
u
If possible, put the frozen goods in the freezer drawer,
wrapped in newspaper or a blanket, and store in a cool
place.
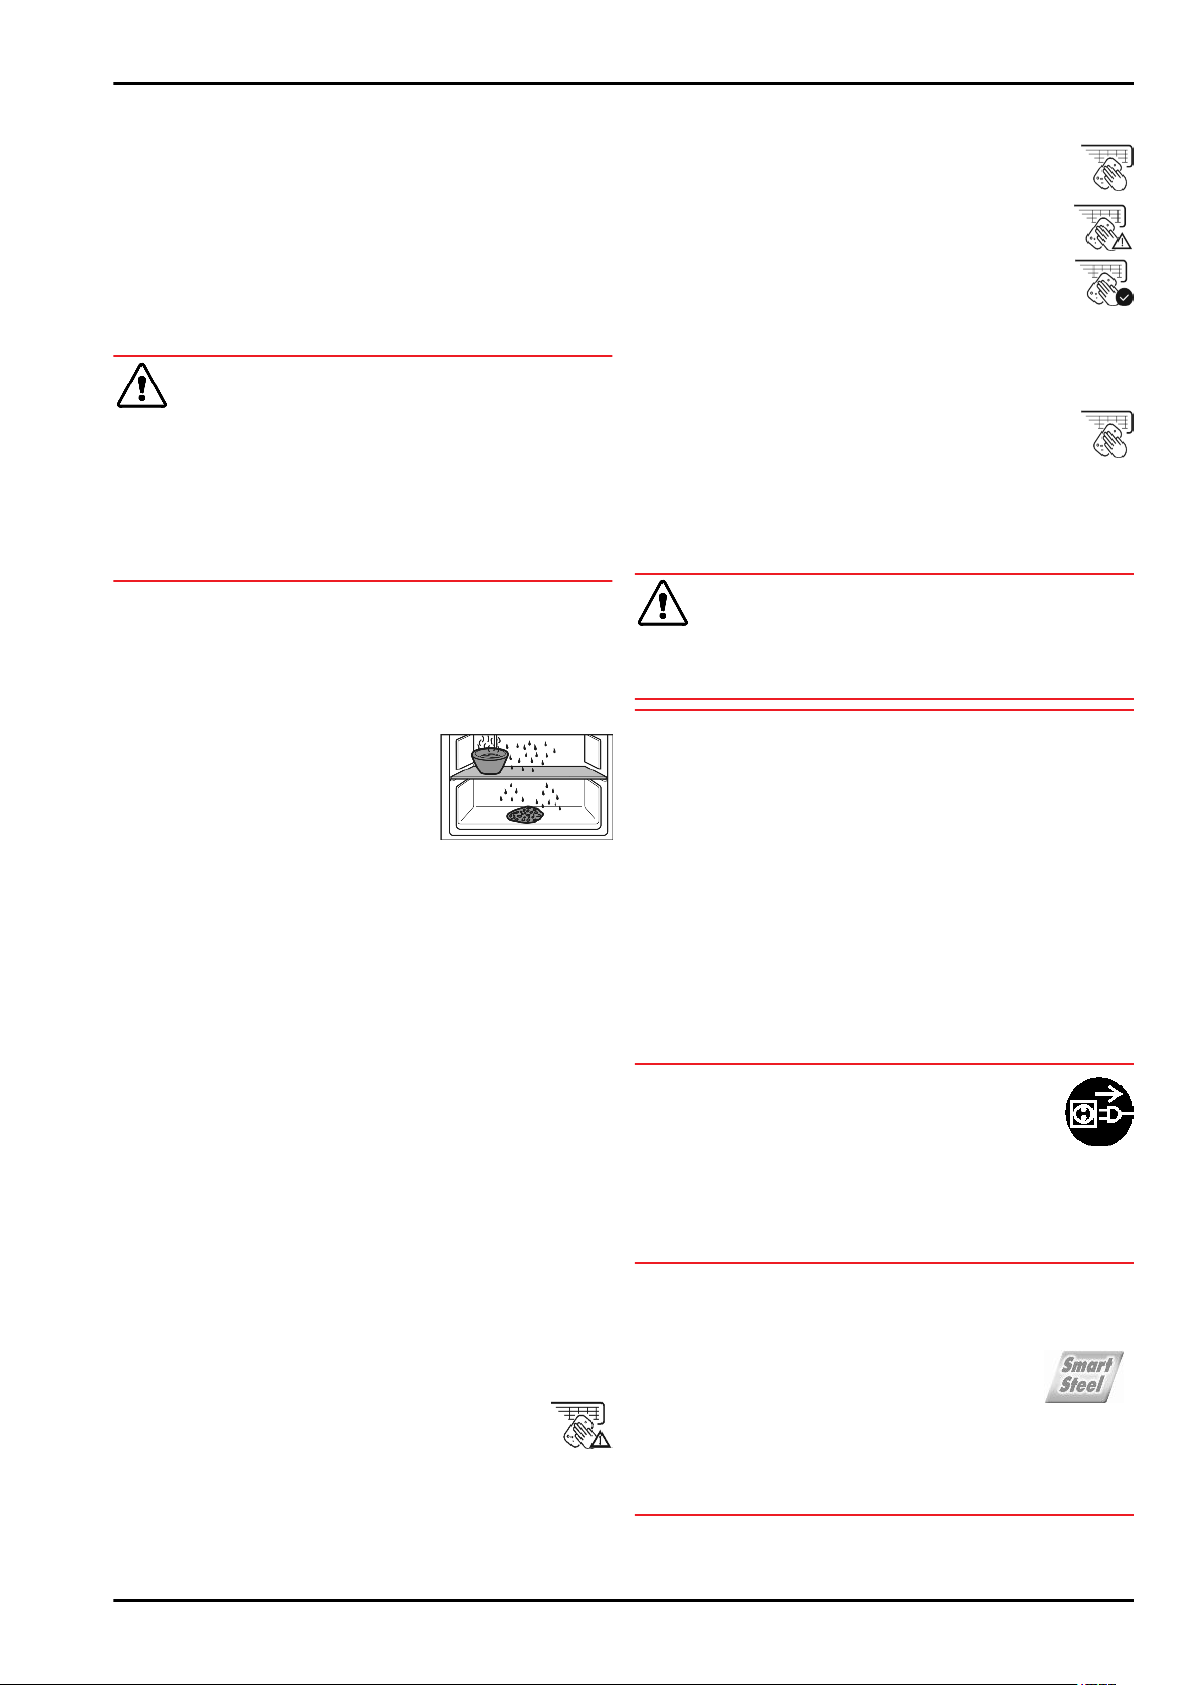
u
Place a pan with hot, not boiling
water on a middle shelf.
w
Defrosting is speeded up.
u
Leave the door of the appliance open while defrosting.
u
Remove detached pieces of ice.
u
If necessary, pick up defrost water several times, using a
sponge or cloth.
u
Clean the appliance (see 6.5) .
6.3 Defrosting with NoFrost*
The NoFrost system automatically defrosts the appliance.
Refrigerator compartment:
The defrost water evaporates due to the compressor heat.
Drops of water on the rear wall are perfectly normal.
u
Regularly clean the drain opening to allow the water to flow
away (see 6.5) .
Freezer compartment:
The moisture condenses on the evaporator, is periodically
defrosted and evaporates.
u
The appliance does not have to be manually defrosted.
6.4 Cleaning the ventilation grid
The ventilation grid ensures that the appliance works properly
due to optimum aeration and ventilation.
u
Clean the ventilation grid regularly with a vacuum cleaner.
u
Remove stubborn stains with a soft cloth.
When the timer is set a message on the display
prompts you to clean it. The clean ventilation grid
symbol appears on the screen.
u
Press the clean ventilation grid symbol.
w
The display switches to the home screen.
The message can be displayed again by pressing the menu
field until it has been cleaned and this has been confirmed.
(see 8) .
Confirming that the ventilation grid has been cleaned
u
Press menu.
u
Press the navigation arrows until the ventilation grid
is displayed.
u
Press the ventilation grid symbol.
u
Press the navigation arrows until clean ventilation
grid is displayed.
u
Press RESET.
w
The timer is reset. The cleaning interval starts all
over again.
Turning the timer off
If the reminder function is to be switched off the timer can be
turned off.
u
Press menu.
u
Press the navigation arrows until the ventilation grid
is displayed.
u
Press the ventilation grid symbol.
u
Press OFF.
w
The timer is turned off.
6.5 Cleaning the appliance
WARNING
Risk of injury and damage as a result of hot steam!
Hot steam can lead to burns and can damage the surfaces.
u
Do not use any steam cleaners!
NOTICE
Incorrect cleaning damages the appliance!
u
Do not use cleaning agents in concentrated form.
u
Do not use any scouring or abrasive sponges or steel wool.
u
Do not use any sharp or abrasive cleaning agents, nor any
that contain sand, chloride or acid.
u
Do not use chemical solvents.
u
Do not damage or remove the type plate on the inside of the
appliance. It is important for the customer service.
u
Do not pull off, bend or damage cables or other compo-
nents.
u
Do not allow any cleaning water to enter the drain channel,
ventilation grille or electrical parts.
u
Please use soft cleaning cloths and a universal pH-neutral
cleaning agent.
u
Please use cleaning and care products suitable for contact
with foodstuffs in the appliance interior.
u
Empty appliance.
u
Pull out the power plug.
u
Clean plastic outer and inner surfaces with lukewarm
water and a little washing-up liquid.
u
Only use a soft clean cloth to wipe side walls with a paint
finish. In the case of heavy soiling, use lukewarm water with
neutral cleaning agent.*
NOTICE
Risk of damage from stainless steel care products!
The stainless steel doors and stainless steel side panels
are treated with a premium surface finish.
Stainless steel care products attack these surfaces.
u
Only use a soft, clean cloth to wipe down finished door
and side panel surfaces and painted door and side
panel surfaces. To remove heavy dirt, use a little water or
neutral detergent. Alternatively, you can use a micro-fibre
cloth.
Maintenance
22 * Depending on model and options
Loading ...
Loading ...
Loading ...