Loading ...
Loading ...
Loading ...
50
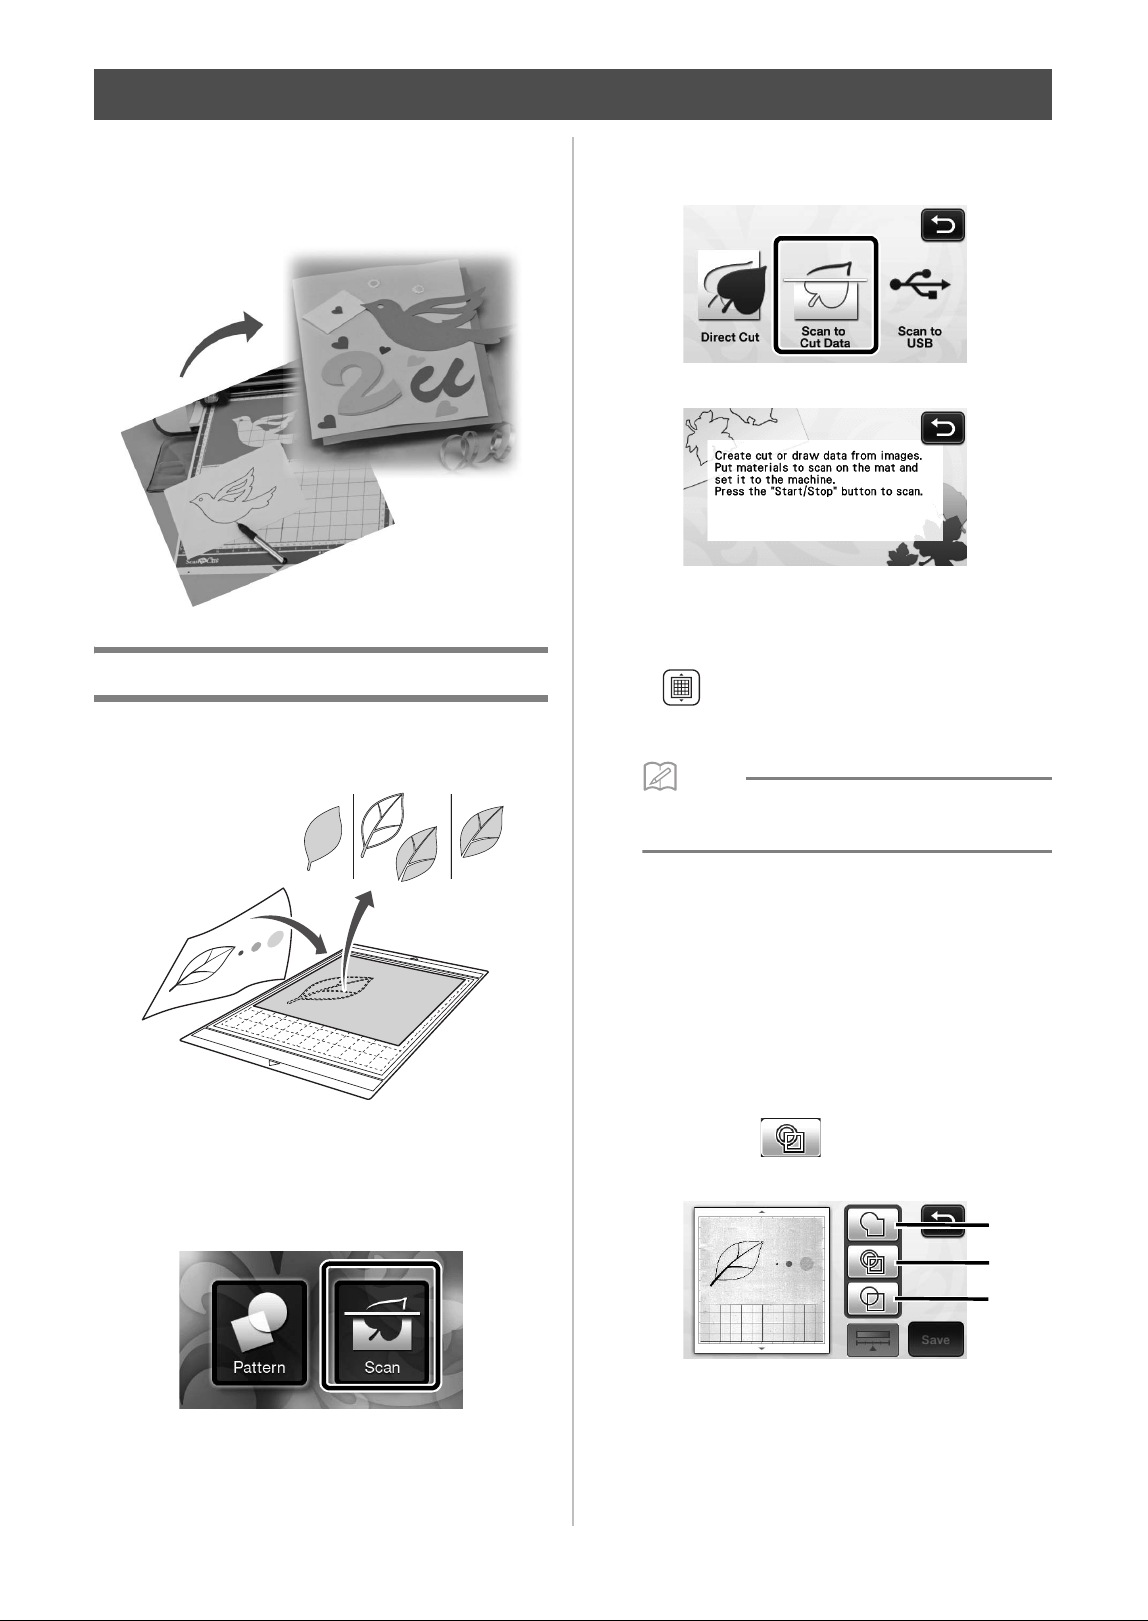
A printed pattern or image or an original hand-drawn
illustration can be scanned, converted to cutting
lines for cutting/drawing with this machine, then
saved as data.
Tutorial 4- Creating Cutting Data
In this tutorial, we will save an illustration drawn on
paper as cutting data.
■ Scanning
a Touch the “Scan” key in the home screen to
select the scanning mode.
b Select “Scan to Cut Data” in the scanning mode
selection screen.
X A message appears.
c Attach the original to the mat, and then load
the mat into the feed slot.
• Lightly insert the mat into the feed slot, and press
in the operation panel.
• For details on loading the mat, see “Loading the
Mat” on page 20.
Memo
• In “Scan to Cut Data” mode, the optional 12" ×
24" (305 mm × 610 mm) mat cannot be used.
d Press the “Start/Stop” button to start scanning.
X When scanning is finished, the scanned image
appears in the screen.
■ Editing Cutting Data
a Select the cutting line type in the image editing
screen.
The image shape is detected and cutting lines are
created based on one of three standards. For this
example, touch to create cutting lines using
region detection.
CREATING CUTTING DATA (Scan to Cut Data)
b
a
c
Loading ...
Loading ...
Loading ...