Loading ...
Loading ...
Loading ...
44
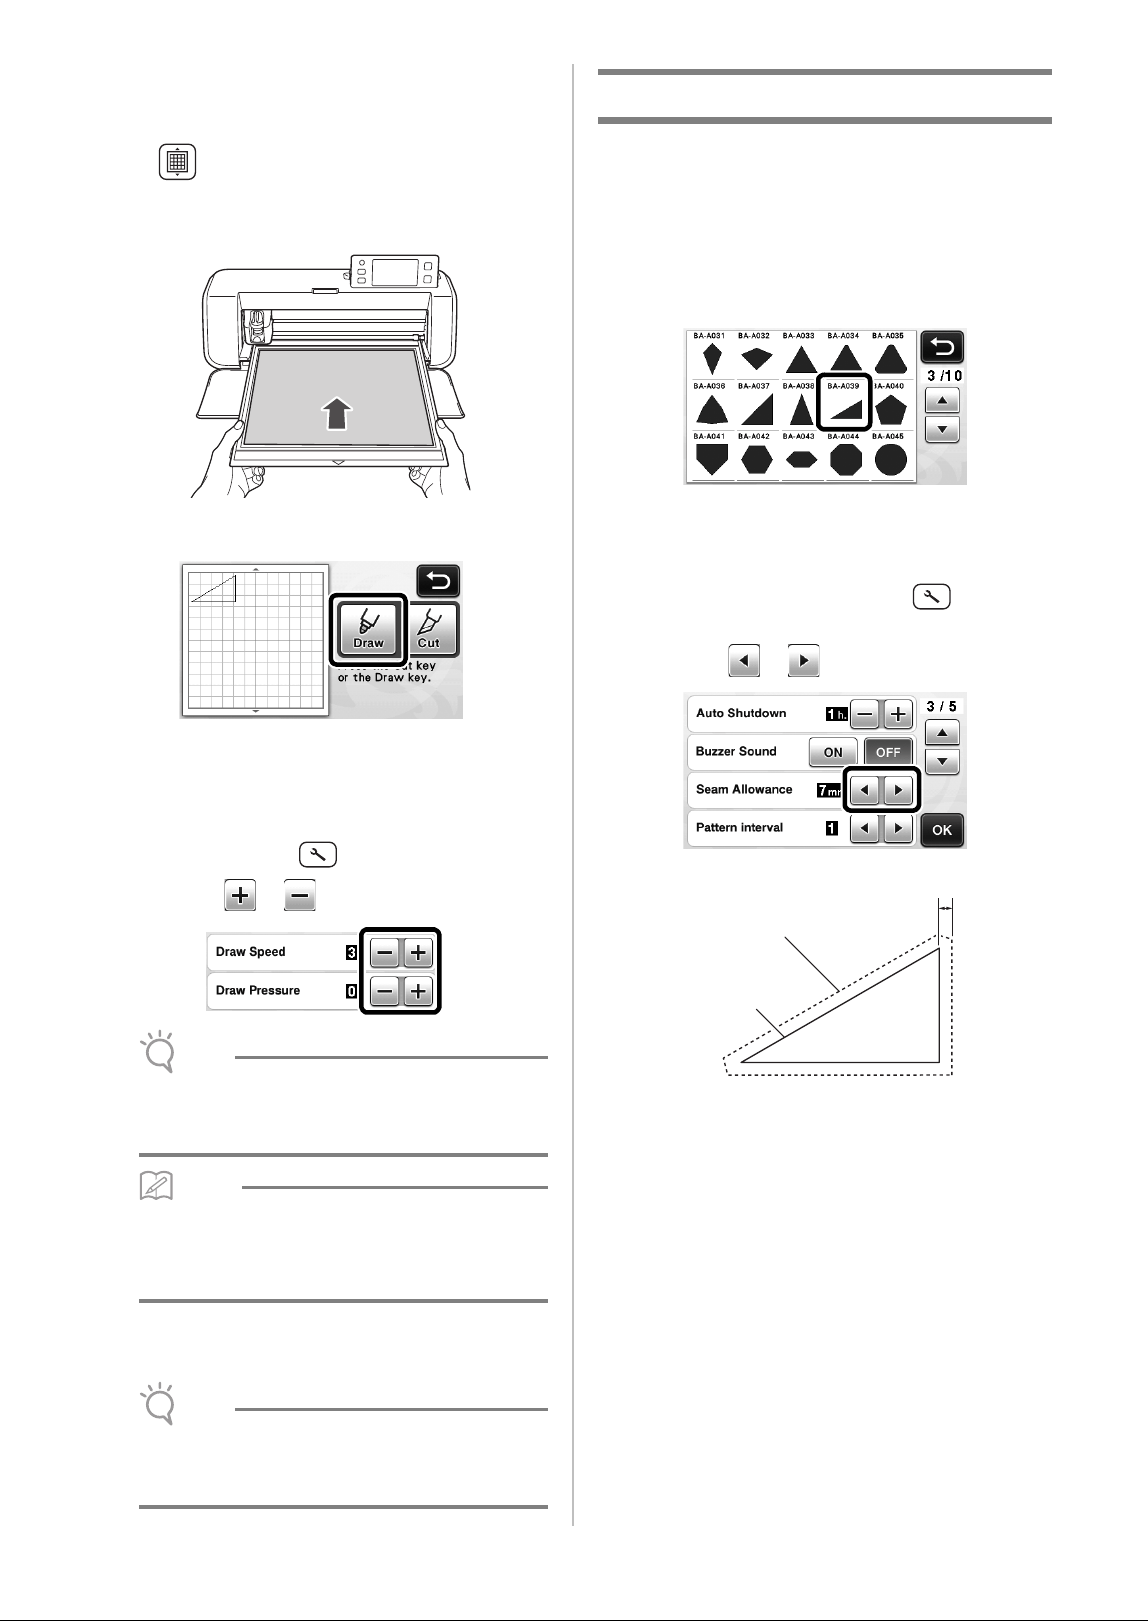
c Load the mat with the material for drawing
(cutting) attached.
• Lightly insert the mat into the feed slot, and press
in the operation panel.
• For details on inserting the mat, see “Loading the
Mat” on page 20.
d Select “Draw” in the draw/cut selection screen.
X The drawing line (blue) appears.
e Adjust the drawing speed and pressure.
Before drawing the pattern, adjust the drawing speed
and pressure. These adjustments can be made from the
settings screen. Press in the operation panel.
X Touch or to change the settings.
Note
• If the drawing pressure is too high, the pen tip
may be damaged. Adjust it to an appropriate
setting.
Memo
• Adjustments to the drawing pressure will affect
the finished product. Use the same material
that the pattern will be drawn on to make the
adjustments.
f Press the “Start/Stop” button in the operation
panel to start drawing.
Note
• After use, remove the pen from the pen holder,
and then attach the cap to the pen before
storing it.
Cutting Around Drawings
In this example, we will specify a seam allowance
for a built-in pattern and draw the pattern, then cut
an outline around it.
■ Specifying the Seam Allowance
a Touch the pattern to be drawn.
b Adjust the seam allowance.
Specify the seam allowance, which is the distance
from the pattern outline to the cutting line around the
pattern, in the settings screen. Press in the
operation panel to display the settings screen.
X Touch or to change setting.
a Seam allowance line
b Pattern outline (stitching line)
c Seam allowance
X Touch the “OK” key to finish specifying the
setting and return to the pattern editing screen.
c
a
b
Loading ...
Loading ...
Loading ...