Loading ...
Loading ...
Loading ...
39
3
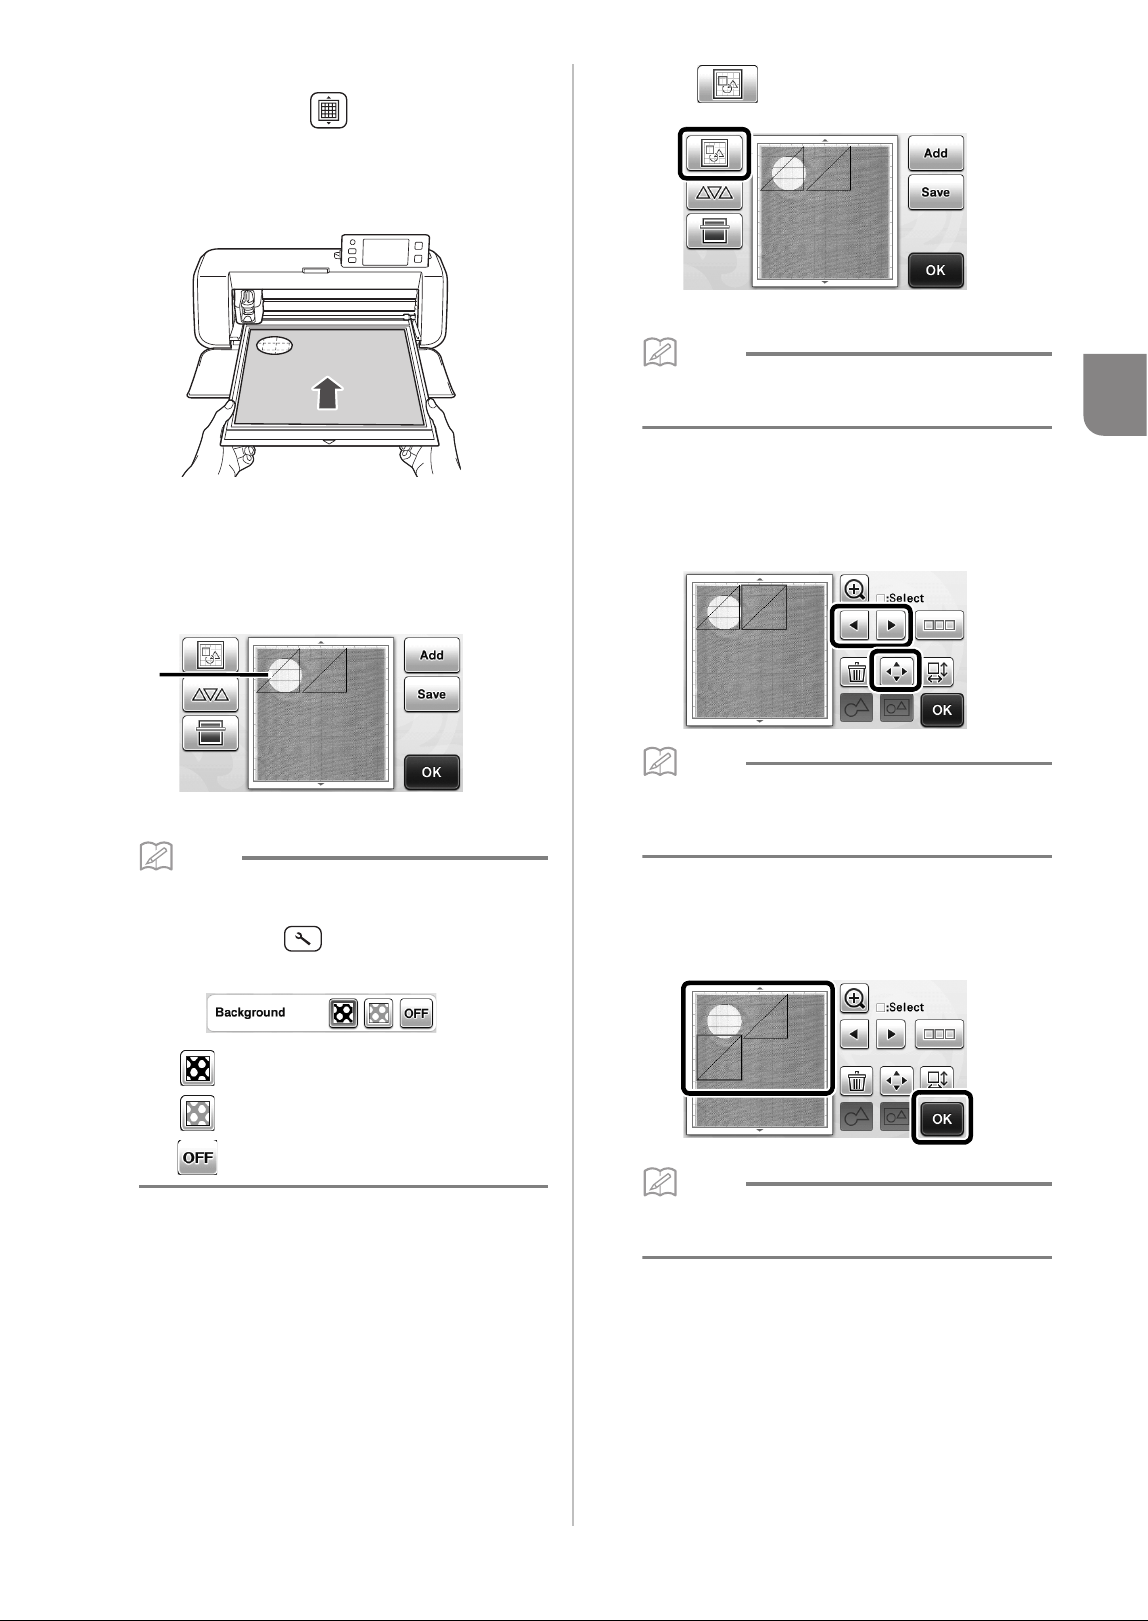
b Attach the material for the background to the
mat, and then press in the operation
panel.
For details on preparing the material and loading the
mat, see “Loading the Mat” on page 20.
X The mat is fed in, and the “Start/Stop” button in
the operation panel lights up.
c Press the “Start/Stop” button to start scanning.
X After the material has been scanned, it appears as
the background in the pattern layout screen.
a Material with a cutout displayed as background
Memo
• If it is difficult to see the arranged patterns,
adjust the background contrast in the settings
screen. Press in the operation panel to
display the settings screen.
X : Makes the background image darker.
X : Makes the background image lighter.
X : Does not display the background image.
d Touch .
X The layout editing screen appears.
Memo
• The pattern can also be moved by touching and
dragging it in the screen.
e Use the layout editing functions to move the
patterns.
• For details on moving patterns, see “Layout Editing
Functions” on page 35.
Memo
• The pattern can also be moved by touching the
pattern(s) displayed in the layout editing screen
and dragging it in the screen.
f Check that the patterns in the screen do not
overlap the cutouts in the background material
and then touch the “OK” key.
Memo
• When the scanned material is unloaded, the
background is cleared.
a
Loading ...
Loading ...
Loading ...