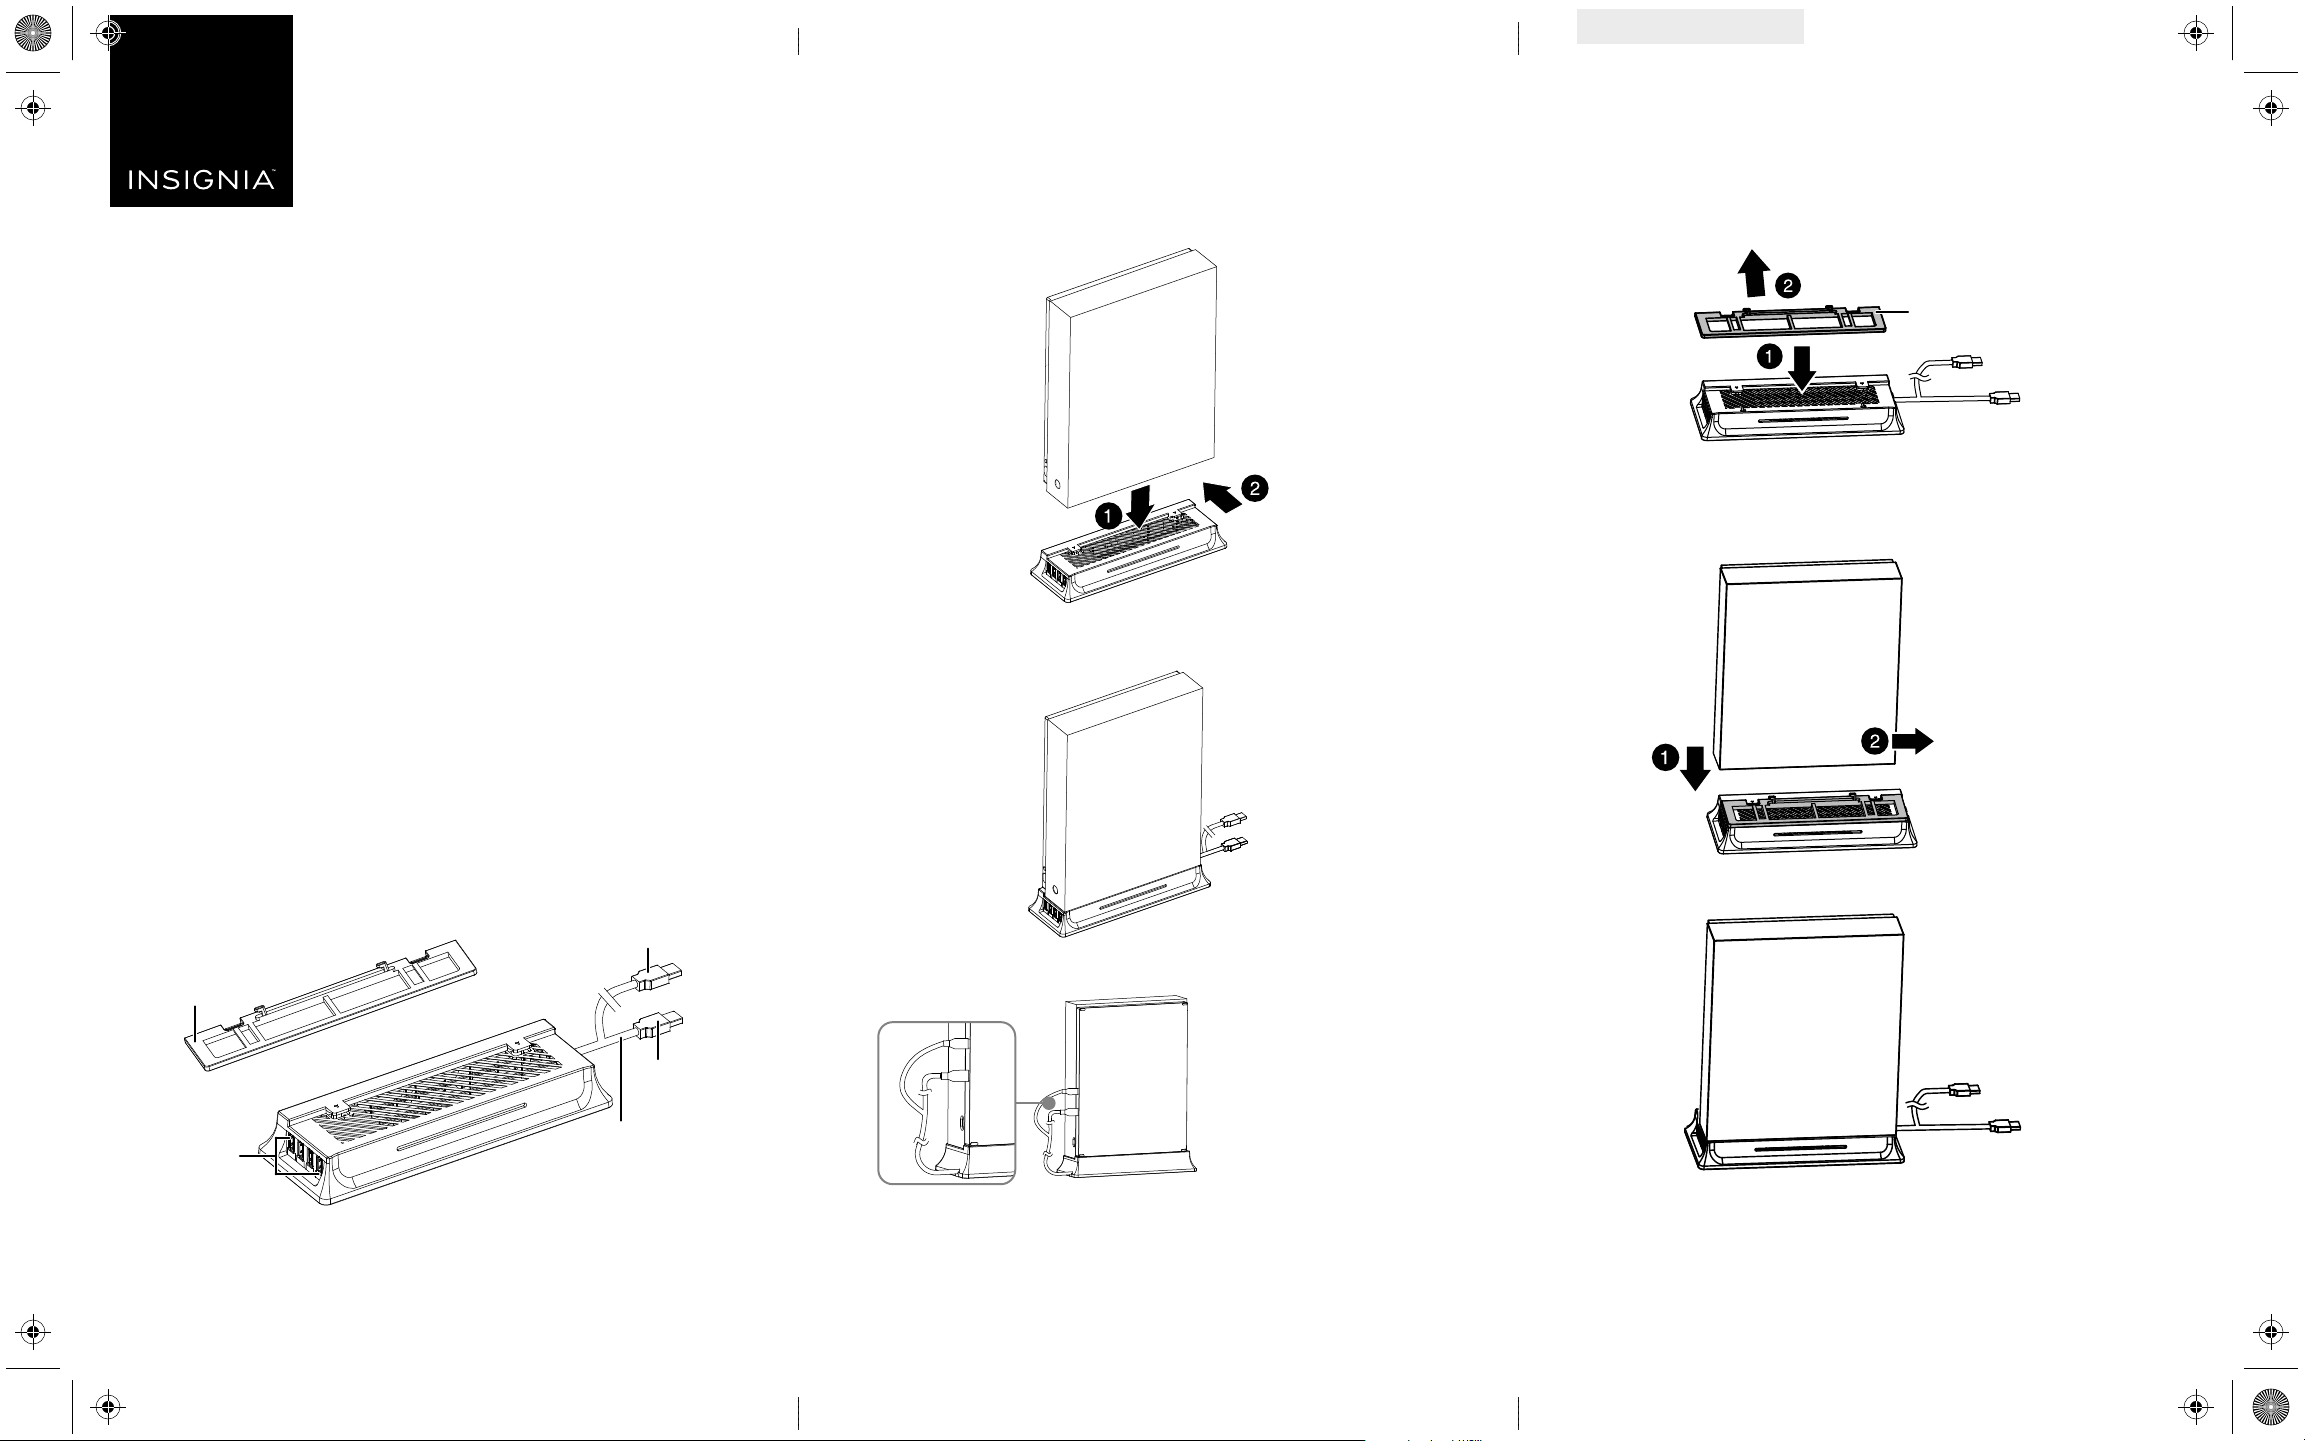
SETTING UP THE VERTICAL STAND
Connecting to the Xbox One S
TM
1 Remove all cables from the Xbox One S console.
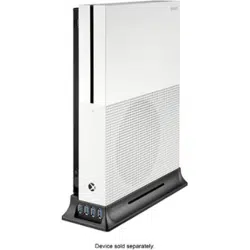
2 Place the Xbox One S console on the stand slightly forward, then slide it
toward the back edge of the stand.
3 Connect all of the cables to the Xbox One S console.
4 Connect the Y-cable to two USB ports on the back of the Xbox One S console.
5 Turn on the console.
Connecting to the Xbox One X
TM
1 Remove all cables from the Xbox One X console.
2 Place the adapter on the stand slightly forward, then slide it toward the
back edge of the stand.
3 Place the Xbox One X console on the stand slightly to the left, then slide it
to the right.
4 Connect all of the cables to the Xbox One X console.
Flat size (W×H): 15 × 9 in. (381 x 228.6 mm)
Final folded size: 5 × 9 in. (127 x 228.6 mm)
PACKAGE CONTENTS
• Vertical console stand
• Xbox One X™ adapter
• Quick Setup Guide
FEATURES
• Adds controllers, mice, headsets, keyboards, and more to your
Xbox One S™ or Xbox One X™
• Adds four extra USB 3.0 ports
• Keeps your console securely positioned and upright, increasing
airow around your console
• Easily plugs into and transfers power from the USB ports on the
back of your Xbox One S™ or Xbox One X™
• Non-slip rubber feet prevent your console from moving
• Easy to install and uninstall
Before using your new product, please read these instructions to prevent any damage.
QUICK SETUP GUIDE
Vertical USB Stand
NSGXBOSXSTUSB19
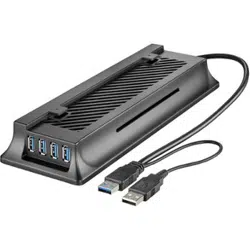
Note: For maximum power availability
to all four USB ports on the stand, plug
both USB connectors into your Xbox.
If only one USB port is available, plug
in the USB 3.0 connector (thicker
cable) to allow both power and data
delivery to your connected devices.
The charge rate will be slower if only
one USB cable is used.
Front
Y-cable
USB 3.0
ports
USB 3.0
(thicker cable)
USB 2.0
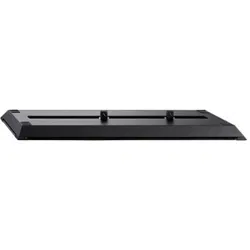
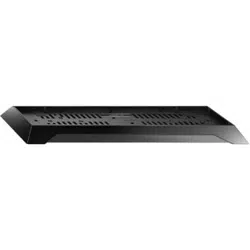
Front
Xbox One X™ adapter
Front
Back
Xbox One X™
adapter
NS-GXBOSXSTUSB19_17-0947_QSG_V1.ai 1 1/24/2018 2:19:01 PMNS-GXBOSXSTUSB19_17-0947_QSG_V1.ai 1 1/24/2018 2:19:01 PM
V1
FINAL
FOR PRINT
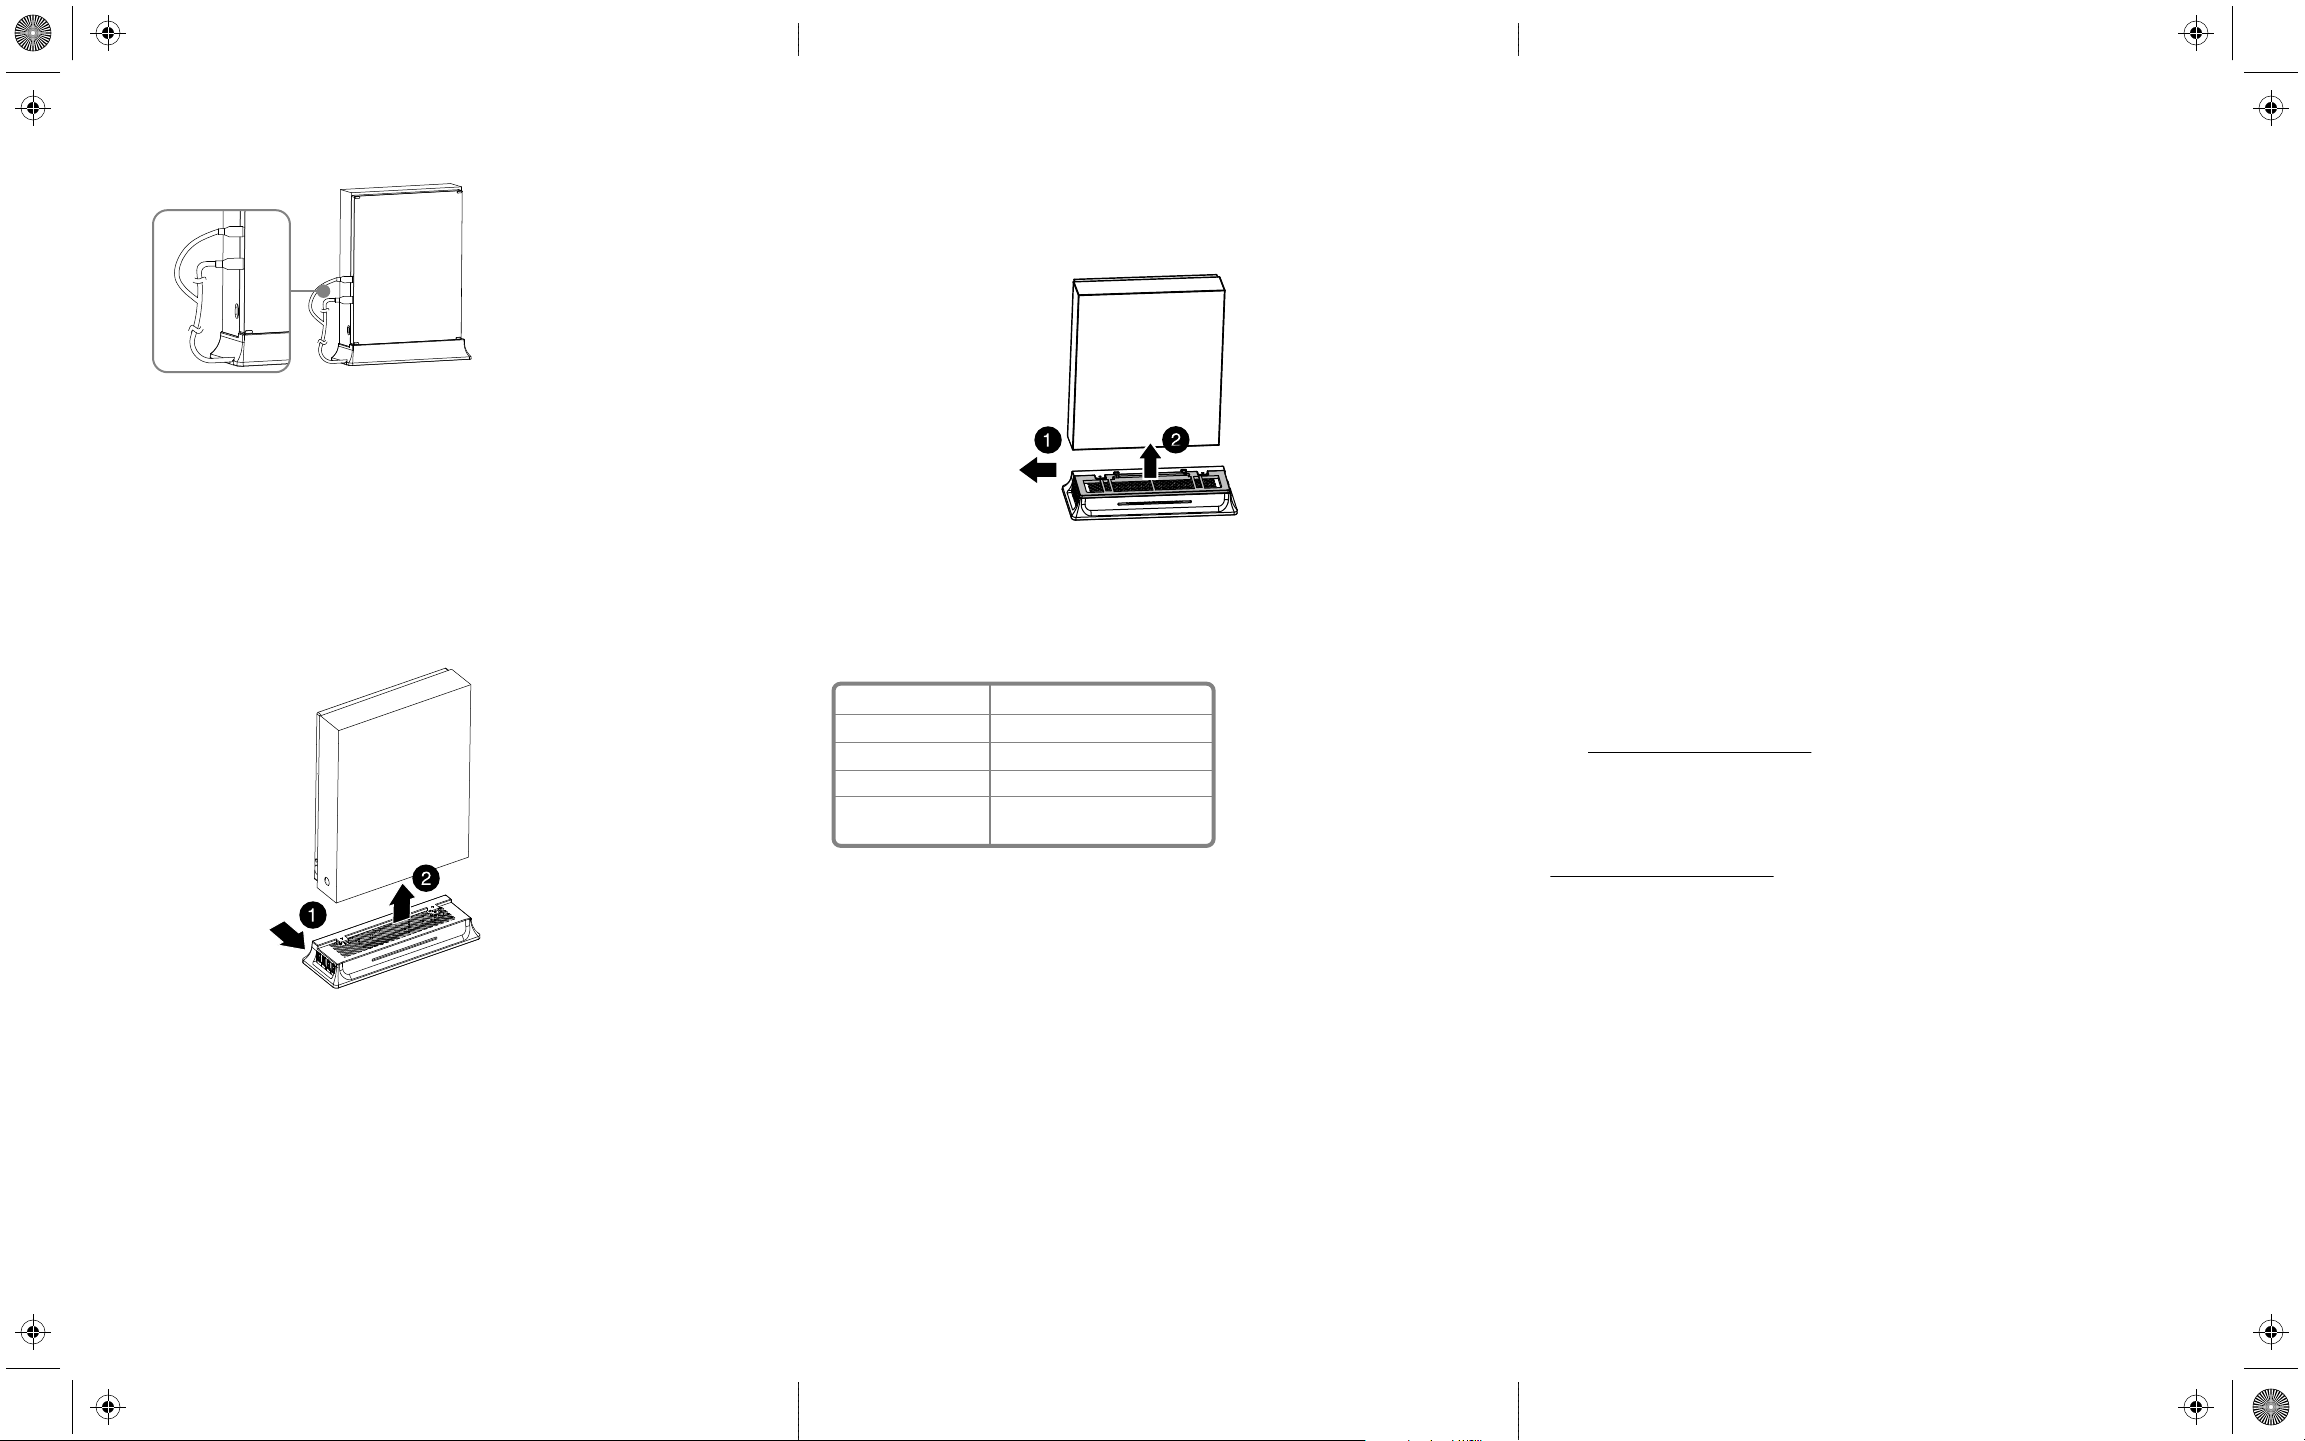
Disconnecting from the Xbox One X
TM
1 Remove all cables from the stand.
2 Grasp the Xbox One X with both hands (one on each side of the console),
then slide it towards the left of the stand and pull it o.
Note: The Xbox One X must be pushed this way (towards the left of the stand per
the arrow) to be removed.
Note: When moving your stand and console together, carry them with one hand
on the stand and the other on your console.
SPECIFICATIONS
SAFETY INFORMATION
• Do not put extreme pressure on this product.
• Do not dismantle this product.
• Keep this product away from heat sources, such as radiators and heaters.
• Keep this product dry and avoid any contact with damp or wet areas.
5 Connect the Y-cable to two USB ports on the back of the Xbox One X
console.
6 Turn on the console.
DISCONNECTING THE VERTICAL STAND
Disconnecting from the Xbox One S
TM
1 Remove all cables from the stand.
2 Grasp the Xbox One S with both hands (one on each side of the console),
then slide it towards the left of the stand and pull it o.
Note: The Xbox One S must be pushed this way (towards the left of the stand per
the arrow) to be remove
d.
Note: When moving your stand and console together, carry them with one hand
on the stand and the other on your console.
V1 ENGLISH 17-0947
Transmission port
Transmission rate
Work temperature
Work humidity
Dimensions
USB 3.0
5.0 Gbps (maximum)
32°F~158°F (0°C~125°C)
25% RH ~ 85% RH
3.48 × 10.00 × 1.88 in
(8.85 × 25.4 × 4.78 cm)
LEGAL NOTICES
FCC Caution
Changes or modications not expressly approved by the party responsible for
compliance could void the user’s authority to operate the equipment.
FCC Statement
This equipment has been tested and found to comply with the limits for a Class B
digital device, pursuant to part 15 of the FCC Rules.
These limits are designed to provide reasonable protection against harmful
interference in a residential installation. This equipment generates, uses, and can
radiate radio frequency energy and, if not installed and used in accordance with the
instructions, may cause harmful interference to radio communications. However, there
is no guarantee that interference will not occur in a particular installation.
If this equipment does cause harmful interference to radio or television reception,
which can be determined by turning the equipment o and on, the user is encouraged
to try to correct the interference by one or more of the following measures:
- Reorient or relocate the receiving antenna.
- Increase the separation between the equipment and receiver.
- Connect the equipment into an outlet on a circuit dierent from that to which the
receiver is connected.
- Consult the dealer or an experienced radio/TV technician for help.
This device complies with part 15 of the FCC Rules. Operation is subject to the
following two conditions: (1) This device may not cause harmful interference, and (2)
this device must accept any interference received, including interference that may
cause undesired operation.
ICES-003 Statement
CAN ICES-3 (B)/NMB-3 (B)
ONE-YEAR LIMITED WARRANTY
Visit www.insigniaproducts.com for details.
CONTACT INSIGNIA:
For customer service, call 1-877-467-4289 (U.S. and Canada) or 01-800-926-3000
(Mexico)
www.insigniaproducts.com
Xbox One S™ and Xbox One X™ are registered trademarks or trademarks of Microsoft Inc. All Rights
reserved. All other trademarks are property of their respective owners. Photos and illustrations not
binding. Contents, designs and specications are subject to change without notice and may vary
from one country to another. This product is not distributed under ocial license from or
approved, sponsored or endorsed by Microsoft Inc. This product is not manufactured for Microsoft
Inc.
Microsoft and Xbox One are registered trademarks of the Microsoft group of companies.
INSIGNIA is a trademark of Best Buy and its aliated companies
Distributed by Best Buy Purchasing, LLC
7601 Penn Ave South, Richeld, MN 55423 U.S.A.
©2018 Best Buy. All rights reserved.
Made in China
Note: For maximum power availability
to all four USB ports on the stand, plug
both USB connectors into your Xbox.
If only one USB port is available, plug
in the USB 3.0 connector (thicker
cable) to allow both power and data
delivery to your connected devices.
The charge rate will be slower if only
one USB cable is used.
Front
Back
Front
NS-GXBOSXSTUSB19_17-0947_QSG_V1.ai 2 1/24/2018 2:19:01 PMNS-GXBOSXSTUSB19_17-0947_QSG_V1.ai 2 1/24/2018 2:19:01 PM