Loading ...
Loading ...
Loading ...
69
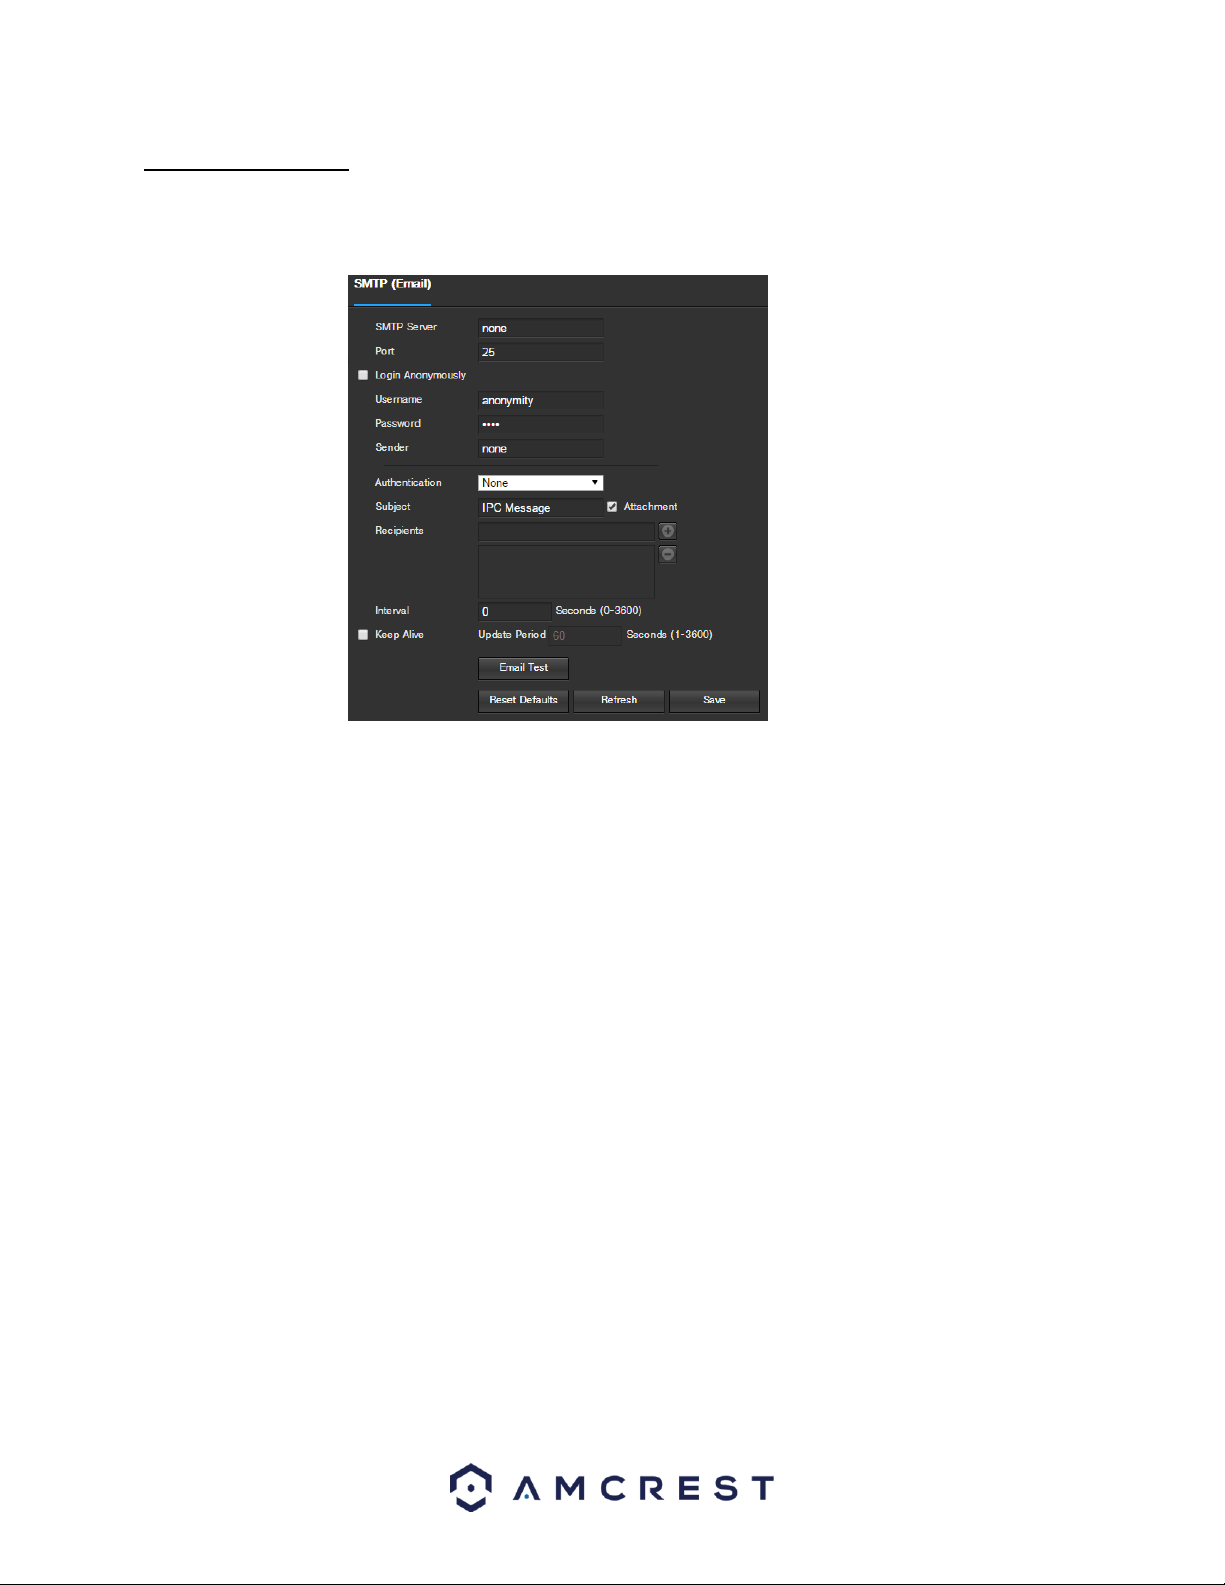
5.4.2.6 SMTP (Email)
This screen allows for the configuring of email settings in order to permit the camera to send emails when an alarm
is triggered. Below is a screenshot of the email settings screen:
Below is an explanation of fields on the SMTP (Email) settings screen:
SMTP Server: SMTP stands for Simple Mail Transfer Protocol. This field allows the user to enter the SMTP
server used by the email service.
Port: This field allows the user to enter the port that corresponds to the selected SMTP server.
Login Anonymously: This checkbox allows the user to anonymously login to the server.
Username: This field allows the user to enter the SMTP username.
Password: This field allows the user to enter the password associated with the SMTP username.
Sender: This field allows the user to enter the sender email address. This email address will be the one that
sends out all emails pertaining to the alerts and alarm emails sent by the camera.
Authentication: This dropdown box allows the user to select an encryption type. There are two types of email
encryption protocols that are available.
o SSL: Secure Socket Layer
o TLS: Transport Layer Security
Subject: This field allows the user to define the subject line of the email that is sent to the receivers.
Recipients: This field allows the user to enter the receiver email address. These email addresses are the ones
that will receive any emails pertaining to alert and alarm emails sent by the camera. Up to 3 email addresses
can be entered in this field.
Interval: This field allows the user to define, in seconds, how long the system should wait between sending
emails. This prevents multiple emails from being sent out.
Keep Alive: This checkbox allows the user to enable a function to periodically check in with the SMTP server to
ensure it can connect correctly.
Email Test: This button causes the system to automatically send out an email to test the connection is OK or
not. Prior to the email test, please save the email setup information.
To reset to default settings, click the Reset Defaults button. To refresh the page, click the Refresh button. To save
the settings, click the Save button.
Loading ...
Loading ...
Loading ...