Loading ...
Loading ...
Loading ...
23
For Privacy Masking, the radio button enables or disables the feature. To set a privacy mask, click one of the boxes
in the live view window, and position or resize it as needed. To remove a box, click on it, then click the delete
button. To remove all privacy filter boxes, click the remove all button.
For Channel Title, the radio button enables or disables the feature. The Input Channel Title field allows the channel
title to be modified.
For Time, the radio button enables or disables the feature. Clicking the Display Weekdays checkbox will show the
weekday at the end of the timestamp.
For Logo Overlay, the radio button enables or disabled the Amcrest logo from the live view screen.
To remove all the settings applied in this menu, click Remove All. To delete a specific setting, select the setting you
wish to delete can click Delete. To reset to default settings, click the Reset Defaults button. To refresh the screen,
click on Refresh. To save the settings, click the Save button.
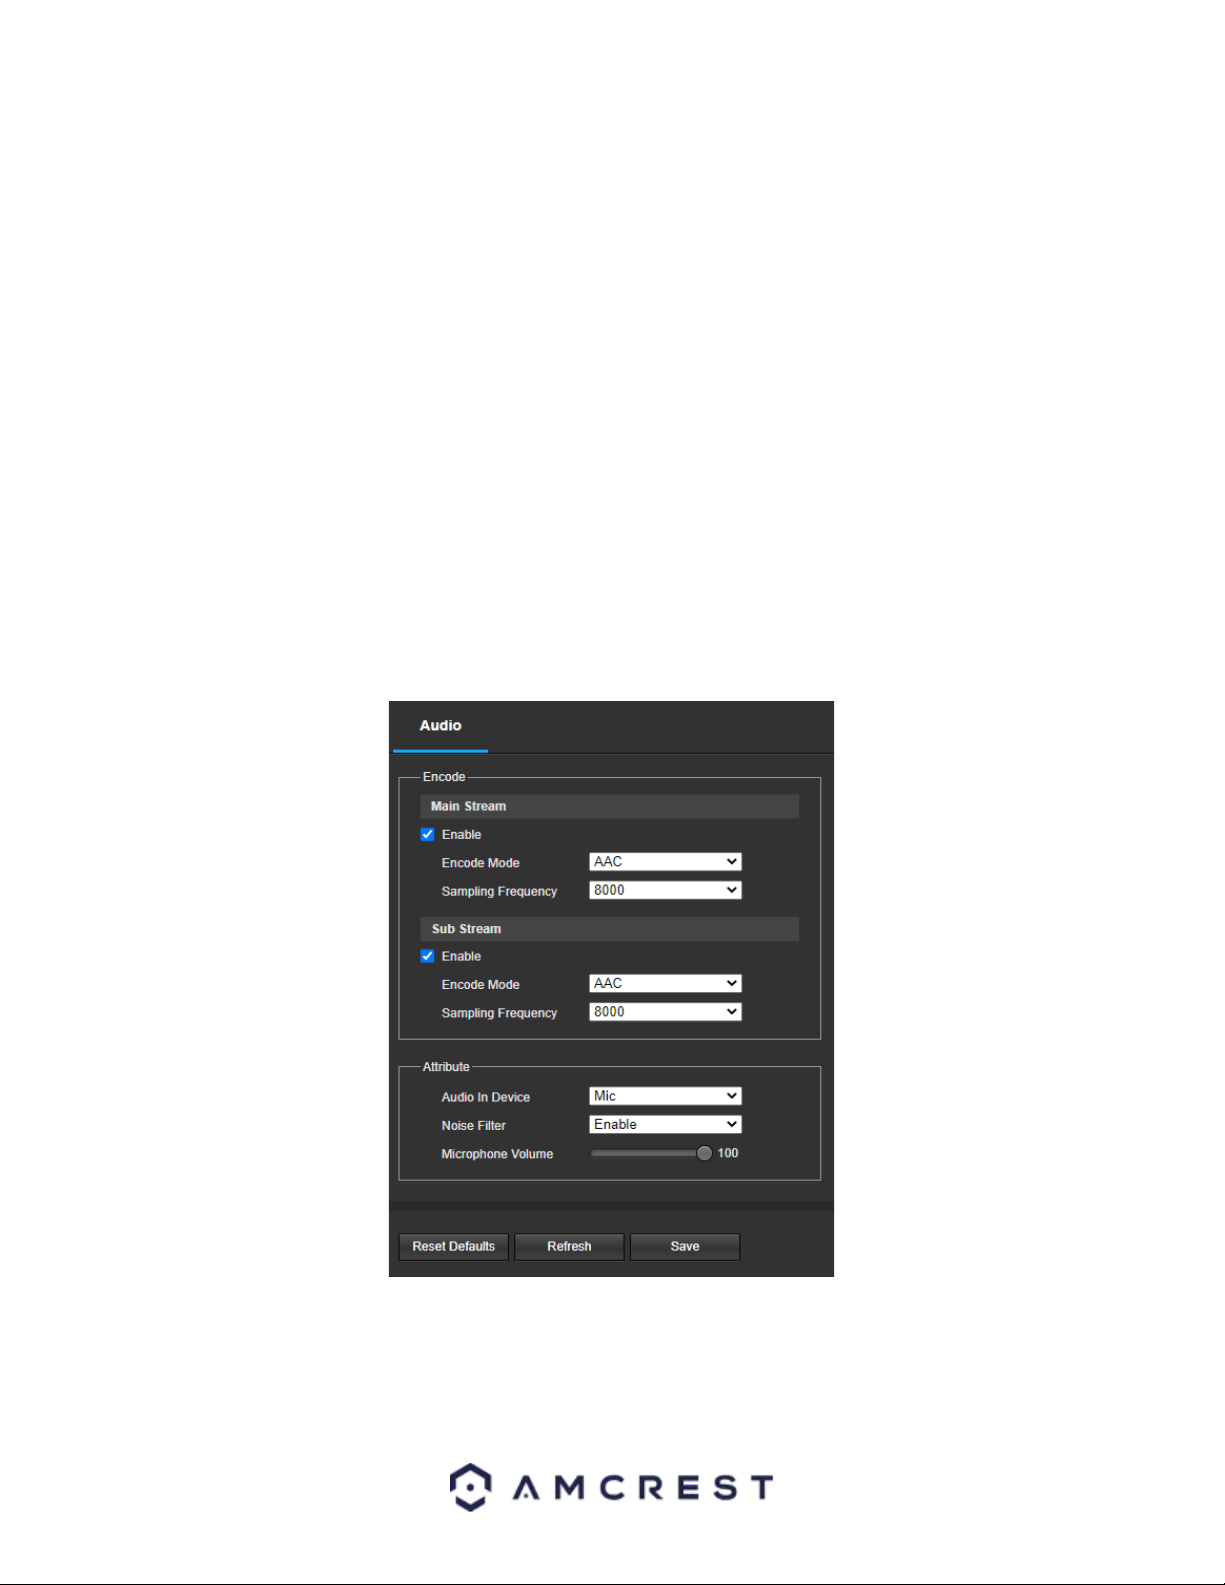
Audio
This menu allows the user to modify audio settings for the camera. Below is a screenshot that shows the Audio
menu item under the Camera menu section:
Below is an explanation for each of the fields on the Audio menu:
• Enable: This checkbox allows the user to enable audio recording.
• Encode Mode: This dropdown box allows the user to select what audio format the audio should be recorded in.
• Sampling Frequency: This dropdown box allows the user to select a sampling frequency for the audio. The
options are 8k and 16k. 16k audio sampling allows for higher sound quality.
Loading ...
Loading ...
Loading ...