Owner's Guide Cameras
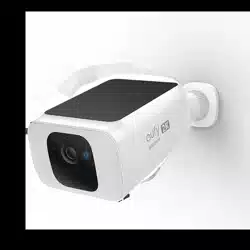
PRODUCT OVERVIEW
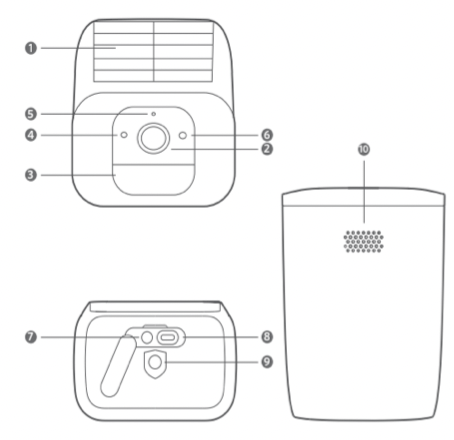
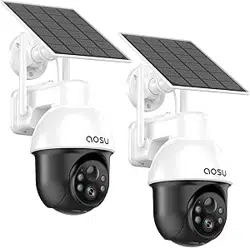
- Solar Panel
- Camera Lens
- Motion Sensor
- Photosensitive Sensor
- Microphone
- LED Indicator
- SYNC Button
- Type-C Charging Port
- Mounting Hole
- Speaker
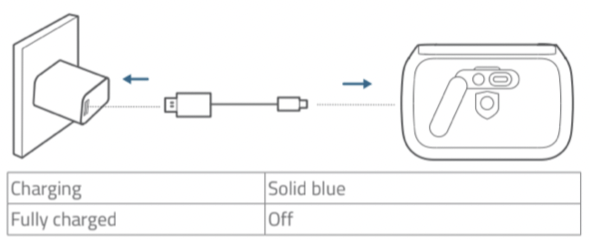
CHARGING SOLOCAM
Battery-powered
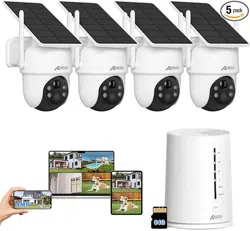
SETTING UP SOLOCAM
Download the App and Set up the System
1. Download and install the eufy Security app, and sign up for an account.

2. Follow on-screen instructions to add your SoloCam .
MOUNTING SOLOCAM
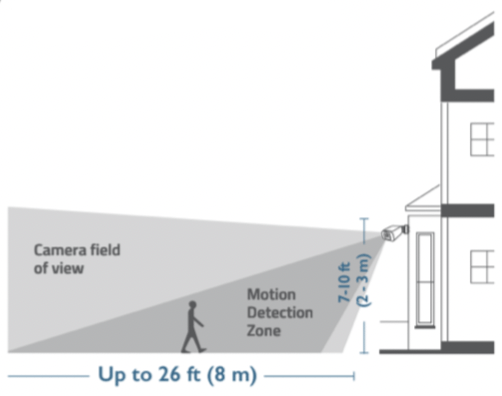
Select a Location
SoloCam S40 can be mounted on a wall. Select a location where you can get the desired view. We recommend hanging it 7-10 ft (2-3 m) above the ground.
To maximize the solar panel efficiency, select a location where SoloCam S40 can receive more sunlight.
Mount SoloCam S40
SoloCam S40 can be mounted both outdoors and indoors.
1. Turn the knob of the mounting bracket counterclockwise to loosen and disassemble it.

2. Place the mounting bracket against the wall. Drill holes with a 15/64 inch (6 mm) drill bit, then insert the anchors into the holes; anchors are necessary for walls that are made out of hard materials such as concrete, brick, or stucco.

3. Firmly screw the knob of the mounting bracket into the mounting hole of SoloCam.
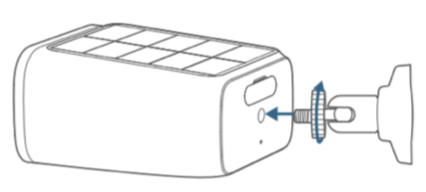
4. Hold and screw SoloCam to the mounting bracket. Rotate SoloCam to adjust the view and check it using the live stream which you can access in the eufy Security app.

SoloCam S40 can be also installed on the ceiling. Follow the steps 1-4 mentioned above to install it.
Tips: For troubleshooting, check Help on the eufy Security app. Refer to the app page for LED indicator status.