User manual Camera
WHAT’S INCLUDED
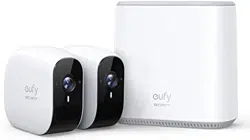
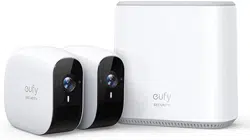
For eufyCam Solo / Solo Pro Installation
-669704.png)
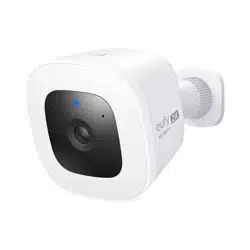
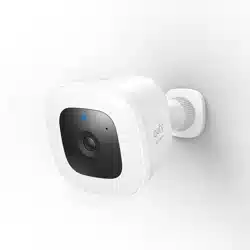
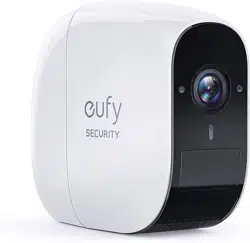
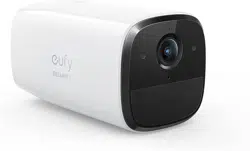
PRODUCT OVERVIEW
eufyCam Solo / Solo Pro
-327098.png)
1. LED Indicator
2. Camera Lens
3. Microphone
4. Motion Sensor
5. Photosensitive Sensor
-902042.png)
6. Micro USB Charging Port
7. Mounting Hole
8. SYNC Button
- Press for 2s to enter setup mode
- Press for 8s to reset
CHARGING YOUR EUFYCAM SOLO / SOLO PRO
eufyCam Solo / Solo Pro comes with a built-in battery. Before setup, fully charge your eufyCam Solo / Solo Pro using the provided micro USB cable.
-936958.png)
| Solid blue |
Charging |
| Fully charged |
Off |
SETTING UP EUFYCAM SOLO / SOLO PRO
1. Download the eufy Security app from the App Store (iOS devices) or Google Play (Android devices).
-858787.png)
2. Sign up a eufy Security account. Go to the app homepage. Tap Add Device, and add eufyCam Solo / Solo Pro to the system.
3. Follow the on-screen instructions to complete the setup.
LED Status
| Status |
LED Indicator |
| Ready for setup |
Flashing blue |
| Successfully paired |
Off |
| Live streaming or recording |
Solid red (When LED is enabled) |
| An alarm triggered |
Flashing red |
| Firmware updating |
Flashing blue and red alternately |
MOUNTING EUFYCAM SOLO / SOLO PRO
Select a Location
eufyCam Solo / Solo Pro can be mounted on a wall or ceiling. Select a location where you can get the desired view. We recommend hanging it 7-10 ft (2-3 m) above the ground.
-509097.png)
Mount eufyCam Solo / Solo Pro
eufyCam Solo / Solo Pro can be mounted both outdoors and indoors.
- Turn the knob of the mounting bracket clockwise to loosen and disassemble it.
- Place the mounting bracket against the wall. Drill holes with a 15/64 inch (5.99 mm) drill bit, then insert the anchors into the holes; anchors are necessary for walls that are made out of hard materials such as concrete, brick, or stucco.
- Firmly screw the base of the mounting bracket onto the wall. Fasten the ball knob of the bracket to the base of the bracket.
- Tighten eufyCam Solo / Solo Pro to the mounting bracket. Rotate the eufy Indoor Cam to adjust the view and check it using the live stream which you can access in the eufy Security app
-520472.png)
eufyCam Solo / Solo Pro can be also installed on the ceiling. Follow the steps 1-4 mentioned above to install it.
You are now all set to use your eufyCam Solo / Solo Pro.
For troubleshooting, check Help on the eufy Security app. Refer to the app page for LED indicator status.
-370674.png)
-795236.png)
-694564.png)