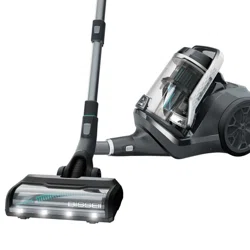
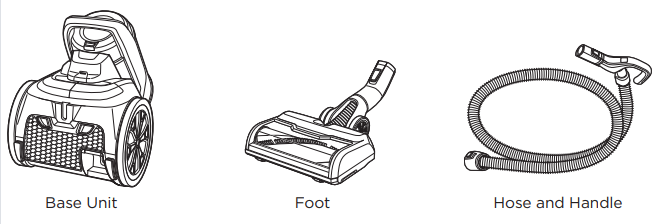
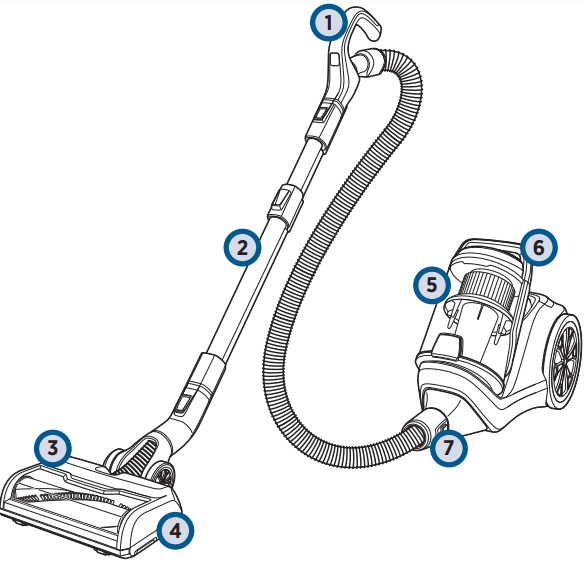
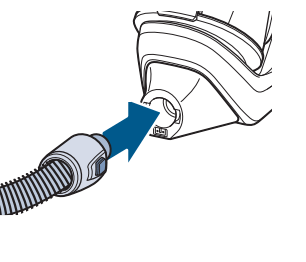
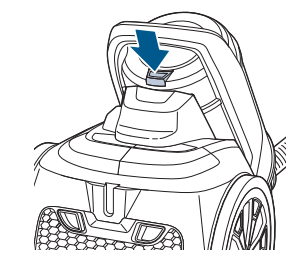
1. Push Hose Connector into Base Unit and secure it with a click.
2. Push the Handle end into the top of the Extension Wand and secure it with a click.
3. Push the bottom of the Extension Wand into Foot and secure it with a click.
4. Press the button on Extension Wand to adjust the height.
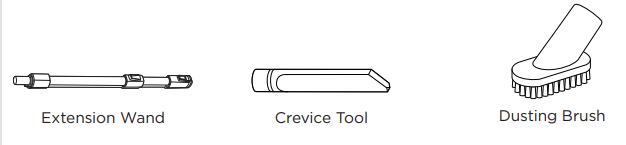
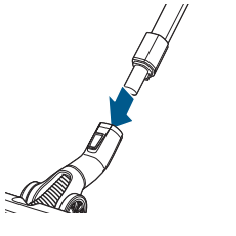
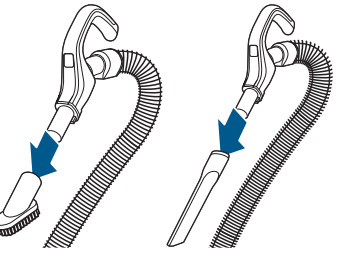
5. Connect the desired tool to the handle.
Using Your Pet Hair Eraser®
1. Press the button on the back left side of the unit to power the unit ON and OFF
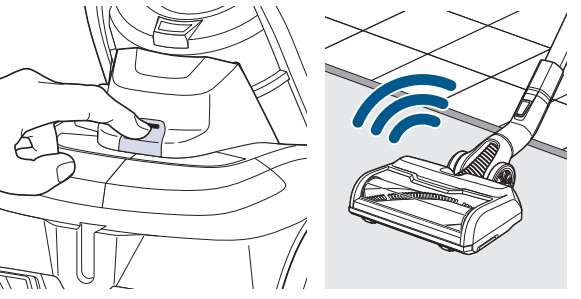
2. Press Auto Button on back of unit for automatic floor type sensing. The Pet Hair Eraser canister will detect your floor type and adjust suction as necessary
3. Adjust suction power by pressing the buttons with the plus (+) or minus (-) symbol on them depending on the level of power you want.
Emptying the Dirt Tank
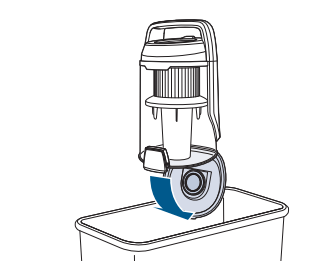
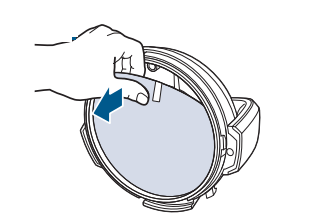
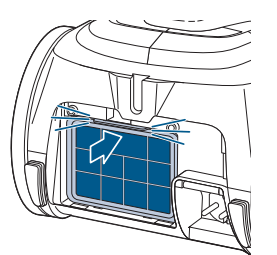
1. Press Dirt Tank Release Button to remove the tank from the machine.
2. Hold tank over trash bin and press the button on the bottom of the tank to release the tank door.
Cleaning the Filters
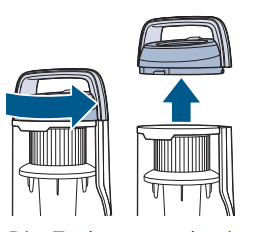
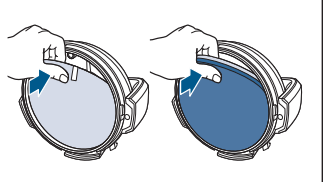
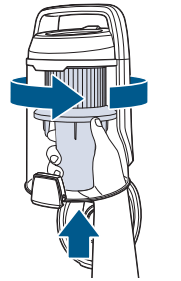
1. With Dirt Tank removed twist the top counter-clockwise and pull up to remove.
2. Remove foam filter from the tank lid.
3. Remove felt filter from the tank lid.
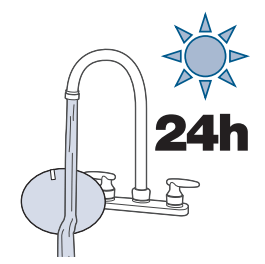
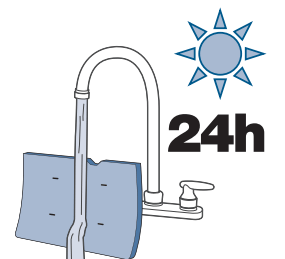
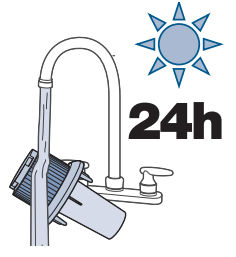
4. Both filters can be rinsed to clean. Leave to dry for 24 hours before replacing.
5. Replace both filters making sure the flat felt filter is inserted first.
6. Replace lid and turn clockwise to lock in place.
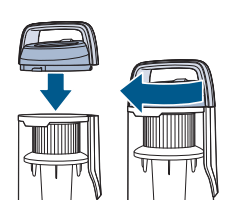
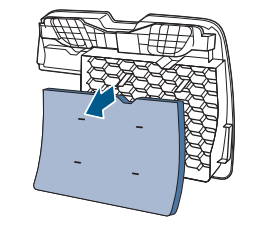
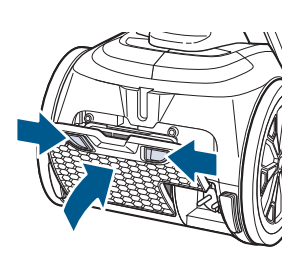
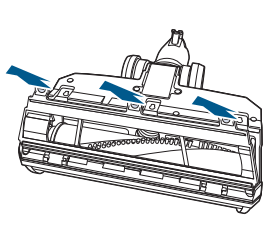
7. Push tabs inward and pull out to remove back cover.
8. Remove mesh filter from back cover.
9. Mesh filter can be rinsed to clean. Let dry for 24 hours before replacing.
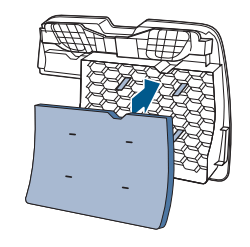
10. Replace mesh filter in back cover. Make sure all 4 tabs are aligned with their slots in the filter.
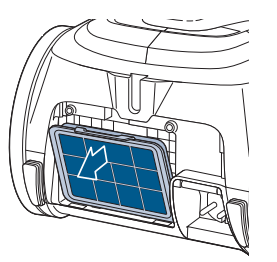
11. Remove pleated filter from back of machine.
12. Pleated filter can be rinsed to clean. Let dry for 24 hours before replacing
13. Replace pleated filter.
14. Reattach filter cover until it clicks into place.
Cleaning the Cyclonic System
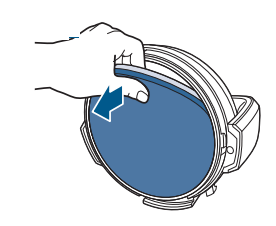
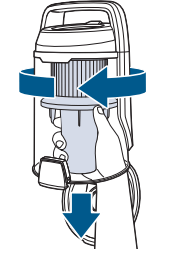
1. Turn cyclonic system counter-clockwise to release and remove from the tank
2. Cyclonic system can be rinsed to clean. Let dry for 24 hours before replacing.
3. Replace cyclonic system and turn clockwise to lock in place.
Maintaining the Brush Roll
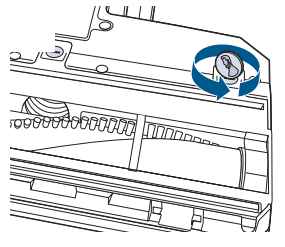
1.Use a coin to turn counter clockwise to unlock.
2. Once unlocked, remove sole plate.
3. Remove Brush Roll from Foot.
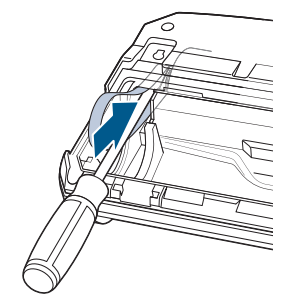
4. Use a screwdriver to help maneuver belt around silver motor pulley.
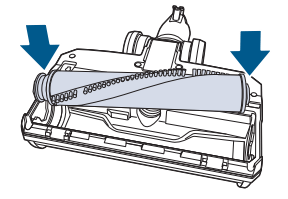
5. To replace the Brush Roll to the foot, place the left side of the Brush Roll under the belt before pushing down into place.To replace the Brush Roll to the foot, place the left side of the Brush Roll under the belt before pushing down into place.
6. Reattach sole plate. Use a coin to turn screws clockwise to secure.
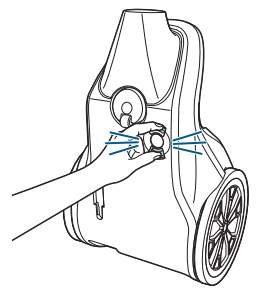
Clearing a Clog
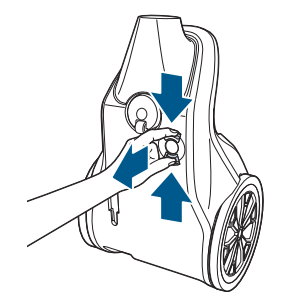
1. If there is a lack of suction, turn OFF the machine and lift up to access the plug on the bottom of the base. Press tabs inward to remove the plug.
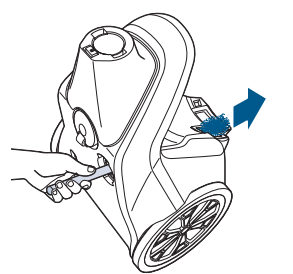
2. Use the handle of a broomstick or a similar-shaped object to unclog and clear debris.
3. Insert plug until it clicks into place.
Storing the Vacuum
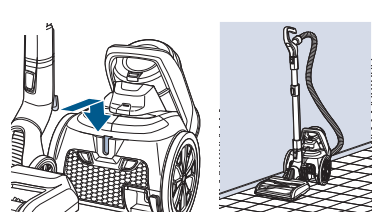
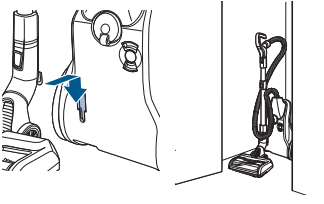
1. Connect T-shaped hook on the Foot to the T-shaped slot on the base for in-use storage positioning.
2. Connect T-shaped hook on the Foot to the T-shaped slot on the bottom of the base for long-term storage positioning.
Troubleshooting
Problem
Possible causes
Possible causes
Brush Roll doesn't rotate
Brush Roll Button is turned OFF.
Press the Brush Roll Power Button on the handle
Auto Button is turned OFF.
Turn Auto Button ON.
Brush Roll has an obstruction keeping it from rotating.
Power OFF machine and unplug to reset brush motor, remove the brush and remove debris before reinstalling
Vacuum won't pick up dirt
Filters are dirty.
Remove and wash the filters. Let them dry for 24 hours before reinstalling. Refer to pages 6-7.
Multi- Cyclonic system is dirty.
Remove from the separator from the Dirt Tank and rinse to clean. Let it dry for 24 hours before reinstalling. Refer to page 6.
There is a clog in the vacuum
Turn off and unplug machine. Refer to page 9.
Dirt Tank is not seated correctly.
Press the Tank Release Button to release the Dirt Tank and align the tank properly
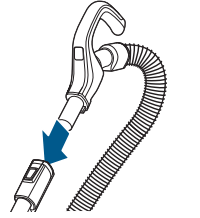
Hose is not connected.
Push the hose connector in the port on the canister until it "clicks" in place.
Hair wrapped around Brush Roll.
Run vacuum back and forth on clean carpet several times to release wrapped hair
There is a crack or hole in the hose
If there is a crack or hole, order a new hose from BISSELL.com
Dirt is escaping from the vacuum
Dirt is escaping from the vacuum
Empty the tank.
Filters are missing or dirty.
Check to see if filters in the tank and filters under the filter door at the back of the canister are installed and clean.
Vacuum is hard to push or pull
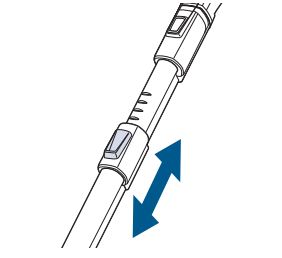
Suction is set too high.
Use the Variable Suction Controls on the canister.
High-pitched noise or whistling
There is a clog in the vacuum
Power OFF and unplug. Disconnect hose from the canister to check for clogs or debris. Refer to page 9.
There is a clog in the pleated filter.
Power OFF and unplug. Remove pleated filter from the back of the vacuum and rinse to clean, see page 7. Let it dry for 24 hours before reinstalling.