Loading ...
Loading ...
Loading ...
110 Adjustments for Competition
Front Suspension Adjustments
17. Temporarily install the fork damper to the
outer tube.
18. Set the lower end (axle holder) (33) of the
slider in a vise with a piece of wood or soft
jaws to avoid damage.
NOTICE
Over-tightening the vise can damage the axle
holder.
19. Loosen the fork center bolt (34).
20. Push out the fork center bolt from the axle
holder of the slider by pushing the fork
damper.
21. Make the mechanic's stopper tool out of a thin
piece of steel 0.08 in (2.0 mm) thick as shown
if you do not have the piston base.
22. Apply pressure to the fork damper and insert a
piston base (35) or mechanic's stopper tool (see
below) between the axle holder (33) and lock
nut (36).
23. Hold the lock nut and remove the fork center
bolt (34) from the fork damper.
NOTICE
Do not remove the lock nut from the fork damper
piston rod. If the lock nut is removed, the piston
rod will fall in the fork damper and you can not
reassemble the fork damper.
24. Remove the push rod (37) from the fork
damper.
25. Remove the piston base or mechanic's stopper
tool between the axle holder (33) and lock nut
(36) while applying pressure to the fork cap.
NOTICE
Be careful not to damage the lock nut and fork
center bolt hole.
26. Remove the fork damper assembly (38) from
the fork assembly (39).
Remove the fork from the vise.
Remove the fork spring (40) from the fork
assembly.
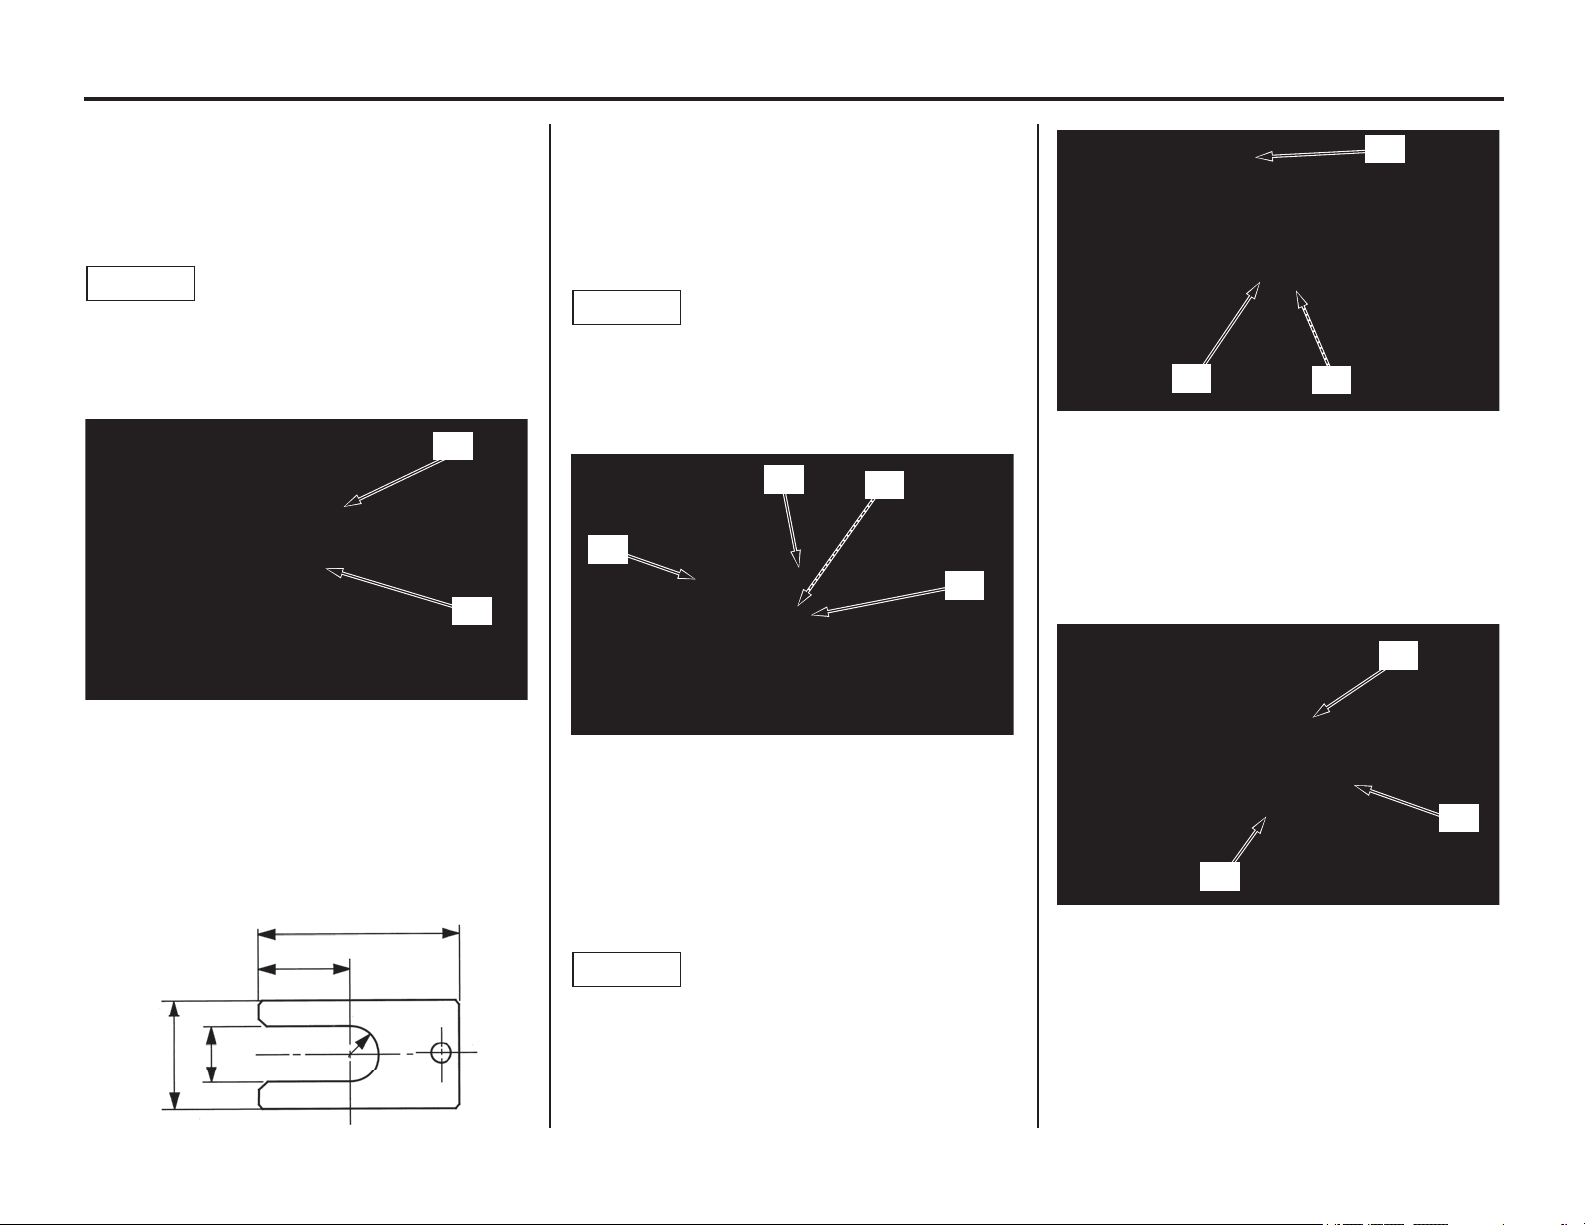
(33) axle holder (34) fork center bolt
(34)
(33)
2.2 in (55 mm)
1.0 in (25 mm)
1.2 in (30 mm)
0.48 in (12.2 mm)
R0.24 in (6.1 mm)
(33) axle holder (35) piston base
(34) fork center bolt (36) lock nut
(33)
(35)
(36)
(34)
(33) axle holder (37) push rod
(36) lock nut
(38) fork damper assembly (40) fork spring
(39) fork assembly
(33)
(37)
(36)
(38)
(40)
(39)
Loading ...
Loading ...
Loading ...