Loading ...
Loading ...
Loading ...
Care and Cleaning 29
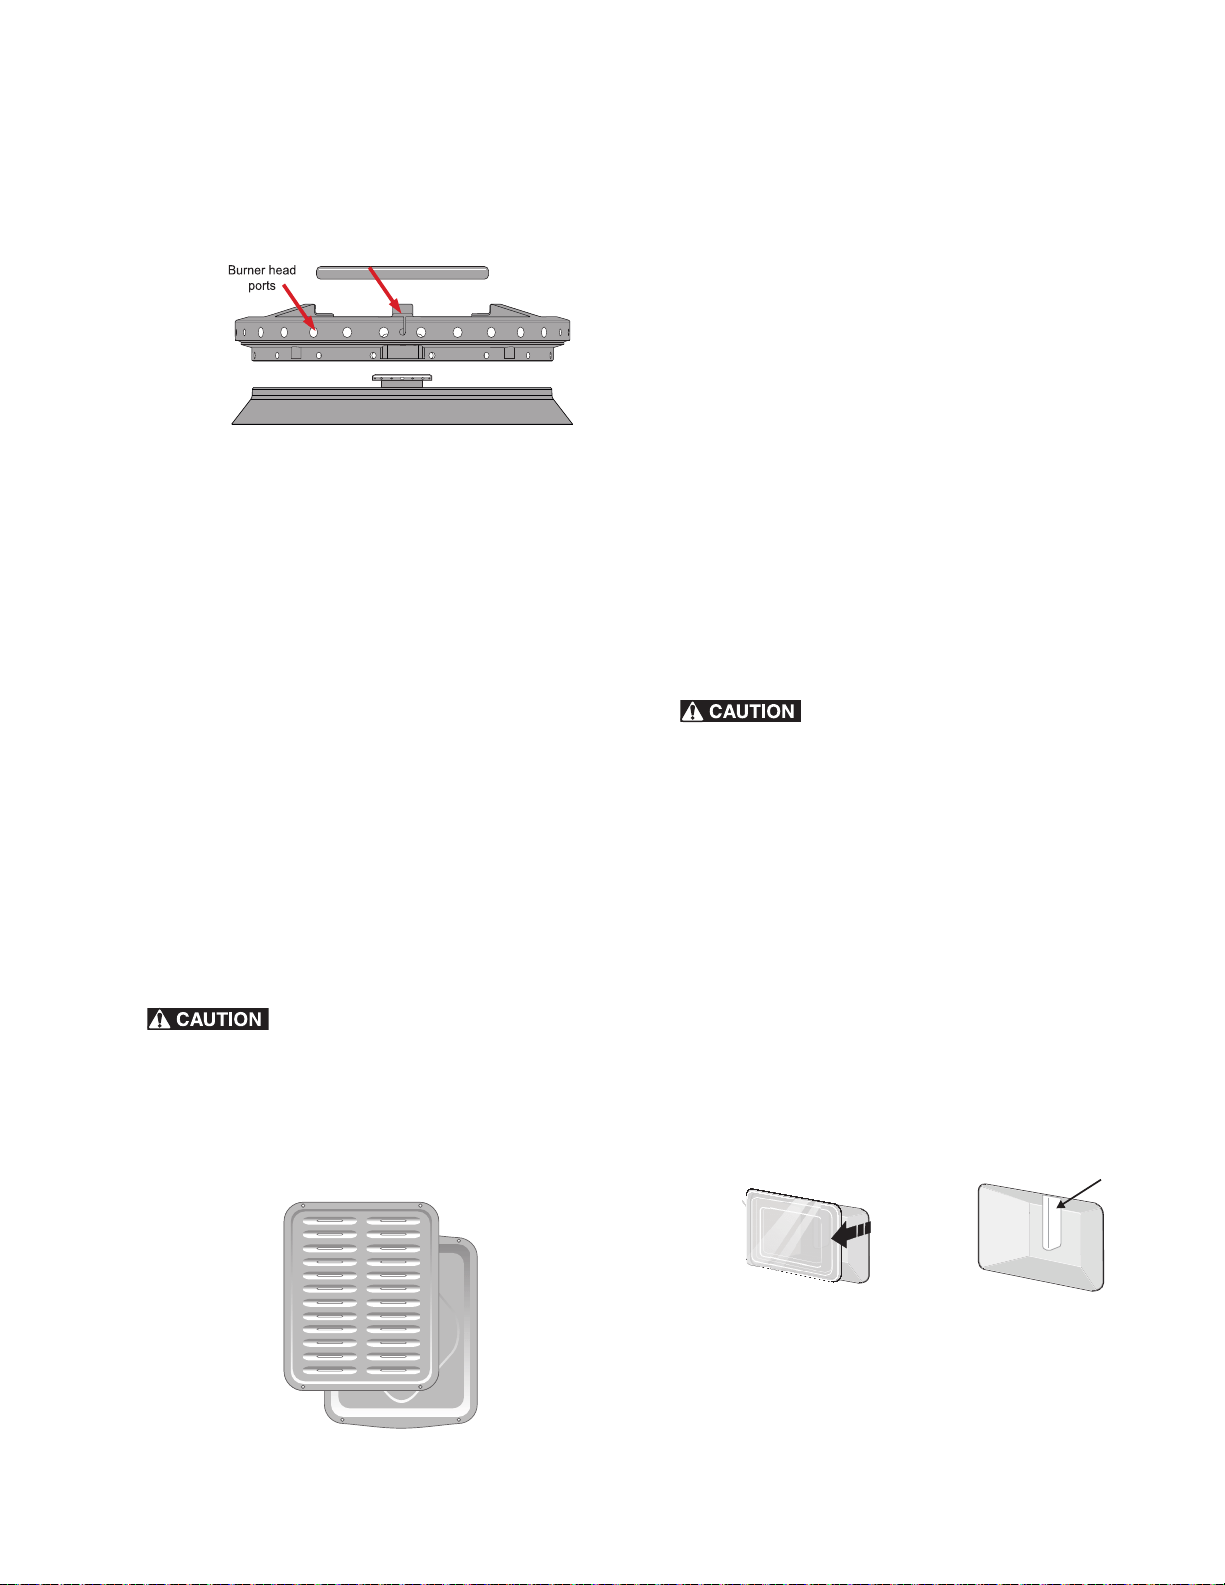
To clean the G5 surface burner head and ports:
1. Lift the burner cap from the burner head to clean the burner
head and ports (
See Figure 30).
2. Lift and remove the head from the surface burner plates.
3. Use a clean damp cloth to soak up any spills.
4. Remove any food from between the burner slots using a
small nonabrasive brush like a toothbrush.
5. Wipe up using a damp cloth afterwards.
6. For stubborn soils located in the slots, use a small-gauge
wire, toothpick, or needle to clean.
7. Be sure to replace all burner parts correctly as shown in
“Burner Caps and Burner Grates Assembly” on page 9.
IMPORTANT! Any spill on or around the electrode must be
carefully cleaned. Take care not to hit the electrode with
anything hard or it could be damaged.
Should you experience ignition problems it may be that an
ignition port hole is partially blocked with soil (see both figures).
With the burner head in place, use a small wire gauge needle or
the end of a paper clip to clear the ignition port or ports.
Broiler Pan Cleaning Tips
Protective liners--Do not use aluminum foil to line the oven
bottom. Improper installation may result in a risk of electrical
shock or fire.
To make cleaning easier, the bottom of the broiler pan may be
lined with aluminum foil. Do not cover the broiler insert with foil.
To prevent grease from baking on, remove the broiler pan from
the oven as soon as cooking is completed. Use potholders or
oven mitts because the broiler pan is extremely hot. Pour off
grease. Soak the pan in hot, soapy water. Clean the broiler pan
and insert as soon as possible after each use. If necessary, use
soap-filled steel wool pads. Heavy scouring may scratch the
insert.
To clean burner grates:
• Clean when the grates are cool. Use nonabrasive plastic
scrubbing pad and mild abrasive cleanser.
• Food soils containing acids may affect the finish. Clean
immediately after the grates are cool. Thoroughly dry
grates immediately following cleaning.
Replacing Oven Lights
Your oven is equipped with interior oven lights that ramp up
gradually when the oven door is opened. The oven lights can
also be turned on when the door is closed by using the oven
light switch located on the control panel.
To remove and replace a light bulb:
Be sure the range is unplugged and all parts are cool before
replacing oven light. Wear a leather-faced glove for protection
against possible broken glass. Do not allow your fingers to touch
the new bulb when replacing. Use a clean soft cloth or paper
towel to cover the new bulb when installing.
1. Turn electrical power off at the main source or unplug the
appliance.
2. To remove the glass shield, pull the back side of the shield
toward the inside of the oven in a manner to lift it up from
the oven side. The glass shield should come out easily by
pushing a little toward front of the wall oven (
Figure 32).
3. Replace the halogen appliance bulb.
4. Gently push the glass shield toward the oven wall until it is
firmly seated against the oven wall.
5. Reconnect electrical power to the appliance or turn power
back on.
Figure 30: Burner head ports
Figure 31: Broil pan and insert
Alignment Tab
Figure 32: Light shield and bulb
Lift backside of
glass shield and
remove it.
Halogen
Light Bulb
Loading ...
Loading ...
Loading ...