Loading ...
Loading ...
Loading ...
5-18 Audio
frequency band (from high frequencies to
low frequencies).
Automatic tuning may not function proper-
ly if the station reception is weakened by
distance from the station or proximity to
tall buildings and hills.
T Selecting preset stations
Presetting a station with a preset button
allows you to select that station in a single
operation. Up to six AM, FM1 and FM2
stations each may be preset.
T How to preset stations
1. Press the “FM” or “AM” selection but-
ton to select AM, FM1 or FM2 reception.
2. Press the “ ” or “ ” side of the but-
ton or tune the radio manually until the de-
sired station frequency is displayed.
3. Press one of the preset buttons for at
least 1.5 seconds to store the frequency.
The frequency of the station will flash
once on the display at this time. If the but-
ton is pressed for less than 1.5 seconds,
the preceding selection will remain in
memory.
NOTE
y If the connection between the radio
and battery is broken for any reason
such as vehicle maintenance or radio
removal, all stations stored in the pre-
set buttons are cleared. If this occurs,
it is necessary to reset the preset but-
tons.
y If a cell phone is placed near the ra-
dio, it may cause the radio to emit
noise when it receives calls. This noise
does not indicate a radio fault.
Built-in CD changer opera-
tion
NOTE
y Make sure to always insert a disc
with the label side up. If a disc is insert-
ed with the label side down, it might be
ejected or the player might shut off.
y The player is designed to be able to
play music CD-Rs and music CD-RWs,
but it may not be able to play certain
ones.
T How to insert a CD(s)
V Inserting a CD
0
1. Briefly press the “LOAD” button. If the
magazine in the player has an idle posi-
tion where you can insert a disc, the disc
number indicator associated with the idle
position will blink.
If no indicator blinks, it means that there is
no idle position in the magazine.
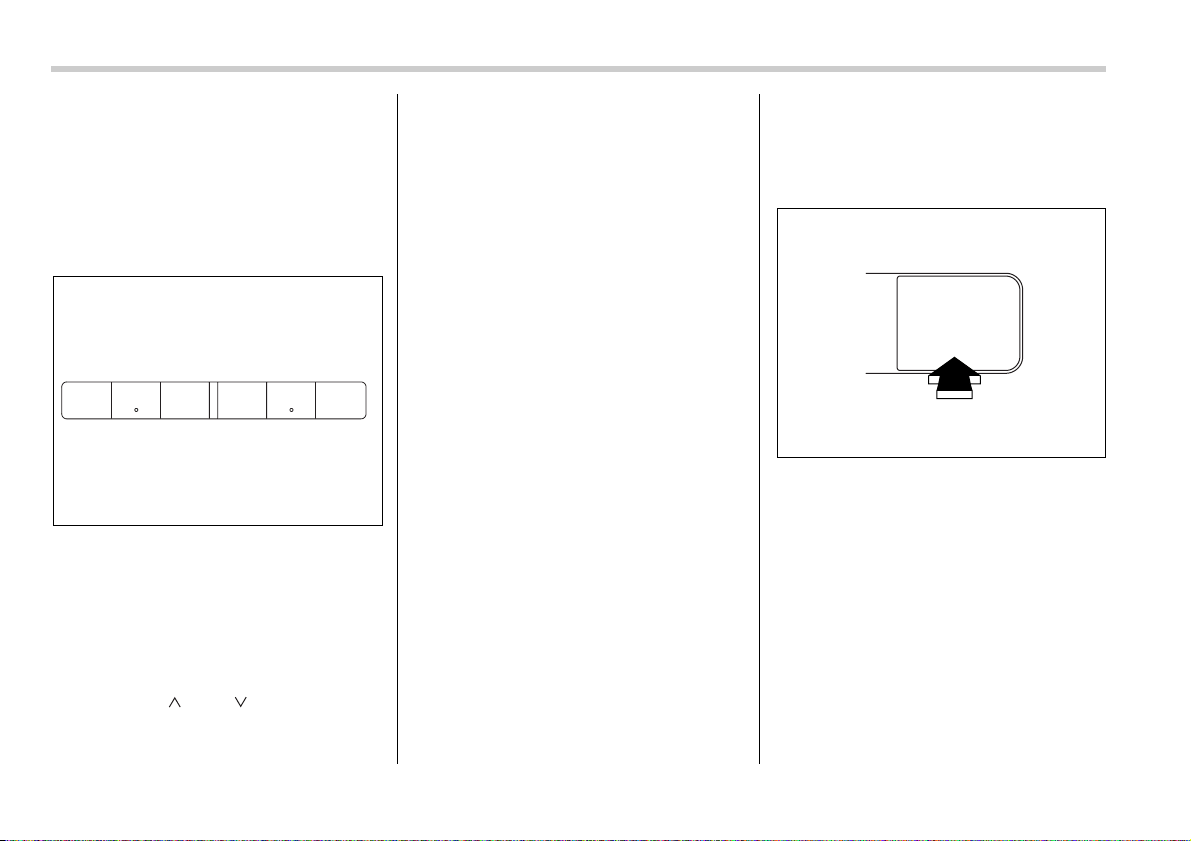
2. When the “LOAD” indicator flashes, in-
sert the disc. Once you have inserted the
disc, the “LOAD” indicator will go off. The
disc will then be automatically drawn in,
and the player will begin to play the first
track on the disc.
y To insert more discs in succession, re-
123 456
500233
LOAD
500239
Loading ...
Loading ...
Loading ...