Loading ...
Loading ...
Loading ...
INSTALLATION GUIDE
15
Complete your installation
z
Turn on the water and check all hose connections for leaks. Make sure there are no kinks
in the hose(s). Check the hose connections for leaks again after 24hours.
z
Uncoil power cord, remove and discard the plastic pin cover, and plug into wall socket.
z
Connect the appliance to an earthed outlet protected by a fuse of suitable capacity.
Test cycle
Your washer must be correctly installed before use. To check the installation and operation
of the washer follow the steps below:
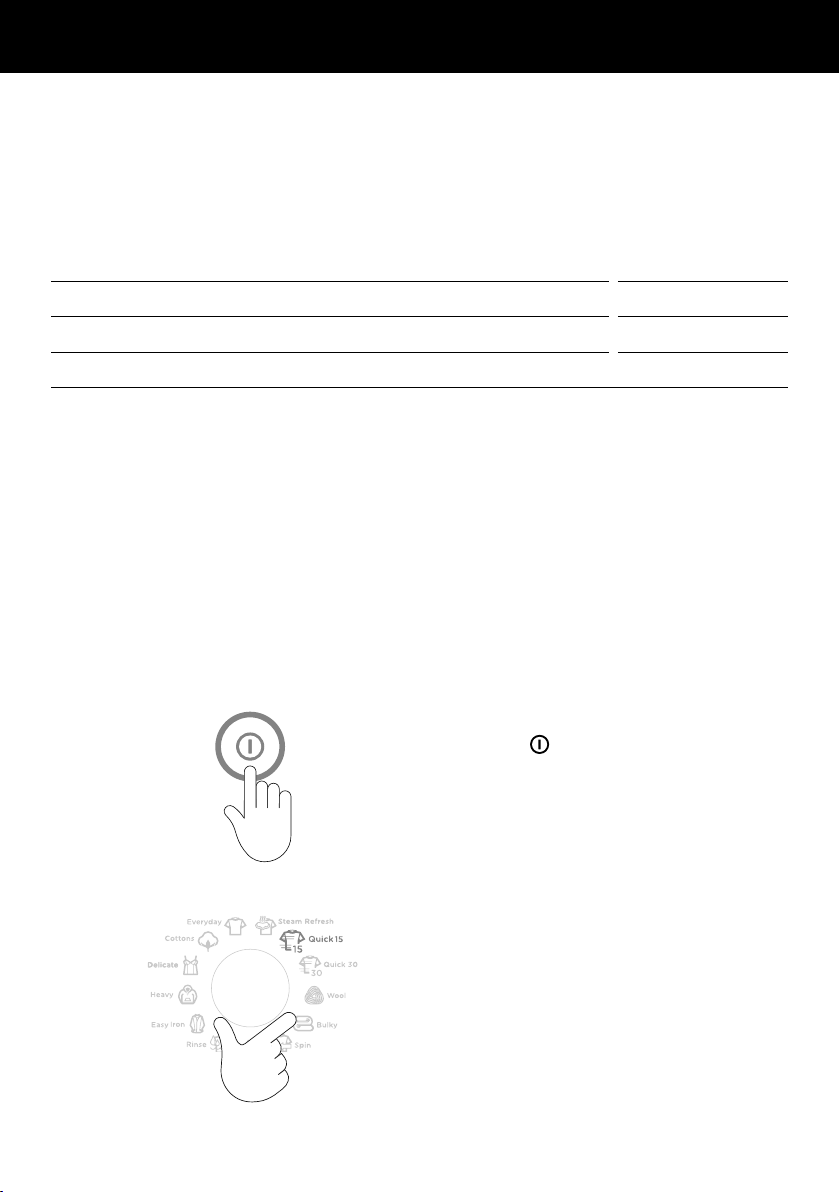
1
Press POWER to activate your washer.
2
Select a QUICK cycle. Ensure the drum is
empty and the door closed.
SPARE PARTS* PART NO.
Hose(s) inlet long (2m) 422680P
Hose(s) inlet large bore 426123P
* Available from your Fisher&Paykel dealer or a Fisher&Paykel trained and supported service technician
Spare Parts
Electrical connection
z
This appliance must be connected to a 220V–240V, 50Hz, sinusoidal, minimum 10A
electricalsupply.
z
Check the power cord for damage and make sure it is not squashed or twisted when
installing the washer.
z
Always remove the power cord from a socket by the plug, not by the cord.
Loading ...
Loading ...
Loading ...