Loading ...
Loading ...
Loading ...
35
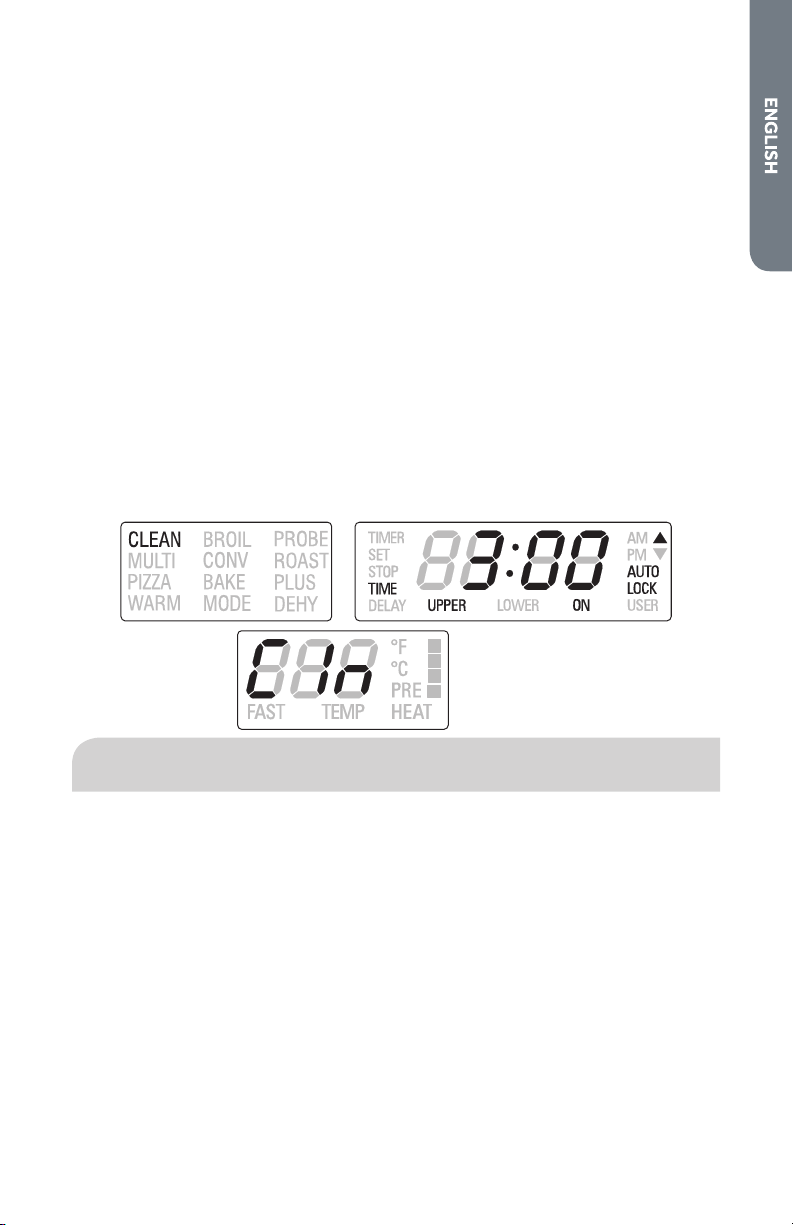
TO DELAY THE START OF CLEANING
1. Follow steps 1 through 7 above.
2. Touch the [TIME] key and verify that “STOP TIME” appears on the display. The
hours will begin ashing.
3. Use [INC] or [DEC] keys to change the stop time value.
4. To change the minutes, touch the [TIME] key, the minutes will ash.
5. Use [INC] or [DEC] keys to change the value. Hold the key to change by 10
minutes steps.
6. Touch [TIME] or wait a few seconds to conrm the new value.
7. The latch starts moving to lock the oven door, the display shows “DELAY”.
8. When the delay time expires, self-cleaning will start.
9. At the end of the programmed cleaning time, the oven will automatically turn o.
10. “End” will appear on the temperature display, “CLEAN” on the mode display and
“TIME” on the clock display will start ashing until the [TIME] key is touched or the
knob is moved to the OFF position.
In order to check the cleaning or the stop time during a delayed clean, simply touch
the [TIME] key until “TIME” or “STOP TIME” writings are displayed.
GENERAL OVEN CARE
HOW TO USE THE OVEN CLEANING CHART
1. Locate the number of the part to be cleaned in the following illustration.
2. Find the part name in the chart.
•
Use the cleaning method in the left column if the oven is black or white.
•
Use the cleaning method in the right column if the oven is stainless steel.
3. Match the letter with the cleaning method on following chart.
Loading ...
Loading ...
Loading ...