Loading ...
Loading ...
Loading ...
14 15
ninjakitchen.com
ninjakitchen.com
2 Press the TIME/SLICES button and
use the dial to select a time up to
12 hours. Time will adjust in 15-minute
increments. To set the time, press the
TIME/SLICES button again.
3 Press the TEMP/SHADE button and
use the dial to select a temperature
between 85°F and 200°F. Temperature
will adjust in 5-degree increments. To set
the temperature, press the TEMP/SHADE
button again.
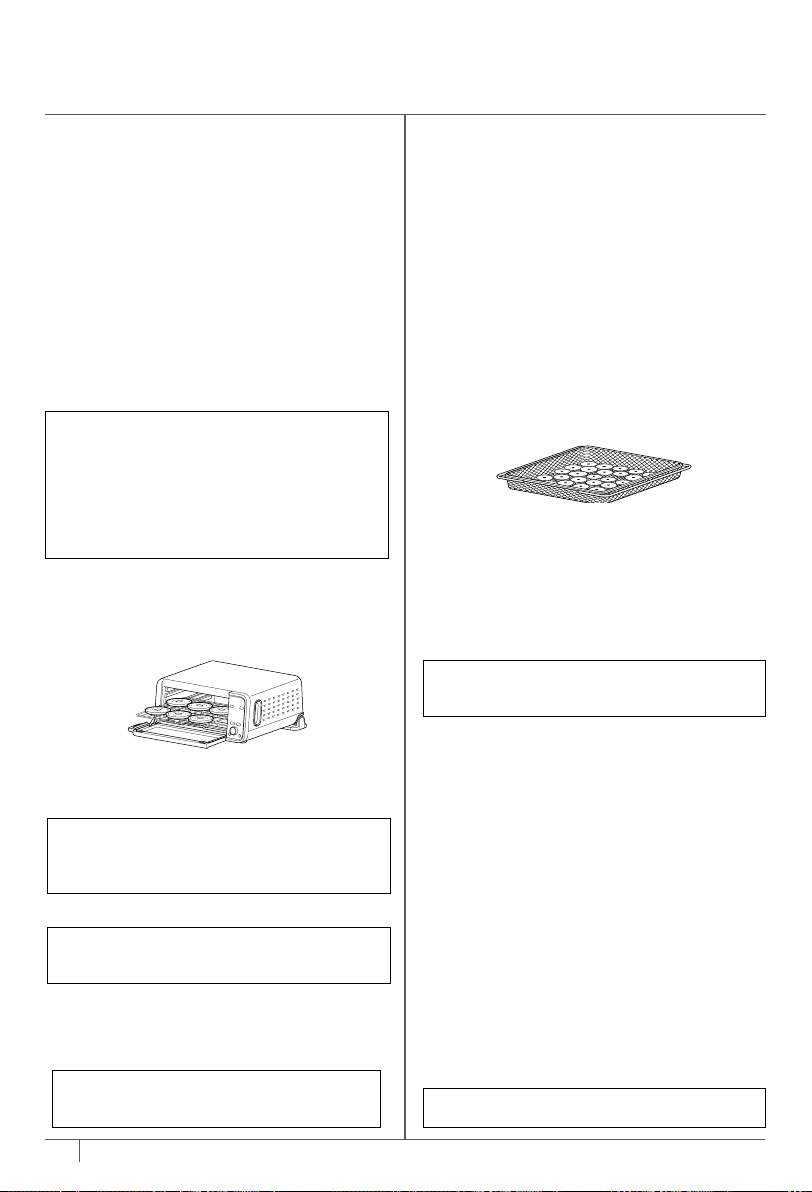
4 Place ingredients in the air fry basket and
place basket into top rails of oven. Close
oven door and press the setting dial to
begin cooking.
5 During cooking, you can open the oven
door to check on or flip ingredients
halfway through cooking.
6 When cook time is complete, the unit
will beep and “END HOT” will appear on
the display.
REHEAT
1 To select the function, press the
AIR OVEN MODE button, then turn the
dial until REHEAT illuminates.
2 Press the TIME/SLICES buttons to select a
reheat time up to 2 hours. Time will adjust
in 1-minute increments under 1 hour and
5-minute increments over 1 hour.
3 Press the TEMP/SHADE button to
select a temperature between 100°F
and 450°F. Temperature will adjust in
5-degree increments.
4 Place food on the SearPlate or in an
oven-safe container and place the pan
or container on the wire rack into the
bottom rails. Close oven door and press
the setting dial to begin cooking.
5 When cook time is complete, the unit will
beep and “END HOT” will appear on the
display.
Bagel
1 To select the function, press the AIR OVEN
MODE button, then turn the dial until
BAGEL illuminates. The default number of
slices and shade level will display.
2 Press the TIME/SLICES button and use
the dial to select the number of slices.
You may toast up to 6 bagel halves at
once. To set the number of slices, press
the TIME/SLICES button again.
3 Press the TEMP/SHADE button and
use the dial to select a shade level.
To set the shade level, press the TEMP/
SHADE button again.
4 Place bagel slices, cut-side up, on the
wire rack into middle rails. Close oven
door and press the setting dial to begin
cooking. You do not need to flip the
slices during cooking.
5 When cook time is complete, the unit
will beep and “END HOT” will appear on
the display.
Dehydrate
1 To select the function, press the AIR
OVEN MODE button, then turn the dial
until DEHYDRATE illuminates. The default
time and temperature settings will display.
NOTE: There is no temperature
adjustment available for the Bagel
function, and the unit does not preheat
in Bagel mode. It is very important to
select the exact number of slices to
avoid over- or under-toasting. Results
may vary when unit is already warm.
NOTE: The DEHYDRATE function is not
included on all models.
NOTE: You can also manually adjust the
time once cooking has started to better
achieve your preferred shade.
NOTE: The REHEAT function is not
included on all models.
NOTE: There is no preheat with
Dehydrate. NOTE: There is no preheat with Reheat.
USING YOUR FOODI®
DUAL HEAT AIR FRY OVEN – CONT.
EVERYDAY CLEANING
The unit should be cleaned thoroughly
after every use.
1 Unplug the unit from the outlet and
allow it to cool down before cleaning.
2 Empty crumb tray by sliding it out of
the oven when the oven is in the flipped-
down position. Clean accessories after
each use. Accessories are hand-wash
recommended. The air fry basket and
wire rack can be put in the dishwasher,
but may wear more quickly over time.
3 To clean any food splatter on the
interior walls of the unit, wipe them
with a soft, damp sponge. DO NOT use
abrasive cleaners, scrubbing brushes,
or chemical cleaners, as they will
damage the oven
4 To clean the exterior of the main unit
and the control panel, wipe them clean
with a damp cloth. A non-abrasive liquid
cleanser or mild spray solution may be
used. Apply the cleanser to the sponge,
not the oven surface, before cleaning.
NOTE: Empty crumb tray frequently.
Hand-wash when necessary.
NOTE: DO NOT submerge unit in water
or place in dishwasher.
NOTE: The parchment paper should not
touch any of the heating elements or
the inside oven walls as it could cause
smoke. DO NOT use parchment paper
on Broil or above the recommended
manufacturer’s instructions.
ALTERNATIVE TO PIZZA PEEL
We recommend a pizza peel as the best
method for transferring fresh dough onto
the preheated SearPlate. If you do not have
a pizza peel, use the following instructions.
1 Measure a large sheet of parchment
paper to match the size of the
SearPlate. Then take the parchment
paper and set it on a cutting board or
other flat surface to roll out your fresh
pizza dough with flour to your desired
thickness.
2 Place your toppings and ingredients on
the fresh dough. Once the SearPlate
has preheated, using oven mitts, slide
the SearPlate partially out of the oven
and transfer the fresh pizza with the
parchment paper onto the SearPlate.
Slide the SearPlate back into the oven
and close the door.
3 After 3 to 4 minutes of cook time, you
can remove the parchment paper from
the bottom of the pizza. Use oven
mitts to slide the SearPlate partially
out of the oven and carefully slide
the parchment out from underneath
pizza by grabbing one of the corners.
Slide the SearPlate back into the oven
and close the door. If you leave the
parchment paper during the cook
cycle, the paper may become brittle.
Loading ...
Loading ...
Loading ...