Loading ...
Loading ...
Loading ...
Air Roast
1 To select the function, press the AIR
OVEN MODE button, then turn the dial
repeatedly until AIR ROAST illuminates.
The default time and temperature settings
will display.
2 Press the TIME/SLICES button and use
the dial to select your time up to 2 hours.
Time will adjust in 1-minute increments
under 1 hour and 5-minute increments
over 1 hour. To set the time, press
TIME/SLICES button again.
3 Press the TEMP/SHADE button
and use the dial to select a temperature
between 250°F and 450°F. Temperature
will adjust in 5-degree increments. To set
the temperature, press the TEMP/SHADE
button again.
4 Press the setting dial to begin preheating.
Place ingredients on the SearPlate.
5 When the unit beeps to signify it has
preheated, immediately open the oven
door and use an oven mitt to slide the
SearPlate into the bottom rails with
ingredients. Close oven door.
6 During cooking, you can open the oven
door to check on or flip ingredients.
7 When cook time is complete, the unit
will beep and “END HOT” will appear on
the display.
Broil
1 To select the function, press the
AIR OVEN MODE button, then turn the
dial until BROIL illuminates. The default
time and temperature settings will
display.
2 Press the TIME/SLICES button and
use the dial to select your time up
to 30 minutes. Time will adjust in
30-second increments. To set the time,
press the TIME/SLICES button again.
3 Press the TEMP/SHADE button
and use the dial to select either
HI (450°F) or LO (400°F). To set the
temperature, press the TEMP/SHADE
button again.
4 If using the wire rack, slide wire rack into
middle rails with or without SearPlate
in bottom rails to catch drippings, then
add ingredients. If using the SearPlate,
place ingredients on the SearPlate
and slide into bottom rails, then add
ingredients. If using wire rack with other
baking accessory, slide wire rack into
bottom rails, then add ingredients. Close
oven door. Press the setting dial to
begin cooking.
5 During cooking, you can open the oven
door to check on or flip ingredients.
6 When cook time is complete, the unit
will beep and “END HOT” will appear on
the display.
NOTE: The timer will start counting
down as soon as the unit has preheated.
If ingredients are not ready to go into
the oven, simply turn the dial to add
more time.
NOTE: There is no preheat for the
Broil function.
Bake
1 To select the function, press the
AIR OVEN MODE button, then turn the
dial until BAKE illuminates. The default
time and temperature settings will
display.
2 Press the TIME/SLICES button and
use the dial to select your time up to
2 hours. Time will adjust in 1-minute
increments under 1 hour and 5-minute
increments over 1 hour. To set the time,
press the TIME/SLICES button again.
3 Press the TEMP/SHADE button and
use the dial to select a temperature
between 180°F and 450°F. Temperature
will adjust in 5-degree increments.
To set the temperature, press the
TEMP/SHADE button again.
4 Press the setting dial to begin preheating.
5 Place ingredients on the SearPlate. When
the unit beeps to signify it has preheated,
immediately slide the SearPlate into the
bottom rails. Close oven door.
6 During cooking, you can open the oven
door to check on or flip ingredients.
7 When cook time is complete, the unit
will beep and “END HOT” will appear on
the display.
Toast
1 To select the function, press the AIR
OVEN MODE button, then turn the dial
until TOAST illuminates. The default
amount of slices and shade will be
displayed.
2 Press the TIME/SLICES button and use
the dial to select the number of bread
slices. You may toast up to 9 slices at
once. To set the number of slices, press
the TIME/SLICES button again.
3 Press the TEMP/SHADE button and use
the dial to select a shade level. To set
the shade level, press the TEMP/SHADE
button again.
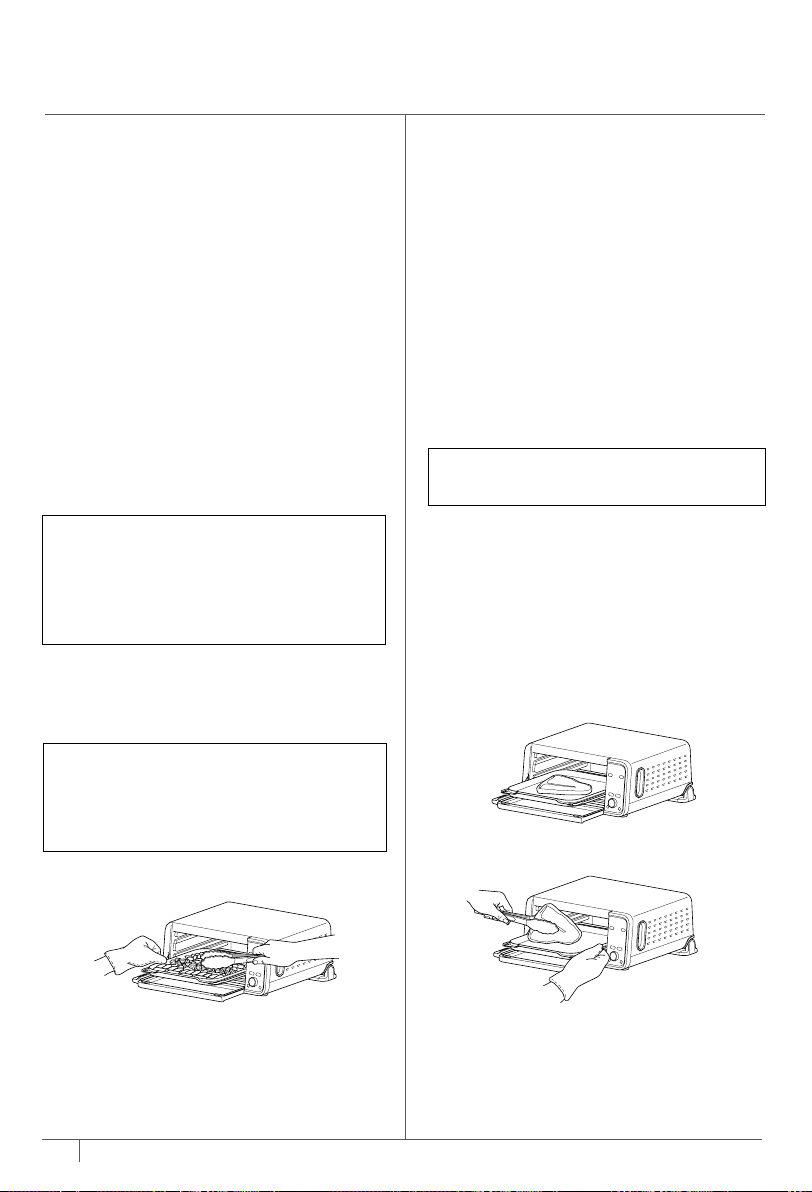
4 Place bread slices on the wire rack into
middle rails. Close oven door and press
the setting dial to begin cooking. You do
not need to flip the slices during cooking.
5 When cook time is complete,
the unit will beep and “END HOT” will
appear on the display.
USING YOUR FOODI®
DUAL HEAT AIR FRY OVEN – CONT.
NOTE: There is no temperature
adjustment available for the Toast
function, and the unit does not preheat
in Toast mode. It is very important to
select the exact number of slices to
avoid over- or under-toasting. Results
may vary when unit is already warm.
NOTE: The timer will start counting
down as soon as the unit has preheated.
If ingredients are not ready to go into
the oven, simply turn the dial to add
more time.
NOTE: If using another baking
accessory, slide the wire rack into the
bottom rails with the accessory on top.
NOTE: You can also manually adjust the
time once cooking has started to better
choose your preferred shade.
NOTE: Use recommended times and
temperatures with boxed foods. Time
and temperature will vary when using
dierent types of baking accessories
from box instructions. Always keep an
eye on your food while cooking.
12
ninjakitchen.com
13
ninjakitchen.com
NOTE: Food cooks faster when using
the Air Roast function than when using
the Bake function, so for traditional
oven recipes, refer to the Inspiration
Guide for guidance on cook times and
temperatures.
Loading ...
Loading ...
Loading ...