Loading ...
Loading ...
Loading ...
22
Index
Appendix
Errors and Warnings
Troubleshooting
Settings
Playback
Shooting
Setup and Basics
Learning About the Camera
Accessories
Wireless Features
Wireless Features/Accessories
Steps on the Computer (2)
7
Start EOS Utility.
8
In EOS Utility, click [Paring over
Wi-Fi/LAN].
● The EOS Pairing Software window is
displayed.
9
Click [Connect].
● Choose the camera to connect to and
click [Connect].
Steps on the Camera (3)
10
Establish a Wi-Fi connection.
● Choose [OK] and press the button.
● [Wi-Fi on] is displayed on the camera.
● The camera and computer are now
connected via Wi-Fi.
4
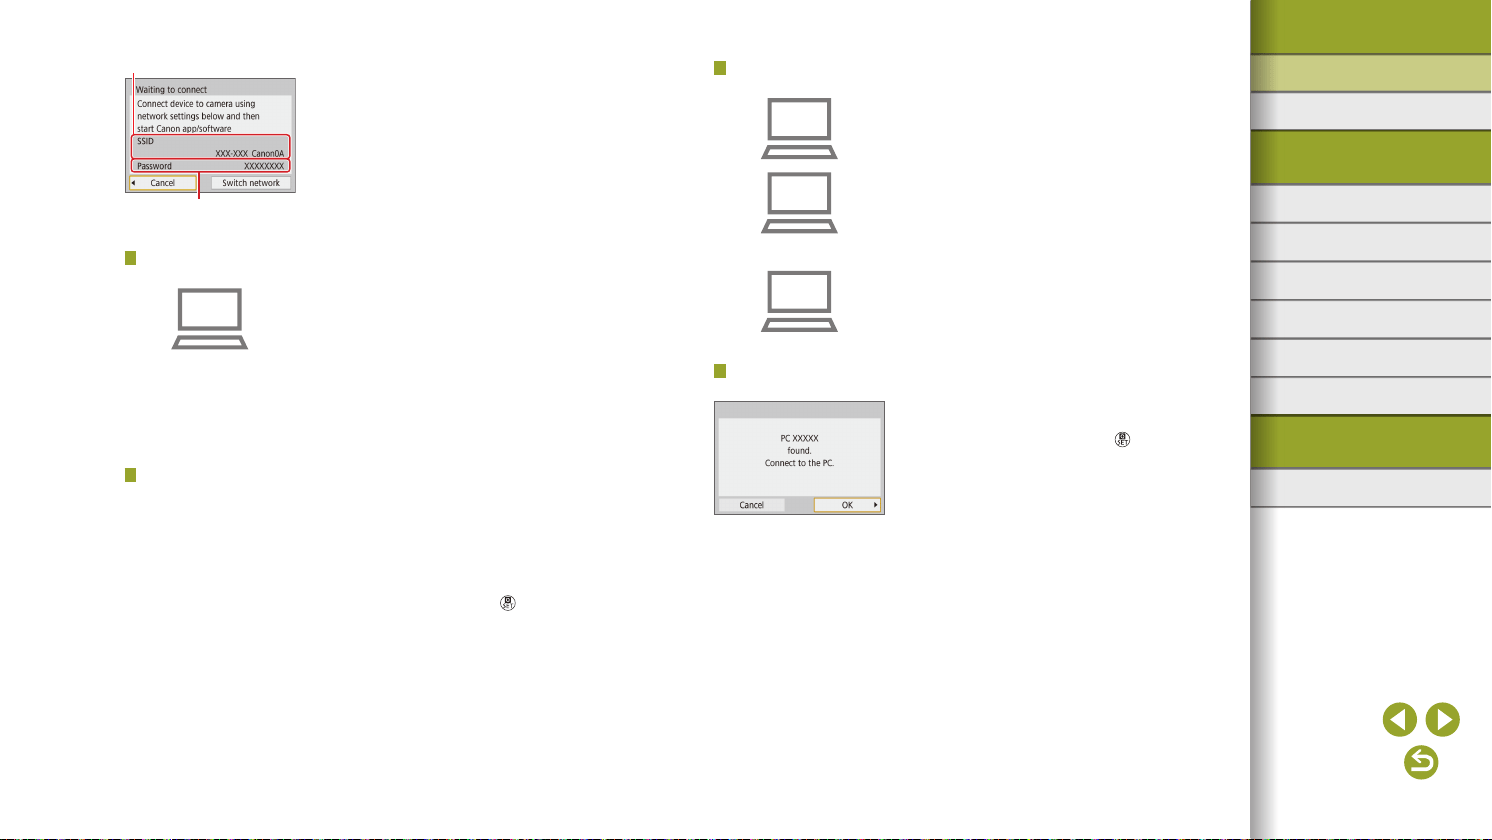
Check the SSID and password.
Steps on the Computer (1)
5
Connect the computer to the
network.
● In the computer’s Wi-Fi settings, choose
the SSID (network name) displayed on
the camera to establish a connection.
● In the password eld on the computer,
enter the password displayed on the
camera.
Steps on the Camera (2)
6
Pair the devices.
● After password authentication on the
computer, [Start pairing devices] is
displayed on the camera.
● Choose [OK], press the
button, and
start EOS Utility.
SSID (Network name)
Password
Loading ...
Loading ...
Loading ...