Loading ...
Loading ...
Loading ...
20 English
Operations
Operations
Timer
Adding the new Timer
1. Touch the button on the control panel.
2. Select Timer, and then press the Dial Knob.
3. On the Timer screen, select , and then press the Dial Knob.
• Skip this step if you are adding the timer for the rst time.
4. Set the time.
Editing the existing Timer
1. Touch the button on the control panel.
2. Select Timer, and then press the Dial Knob.
3. On the Timer screen, select the Timer you want to edit, and then press the Dial
Knob.
4. Change the time.
Deleting the Timer
1. Touch the button on the control panel.
2. Select Timer, and then press the Dial Knob.
3. On the Timer screen, select , and then press the Dial Knob.
4. Select Delete on the right side of the Timer you want to delete, and then press
the Dial Knob.
5. Select Done, and then press the Dial Knob.
Using the Timer
1. Touch the button on the control panel.
2. Select Timer, and then press the Dial Knob.
3. Select START on the right side of the Timer you want to use, and then press
the Dial Knob.
• Once you start the timer, you can pause or cancel the timer.
NOTE
When the time has elapsed to a set point, a message of “Time is up.” appears with
a melody. Select OK, and then press the Dial Knob to dismiss the message.
Auto Defrost
The oven offers 5 Auto Defrost programmes. Take advantage of this feature to
conveniently defrost items. The cooking time, power level and temperature will be
adjusted according to the selected programme.
12:00
Convection
160°C
Cook Time
START
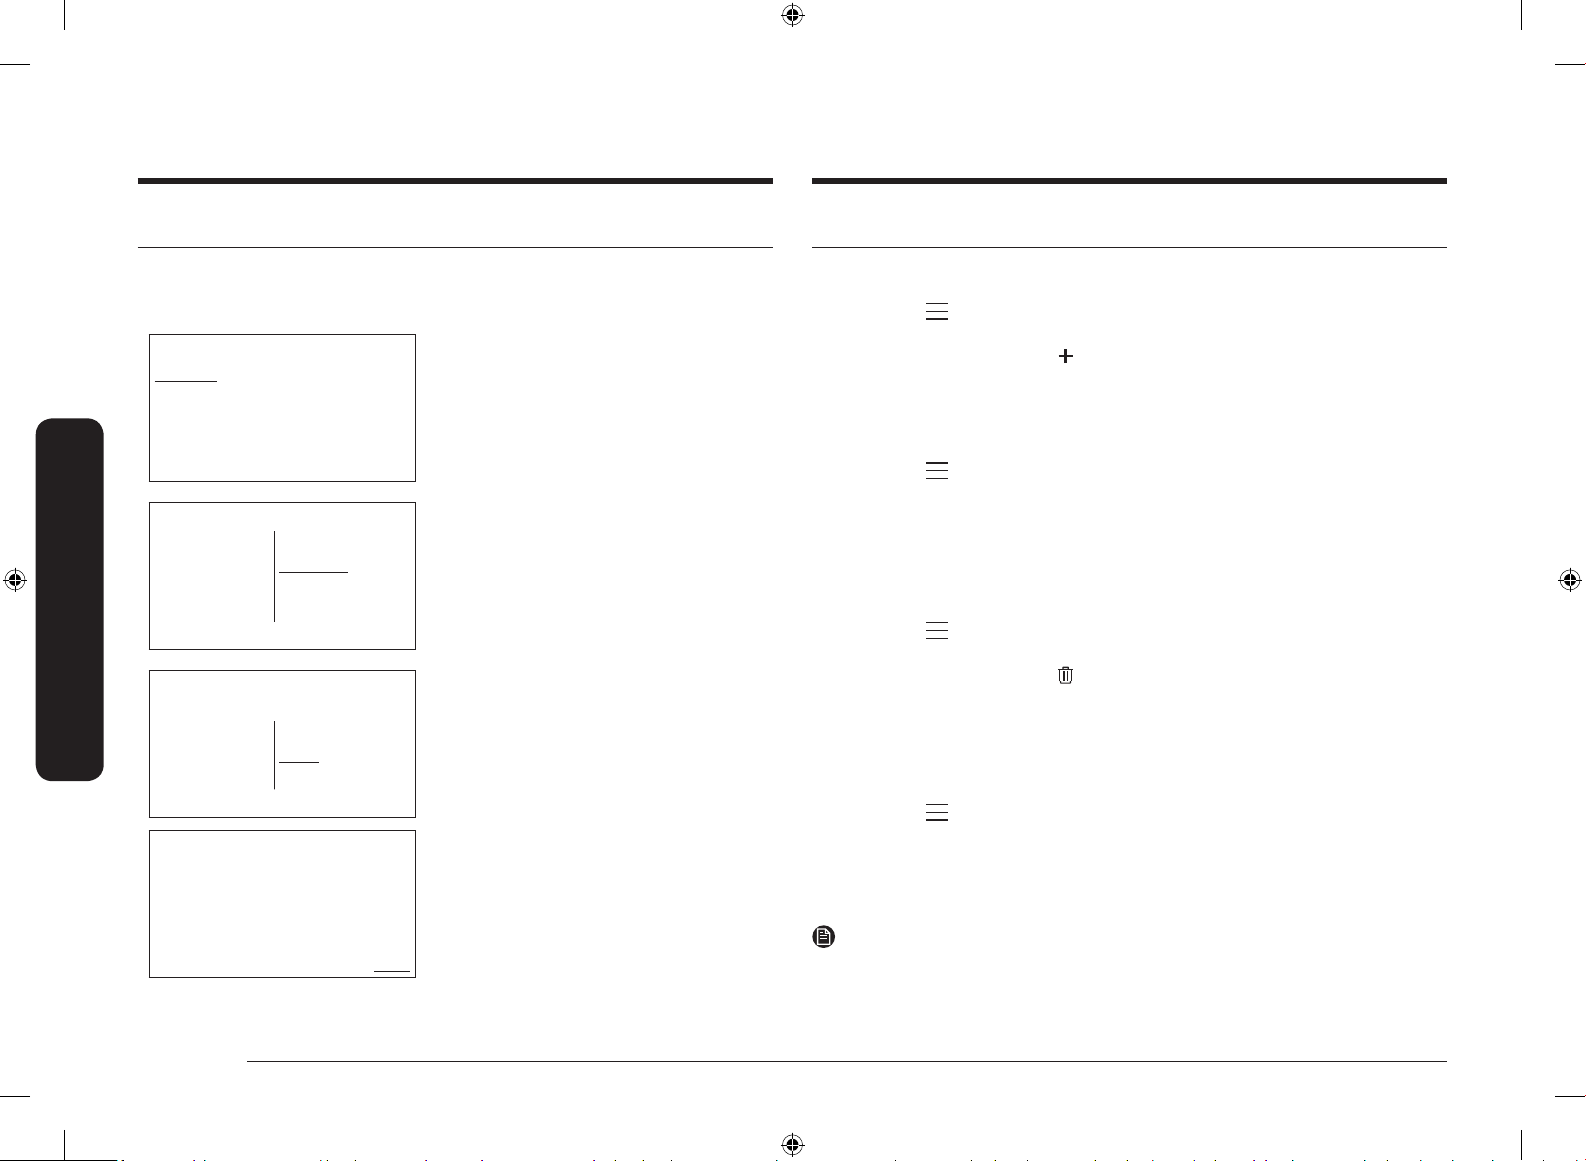
1. On the main screen, select Convection,
and then press the Dial Knob.
2. Select Auto Defrost, and then press the
Dial Knob.
12:00
Auto Defrost Frozen meat
Frozen poultry
Frozen sh
3. Select the desired programme, and
then press the Dial Knob.
• For detailed information of each
programme, see “Auto Defrost” in
“Cooking Smart” section on page
29.)
12:00
< Frozen meat
Weight 0.2-0.5 kg
0.8-1.5
12:00
< Frozen meat
Place food in oven.
Previous
START
4. Select the weight, and then press the
Dial Knob.
• Available weight differs
depending on the selected
programme.
5. Prepare food and accessories as
instructed on the screen, select Next,
and then press the Dial Knob.
6. Select START, and then press the Dial
Knob.
NQ8300T_NQ50T8939BK_EU_DG68-01261C-00_EN.indd 20 2020-01-23 12:31:03
Loading ...
Loading ...
Loading ...