Loading ...
Loading ...
Loading ...
9897
ENGLISH
Check that i Prep & Cook XL is properly plugged into the socket and that the plug is
working properly.
Check that your smartphone/tablet is compatible (see compatibility list at www.krups.com).
Check that Bluetooth is activated on your smartphone/tablet.
Start the pairing steps again, and consult the FAQs (frequently asked questions).
If there is still a problem, make sure that your smartphone/tablet is compatible
If you are using an Android device, make sure that it is one of the compatible models (see
compatibility list at www.krups.com).
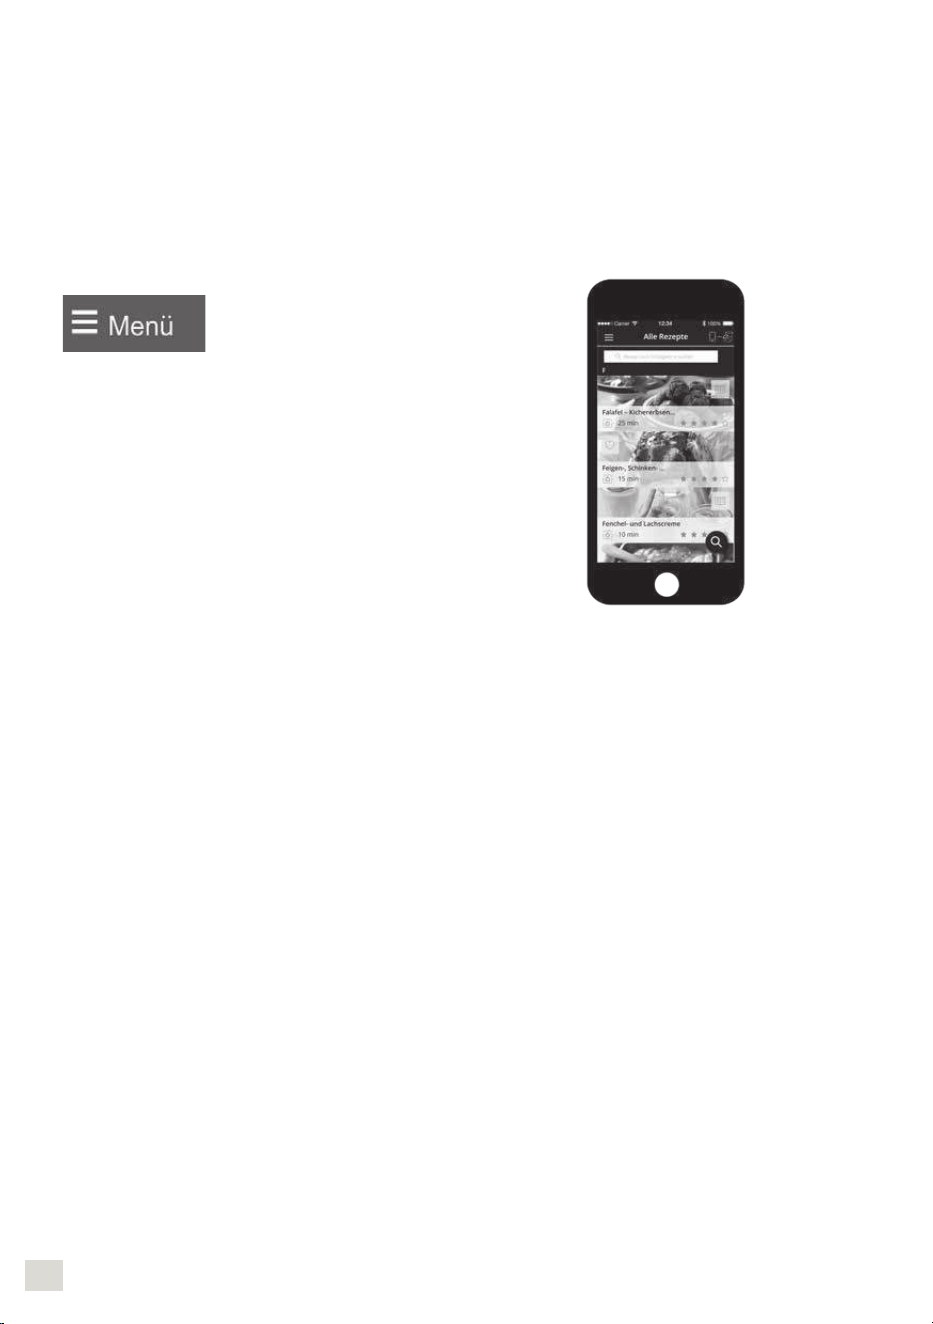
Access the app menu to see our range of recipes.
In connected mode, during a step-by-step recipe, the
rst reset ends the step, and the second reset ends the
recipe.
FAQs: FREQUENTLY ASKED QUESTIONS
Where should I put i Prep & Cook XL?
Put i Prep & Cook XL on a at, stable, heat resistant work surface.
For the best connection between i Prep & Cook XL and your smartphone/tablet,
we recommend you make any changes required to ensure the connection is at
a reasonable distance.
If the connection indicator (C1) is constantly lit, this shows that your devices are
connected.
If the connection is lost (the connection symbol is shown crossed out), move
closer to i Prep & Cook XL to re-establish the connection.
What happens if the connection is lost during a recipe?
If the connection between i Prep & Cook XL and your smartphone/tablet is lost during a recipe, the
two devices will be automatically synchronised as soon as the connection is re-established. You
will be able to carry on with your recipe from the step you were on when the connection was lost.
Can I use i Prep & Cook XL without the app?
Your appliance may be used without the app. (See rst use in unconnected mode).
For this, please refer to the ‘use of the appliance’ paragraph.
However, only the app will enable you to benet from the many advantages of the connected
product.
Can i Prep & Cook XL be used with more than one smartphone or tablet?
If you wish, you can pair several devices with i Prep & Cook XL. To do this, pair each device
separately. (See pairing).
However, only one device may be connected at a time.
Must the Bluetooth on my phone by constantly activated?
Bluetooth must be activated in order to synchronise the app with i Prep & Cook XL.
USE IN UNCONNECTED MODE
USING THE CONTROL PANEL (B)
Selecting an automatic program:
Pastries (list of sub-programs) Soups (list of sub-programs)
Stews (list of sub-programs) Steamed dishes (list of
subprograms)
Powering up your appliance
Your appliance has an on/off switch marked 0/1. Switch it to 1.
The LCD screen will display all the settings as ‘0’. (See Fig. 9).
In unconnected mode, the i Prep & Cook XL LCD screen is white.
AUTOMATIC PROGRAM MODE
1. Press the program you
wish to use (B4). A bright
dot will appear above
the program you have
selected. Each time you
press again, the various
subprograms will be
shown, one after the
other.
4. When you have nished
modifying all your
settings, press the
“start” button (B5) to
start the program. When
your appliance is using
cooking mode, the red
indicator light (B3) lights
up to inform you that
cooking has started.
2. The pre-programed set-
tings can be modied for
the time of a recipe (de-
pending on the chosen
recipe, ingredients and
quantities prepared).
Press the cooking tem-
perature selector (B2) or
the time selector (B3):
the chosen setting will
ash on the screen (C6-
C7).
5. When the program has ended, the
appliance sounds 3 beeps.
6. At the end of the soups, P2 and P3 slow
cook and steam cooking programs,
the appliance will automatically switch
to keep-warm mode for 45 minutes to
keep your meal hot until it is ready to
serve. On slow cook programs P2 and
P3 and in manual mode, the appliance’s
motor operates at a specic speed, to
keep the food in good condition and
prevent it from sticking to the bottom
of the bowl. To stop the keep-warm
mode, just press the ‘stop’ button
(B5). The keep-warm mode will stop
automatically if you open the lid, press
the triggers (D2) or remove the bowl.
3. Adjust the setting(s)
using the +/- selector
(B6).
Loading ...
Loading ...
Loading ...