Loading ...
Loading ...
Loading ...
8
On the top left side: Recording type: Video DVD
On the bottom left side:
Recording quality: HQ, HSP …
On the bottom right
side:
Time remaining
5- Press [REC] button to start recording.
To skip a part of video during the recording, press [REC] to pause, then press [REC] again to
continue.
To stop the recording, press [STOP] button. If an Auto-stop timer has been set, the recording
will stop automatically at preset time. Then burning will start automatically.
A message ‘burning ,wait for CD pop up’ will appear on the right bottom side of recorder’s
screen.
Once burning is finished, the disc will be automatically ejected.
6- When disc is ejected, press repeatedly [RETURN] button to back to main menu.
Note : If an Auto-chapter has been set
, chapters will be created with interval time selected.
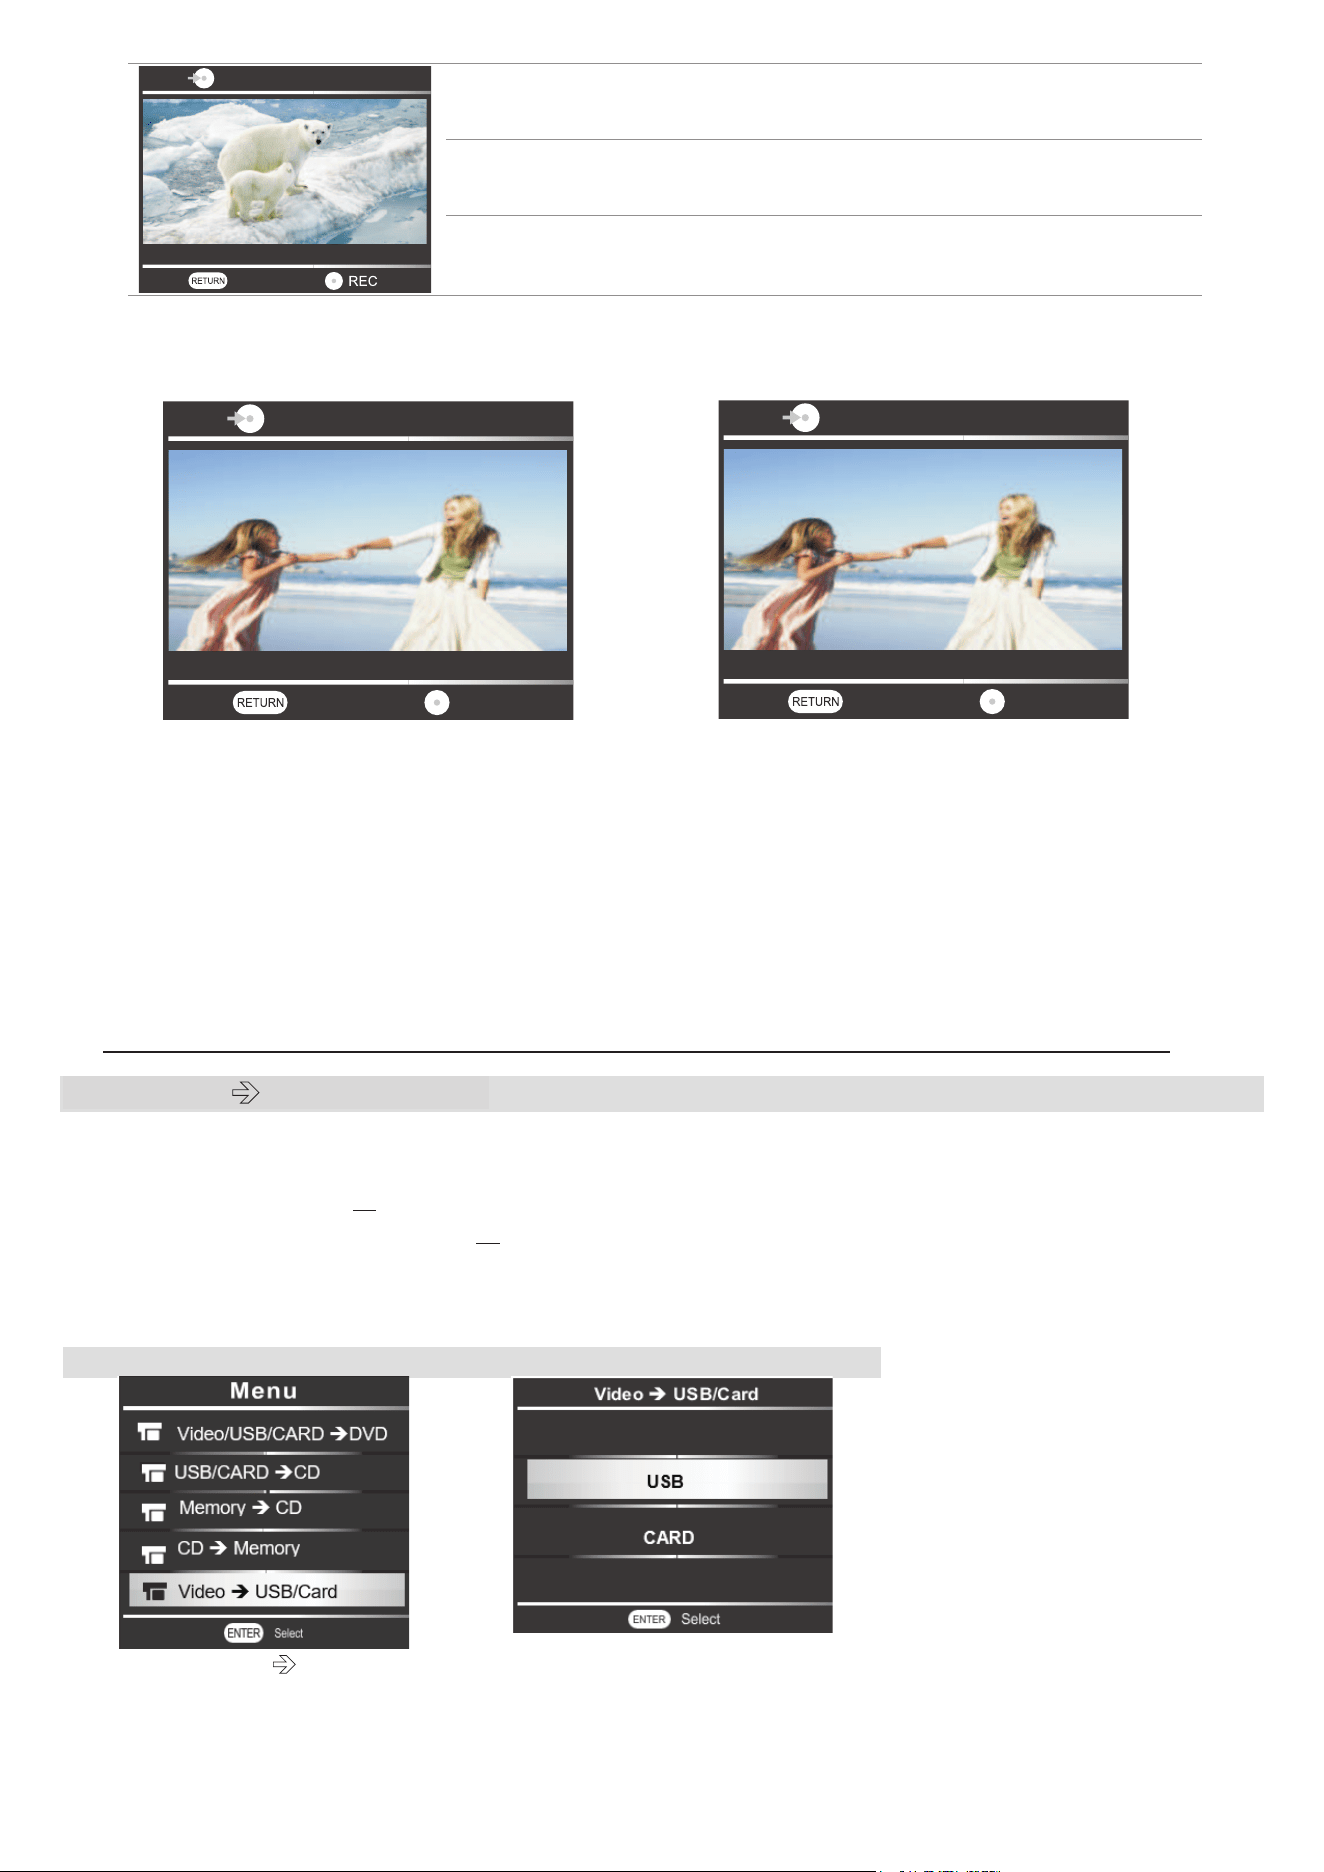
2.2 Video USB or SD Card
Before recording, make sure the capacity of USB or SD card is big enough for recording.
1- Prepare the USB or SD card and video source device.
2- Plug the USB into USB port or insert the SD card into card slot.
3- Connect the AV cable from Video Source device to Recorder.
Make sure that you respect the color coding of cable to each end of device and the video is
ready for recording. Then follow the steps as shown below:
1
2
Choose ‘ Video
USB/Card’
*If you choose to record the video to
a SD card, choose CARD here
Video
Low Quality
Remaining 01:16:06
Menu
Video
Low Quality
Menu
Continue
Recording 01:16:06
Video
Low Quality
Menu
Pause
Recording 01:16:06
Loading ...
Loading ...
Loading ...